ART WAR - 3D Printing The Trophy
The first installment of the Art War is long past but here's a look at what went into creating the custom trophies for the 2 winners and what you can expect the trophy to look like for the ongoing WORLDS Challenge!
All of this is possible thanks to the talented crew from Level52 Studios who sponsored the Art War and are now sponsoring the WORLDS Challenge, providing the lucky winners with incredible 3D printed & painted pieces of art.
Let's take a look at how those trophies were made.
3D Sculpt
Everything 3D printing must start with a digital model - the source file used by the 3D printing machine to give shape to simple resin.
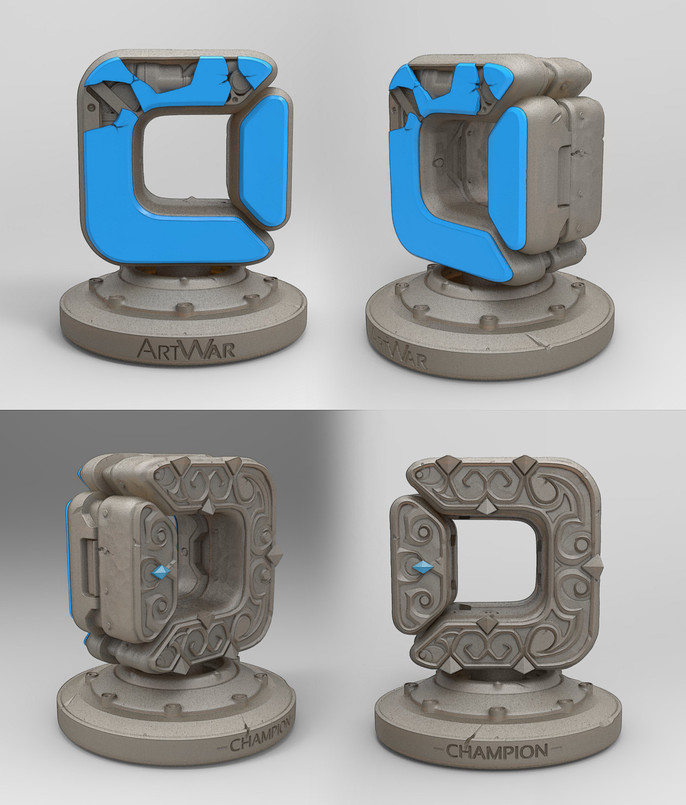
The inspiration for the trophy came from the topic of the competition itself - Fantasy vs Sci-fi. With this concept in mind, I started by creating a simple 3D version of our company logo to serve as the base for it all.
Adding different details representing the two genres for both sides of the trophies seemed to automatically make sense, playing off the duality of the contest and as a side bonus, making the trophy look interesting from all sides.
With the ZBrush sculpt done, it was time to hand it off to Level52 Studios!
3D Printing
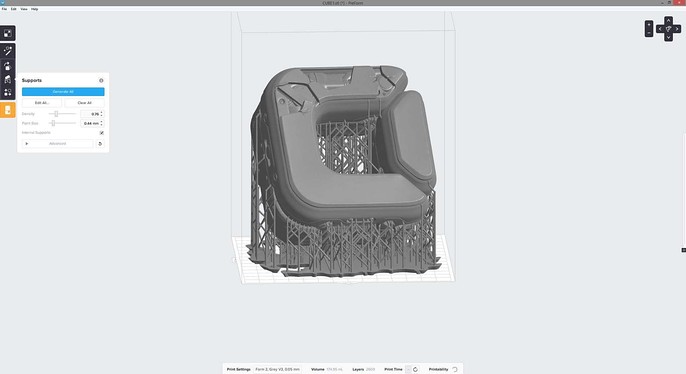
After a couple tweaks to make the sculpt 3D print-ready, it's then loaded into PreForm, the software Fromlabs's printers use to setup the prints.
Level52 Studios used the state-of-the-art Form2's SLA 3D printer for the job, going with black resin at 25 microns.
Here's what it looked like, ready for printing with all the supports added.
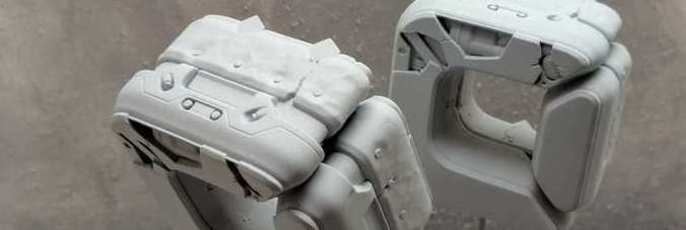
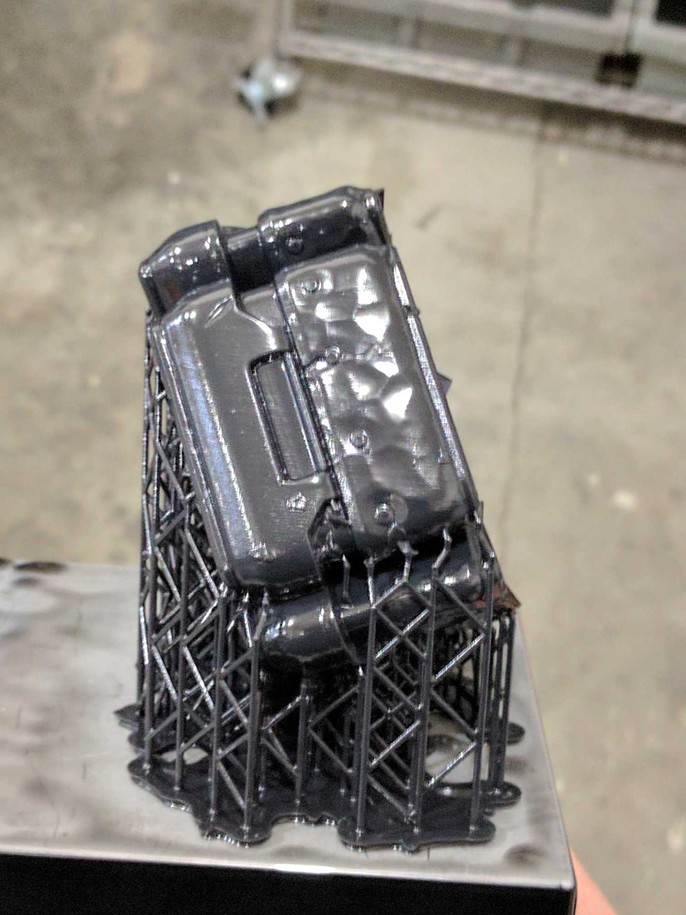
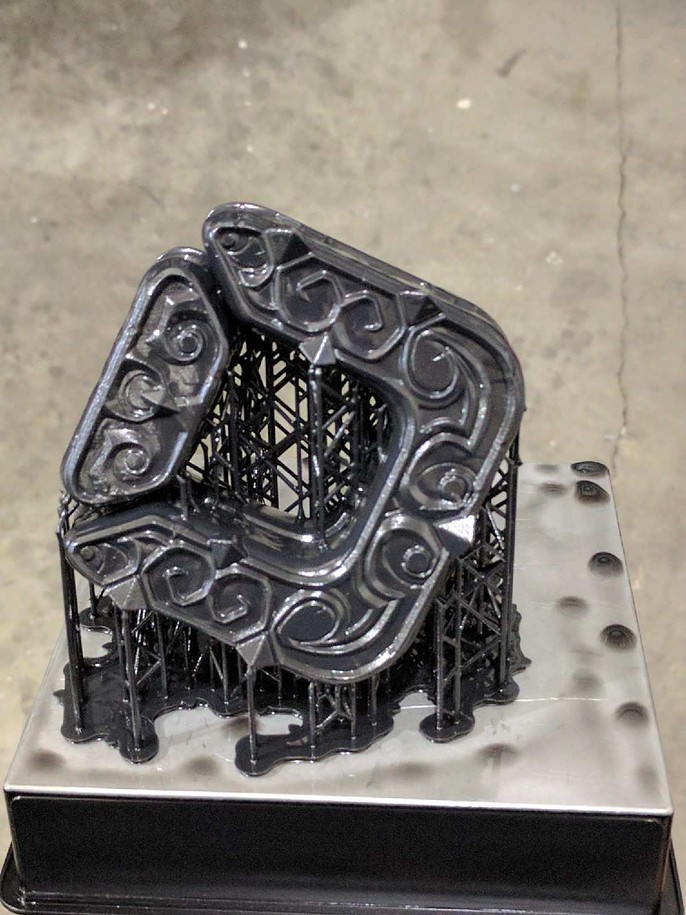
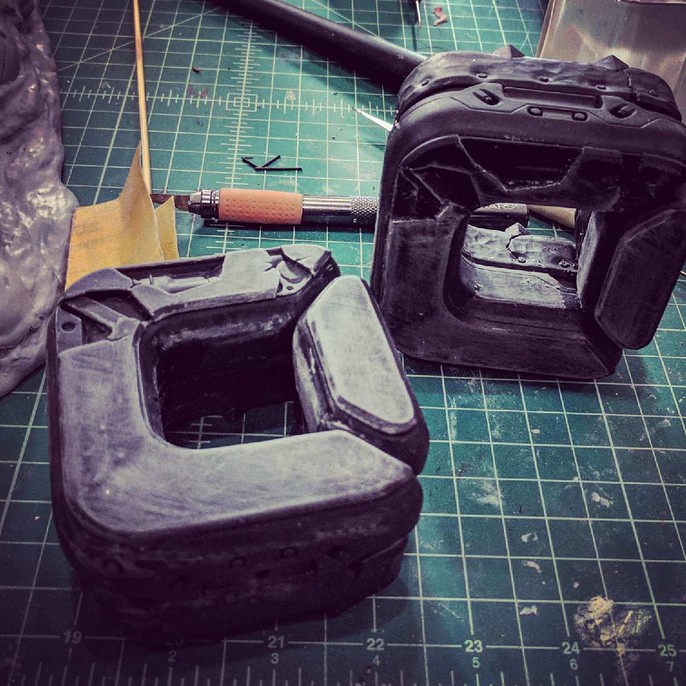
Fresh out of the printer, here's the first look at the actual physical trophy!
With the supports removed, the tedious sanding process begins. It's important to sand down all the little imperfections left by the supports to get back the clean look of the digital version.
You can see in the image below the result of that.
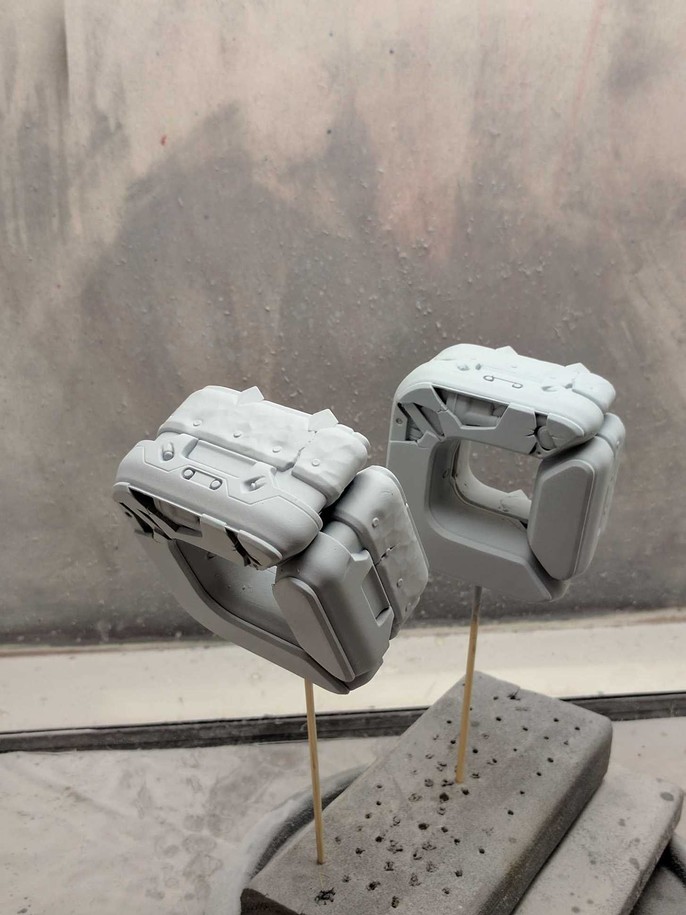
With all the sanding done, it's time for a nice fresh coat of primer to get these things ready for painting!
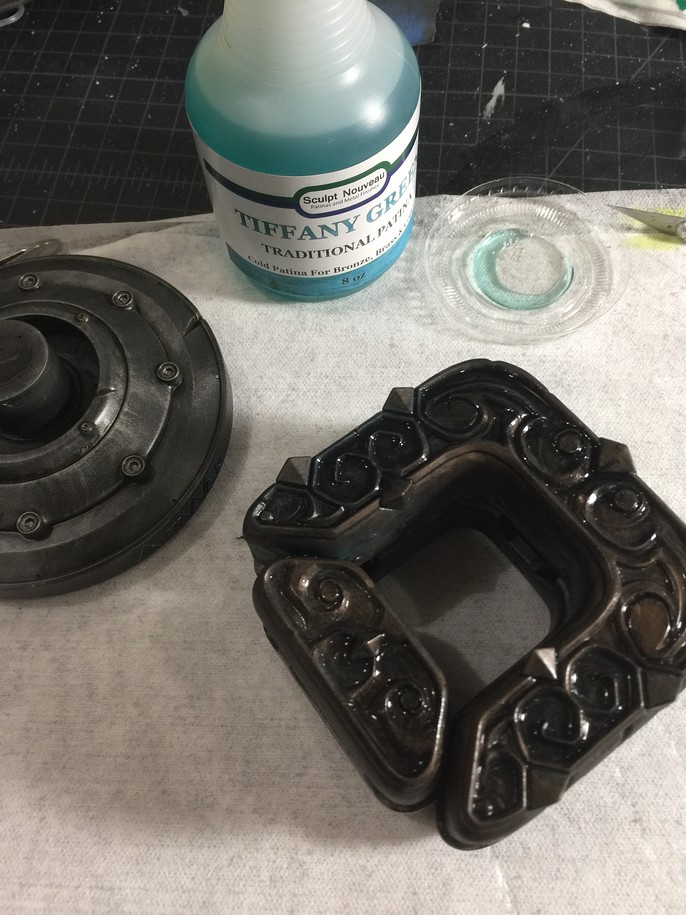
For the base, a coat of grey paint was added, followed by a coat of black paint that was brushed off to give it an old metal look.
Below here are the bases of the trophies at the 2 different steps. You can also notice the trophies were printed in 2 parts: the base and the body.

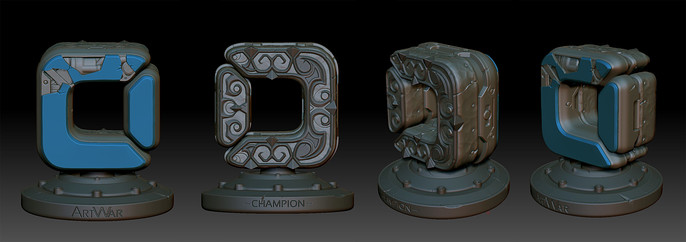
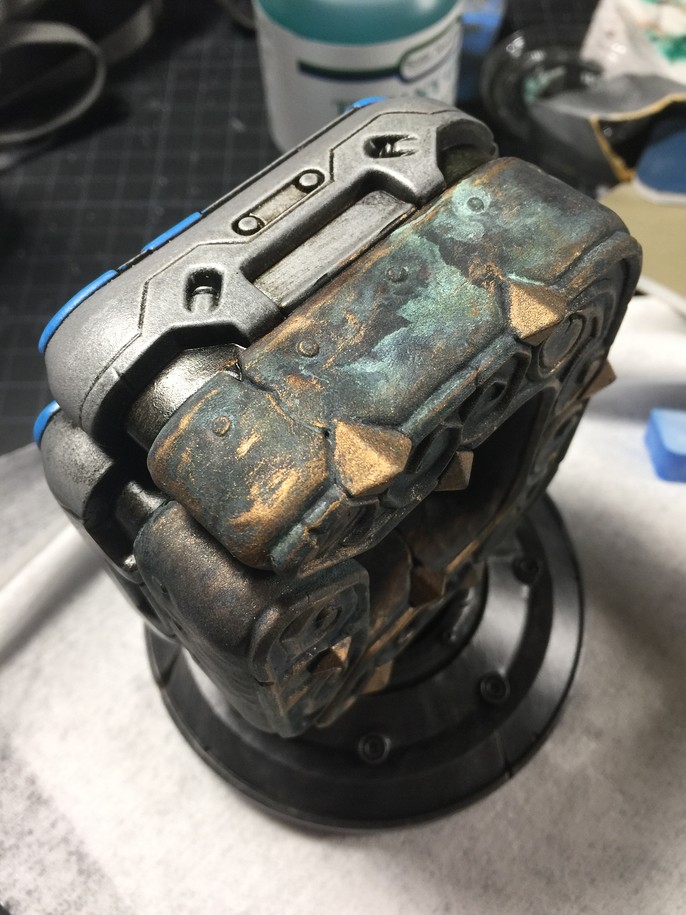
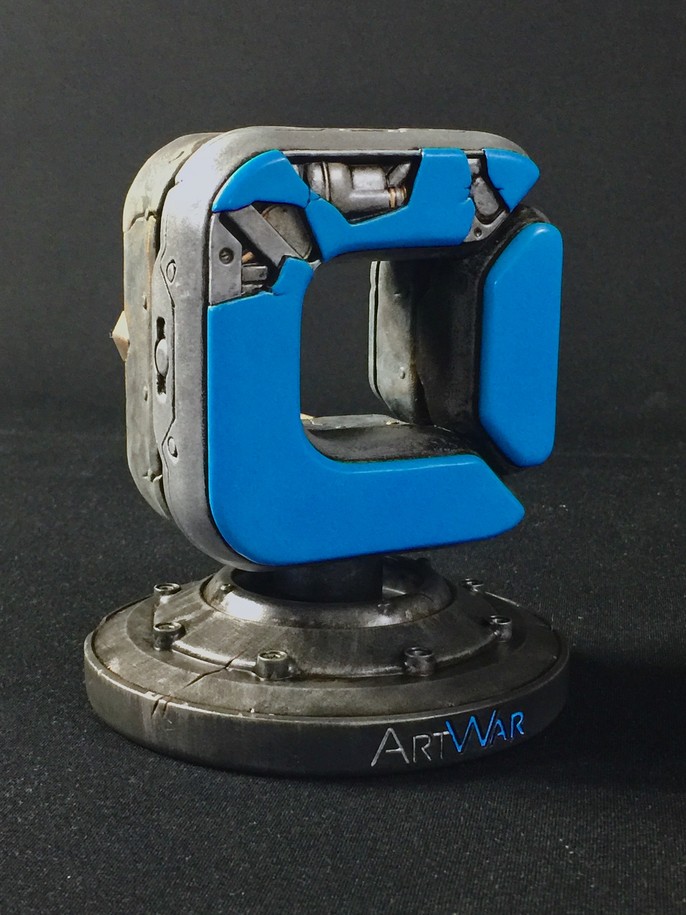
Since the 2 sides of the trophy were representing different genres, we decided to emphasize this further with the paint job - essentially having the Fantasy side look like a weathered metal plate with ornaments, and the Sci-fi side look a lot cleaner with a vibrant blue color for the logo piece and smooth surfaces instead.
With the paint layers done, you can see the layer of traditional patina being applied in the image below to really give the trophy that metallic/shiny look.
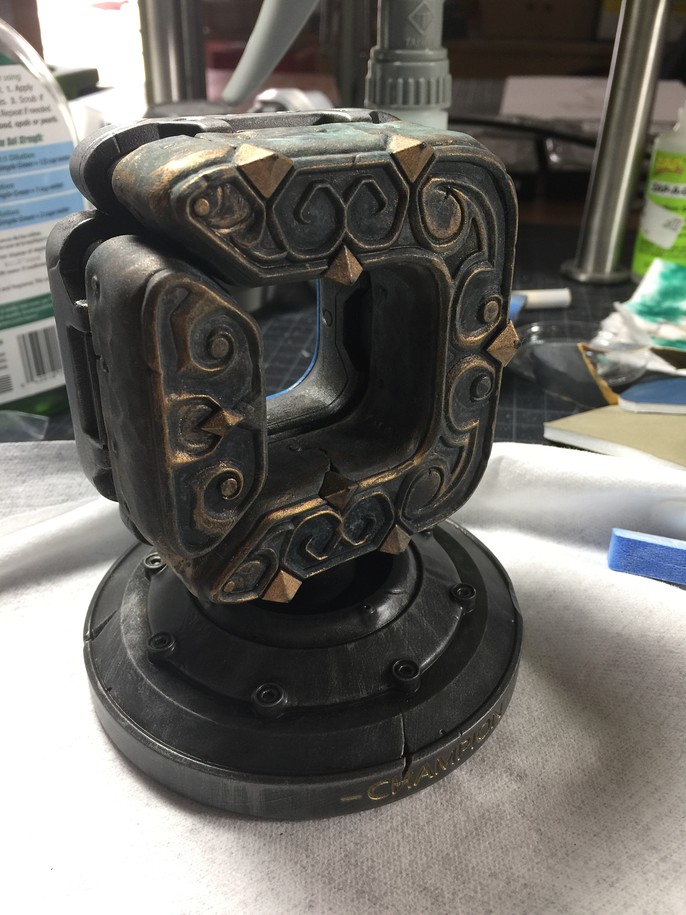
Finally, time to brush off the black layer in some areas on the Fantasy side to reveal the gold underneath and really bring the whole thing together.
With a few more touch ups, the trophy is a wrap!
The level of skills and craftsmanship that went behind the 3D printing & painted portion of the process blew us all away here at Cubebrush and we couldn't have been happier with how it came out.
Level52 Studios did an incredible job and we'd recommend them in a heartbeat for all your custom 3D printing/painting needs.
You can visit their website here to learn more about their services.
You can expect a similar, yet more in depth, article about the WORLDS Challenge trophy so stay tuned!
Meanwhile, enjoy these extra shots of the finished Art War trophy!
-Marc & the Cubebrush team
Level52 Studios - level52studios.com