Building Wall Town
Freelance artist Massimo Di Leo attended the animated school of comics in Rome and has worked in animation. His teammate Valerio Bellia is a self taught artist who freelances in characters and environments. The team shared their process of building Wall Town- the 3D FIRST PLACE WINNER of Worlds Challenge.
CONCEPT
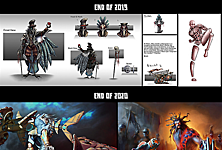
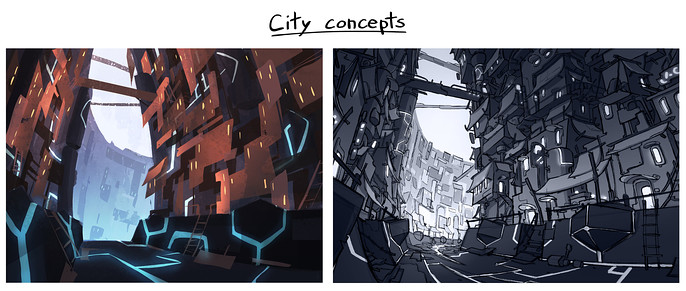
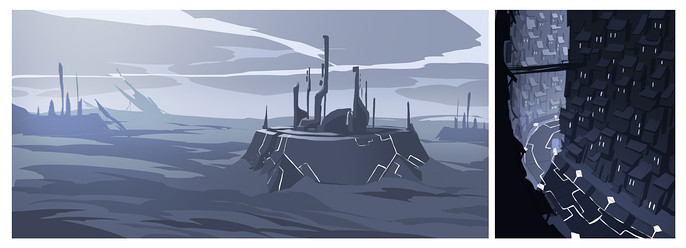
We liked the idea of a city built on the walls of a mysterious structure from the past. We also wanted it to be made with scraps. The whole process started with some concepts for the city and the single houses, and of course for the giant structure.

KIT BUILDING
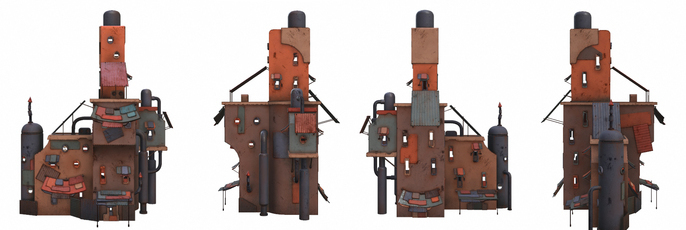
After a more detailed sketch of the city our main work was to break it down in parts and to model all the kits we could imagine. We knew we had to make a lot of buildings, so we made around 14 different houses and rotated them on the y axis would have added more variety.
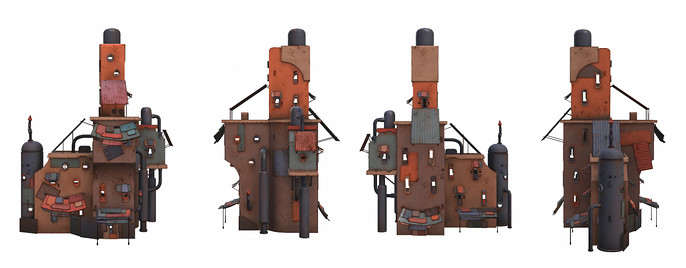
We made kits for metal panels, bridge parts, platforms, supports, sheds, railings. Kits were made to give us a lot of freedom when assembling them in Unity. It was mainly modeled in Maya, but the more complex shapes were sculpted in Zbrush and retopologized in Maya.
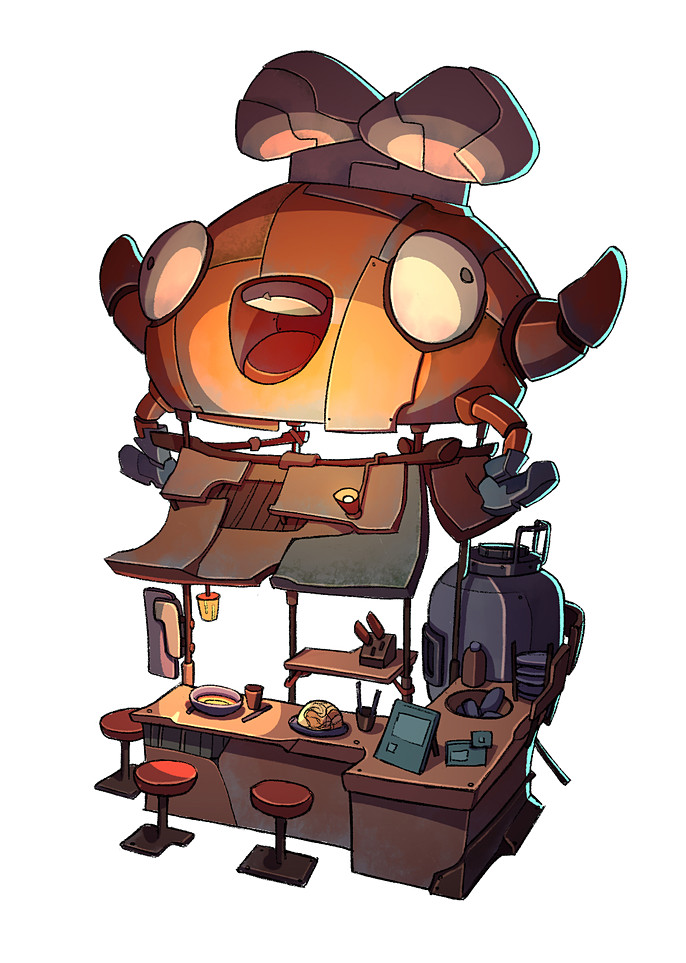
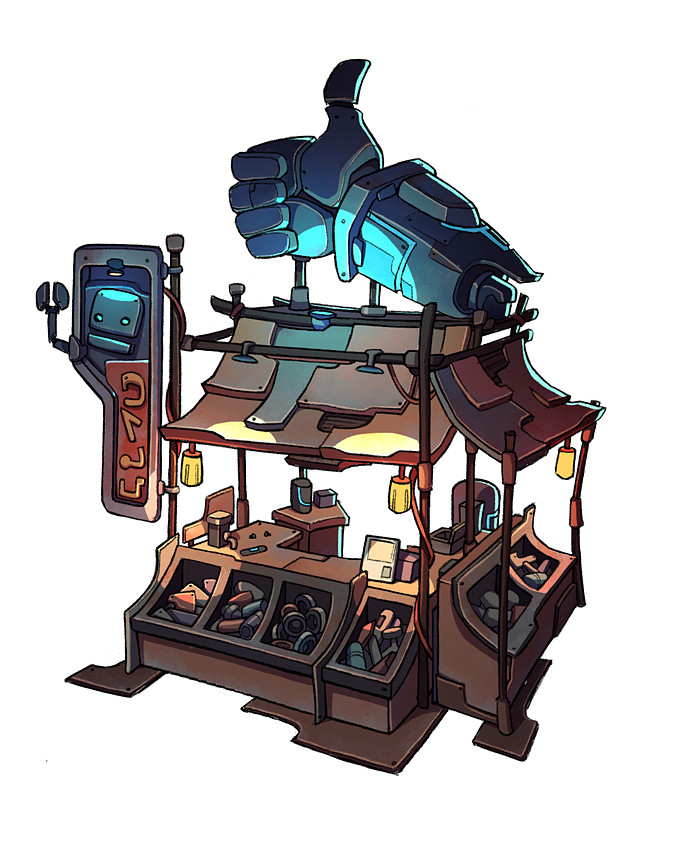
Balconies and walls were detailed by adding windows, vents, railings and sheds over them and we combined some metal plates to further detail some areas. We also created prefabs for stairs, shops, and bridges.
In this way it’s easier to manage all the kit parts. To populate our city; this really helped us to speed up the process. First we positioned the buildings then we made the platforms on which they stand, then we connected the sides of the city with some bridges.
We did a timelapse video to exemplify the construction of a little diorama with our kits.
At the same time it was very important to define the shot for the final image because when building the city we had to put more detail on the parts which were closest to the camera.
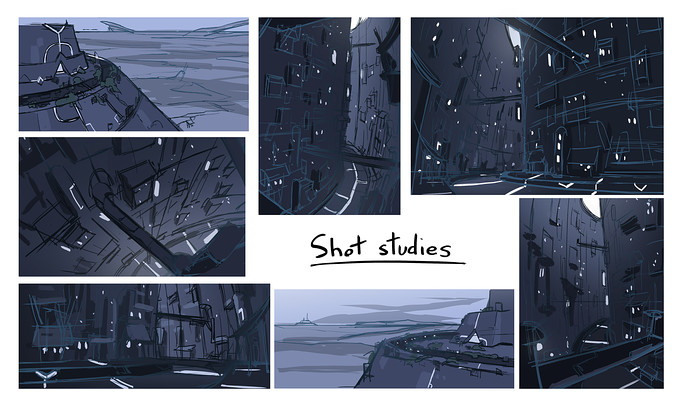
TEXTURING
After modelling the kits we had to texturize them, keeping a consistent workflow.
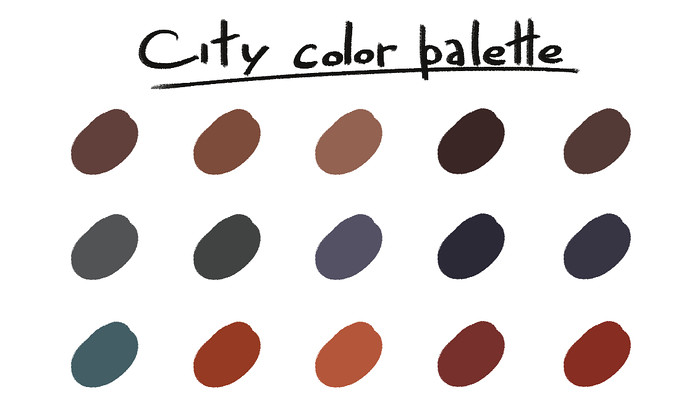
We chose 3D-Coat to texturize and we used a mix of Smart Materials and hand painting. The first step was to create a color palette for the city. We wanted to use some desaturated colors, mixed with some orange and red bright colors, to give this “collage” look to buildings and panels.
A short timelapse video which shows the texture painting process
LIGHTING
A huge part of our work in Unity was about lighting the scene properly because it would have determined the overall atmosphere of the piece. Unfortunately, we didn’t have time to do lighting studies on the concepts, so we had to experiment directly into Unity. We started placing some fog then lighting up streets and shops with point lights and, finally, enhancing our image with some post effects, like bloom and depth of field.
Here is a little gif of our process from start to finish!