The Making Of "Morning After the Rain"
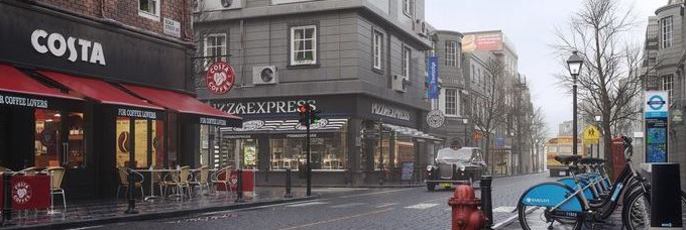
Indian artist Shabeer MV recently put together a fantastic walk-through on how he created his gorgeous piece 'Morning After the Rain' using 3ds Max and the Corona renderer.
Shabeer is a CG artist from India, and lead artist at a British construction consultancy company in Qatar.
Let's hear the rest from him directly, sit tight and enjoy!
Let's begin!
Inspiration
The "after rain" concept is nothing new – I had seen images from Zhang Naigang and Marek Denko on the CGSociety forums years ago. I thought it would be nice to make a work with a similar ambiance one day, so I put their images into my "to-do" folder where I collect references for later use.
Recently, I decided to test drive Corona Renderer. After doing some simple scenes I was impressed by the workflow and quality in Corona, so I thought "Why not tackle a technically demanding scene?" That's how these images made their way out of the "to-do" folder.
References
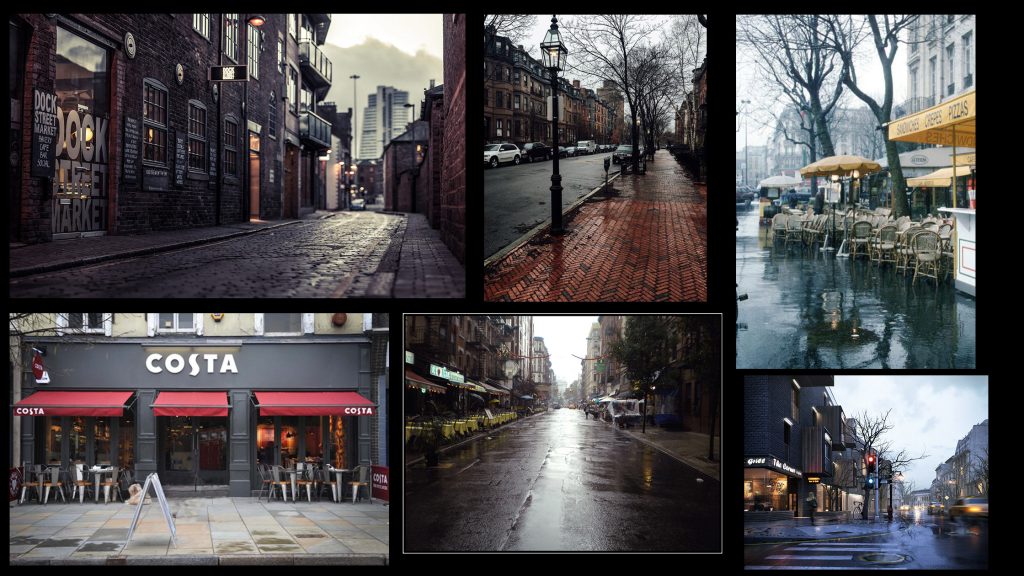
With the inspiration in place, the next step was to gather some references. I started collecting photos of European streets. Googling "after the rain street" gives lots of beautiful photos, as well as other 3D renders.
Layout & Lighting
Without any plan, I quickly blocked out a narrow street with buildings on both sides and set up a camera and the lighting. The main source of light is just one 'overcast sun' HDRI map.
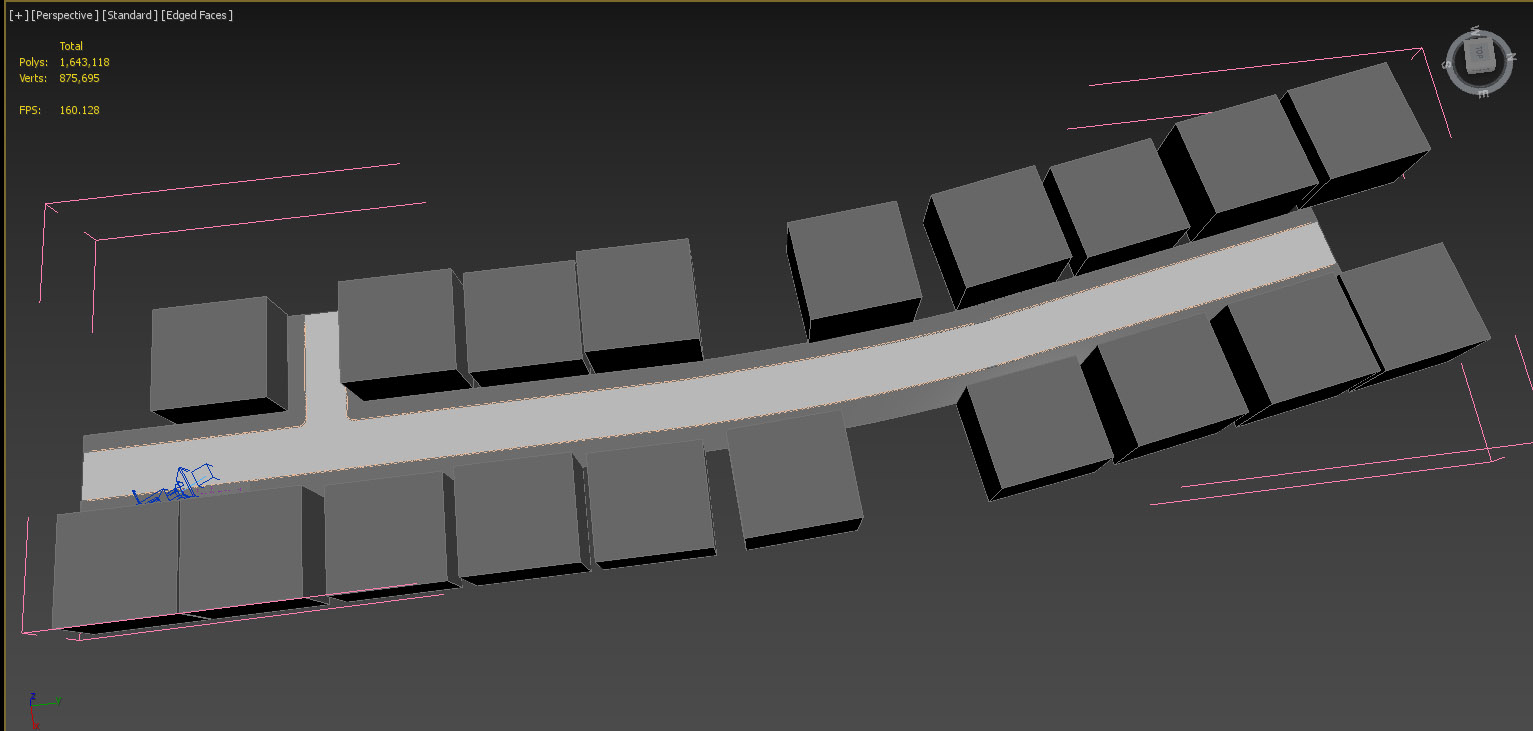
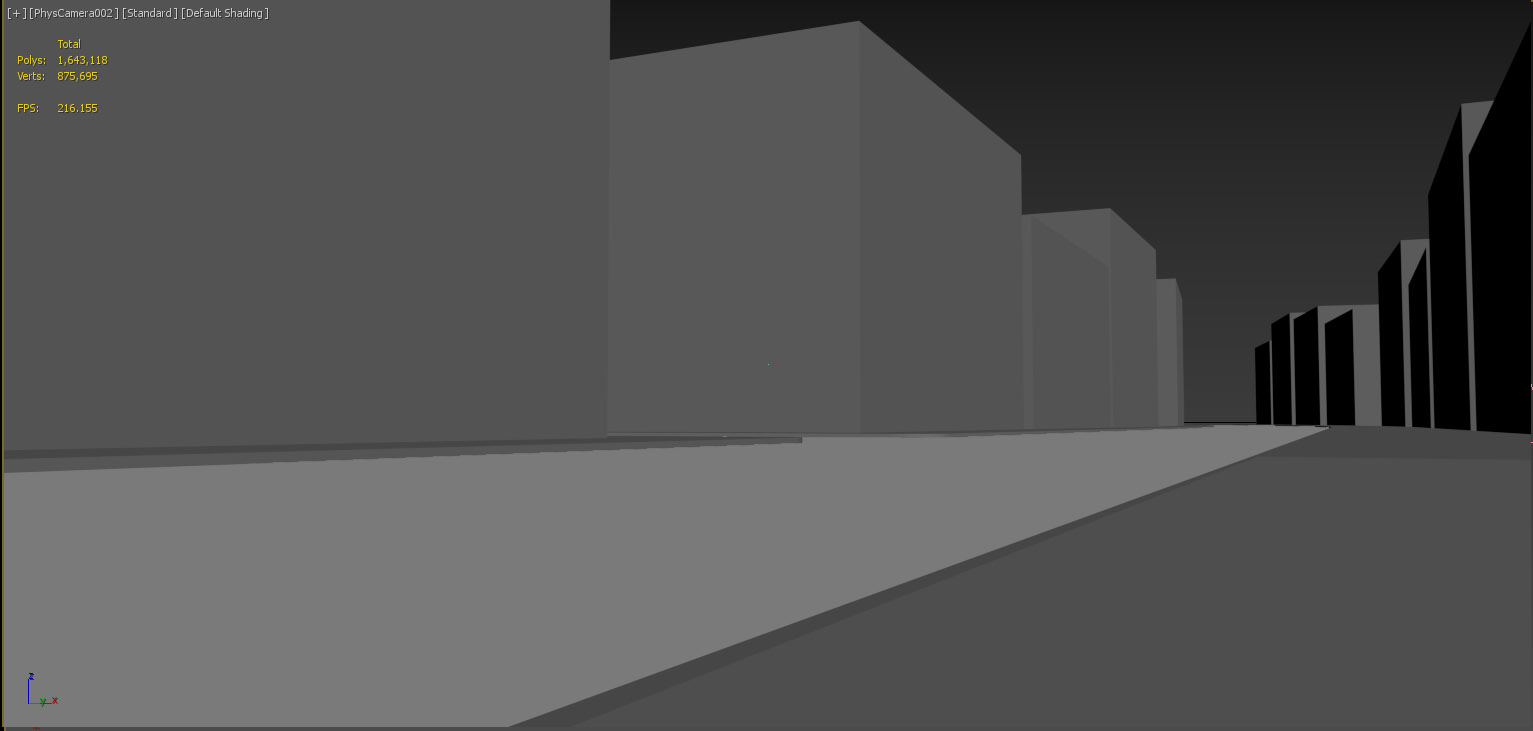
Modeling & Materials
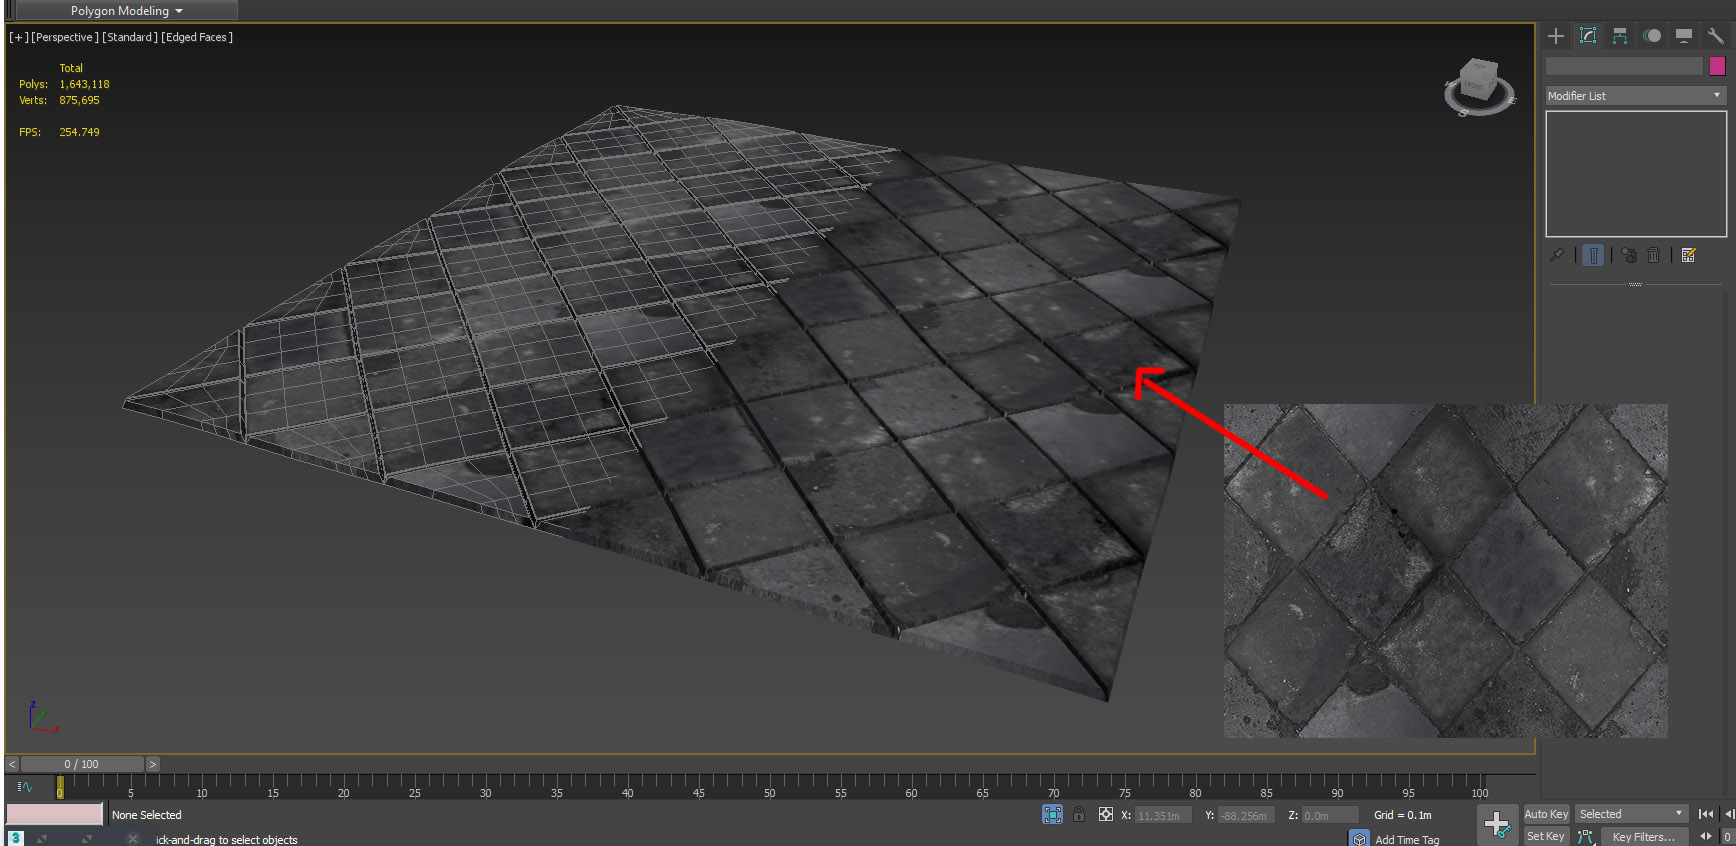
As I usually do, I started with the foreground, which is the pavement and the road. Since we want to have pools of water, the pavement needed to be irregular.
Modeling was straightforward. I first found a texture and extruded a plane with segments that matched the tiles, then added noise to give some slight irregularity to the tiles. A plane with water material was added on top to fill the dips with water:
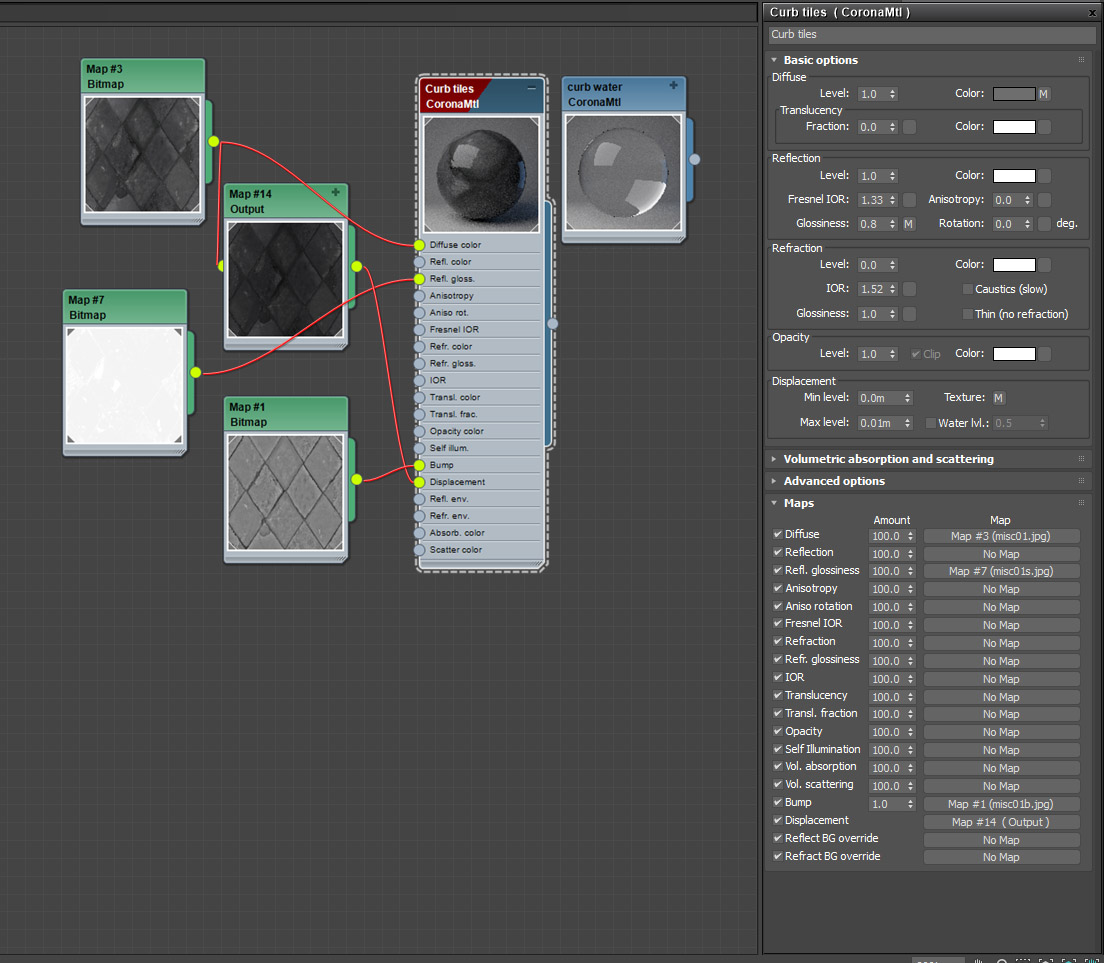
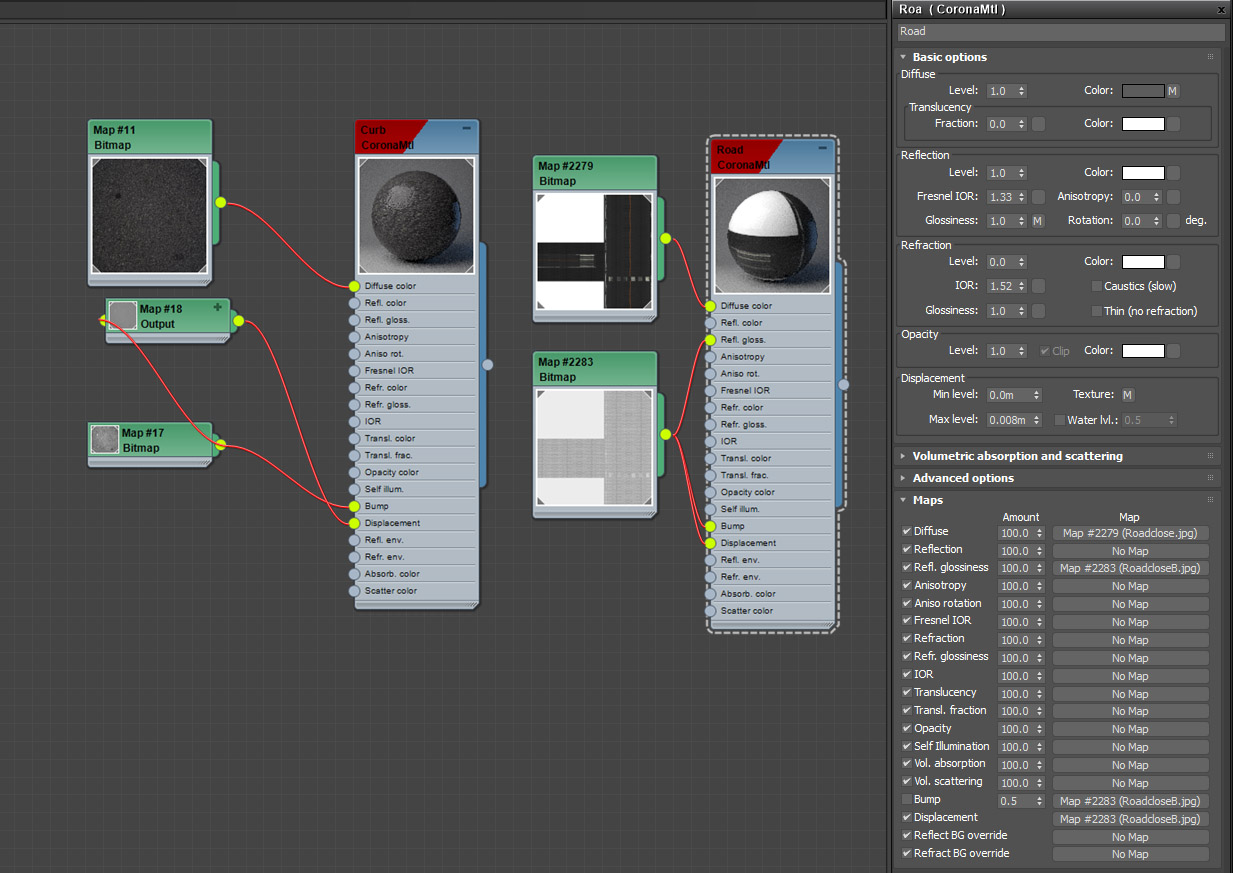
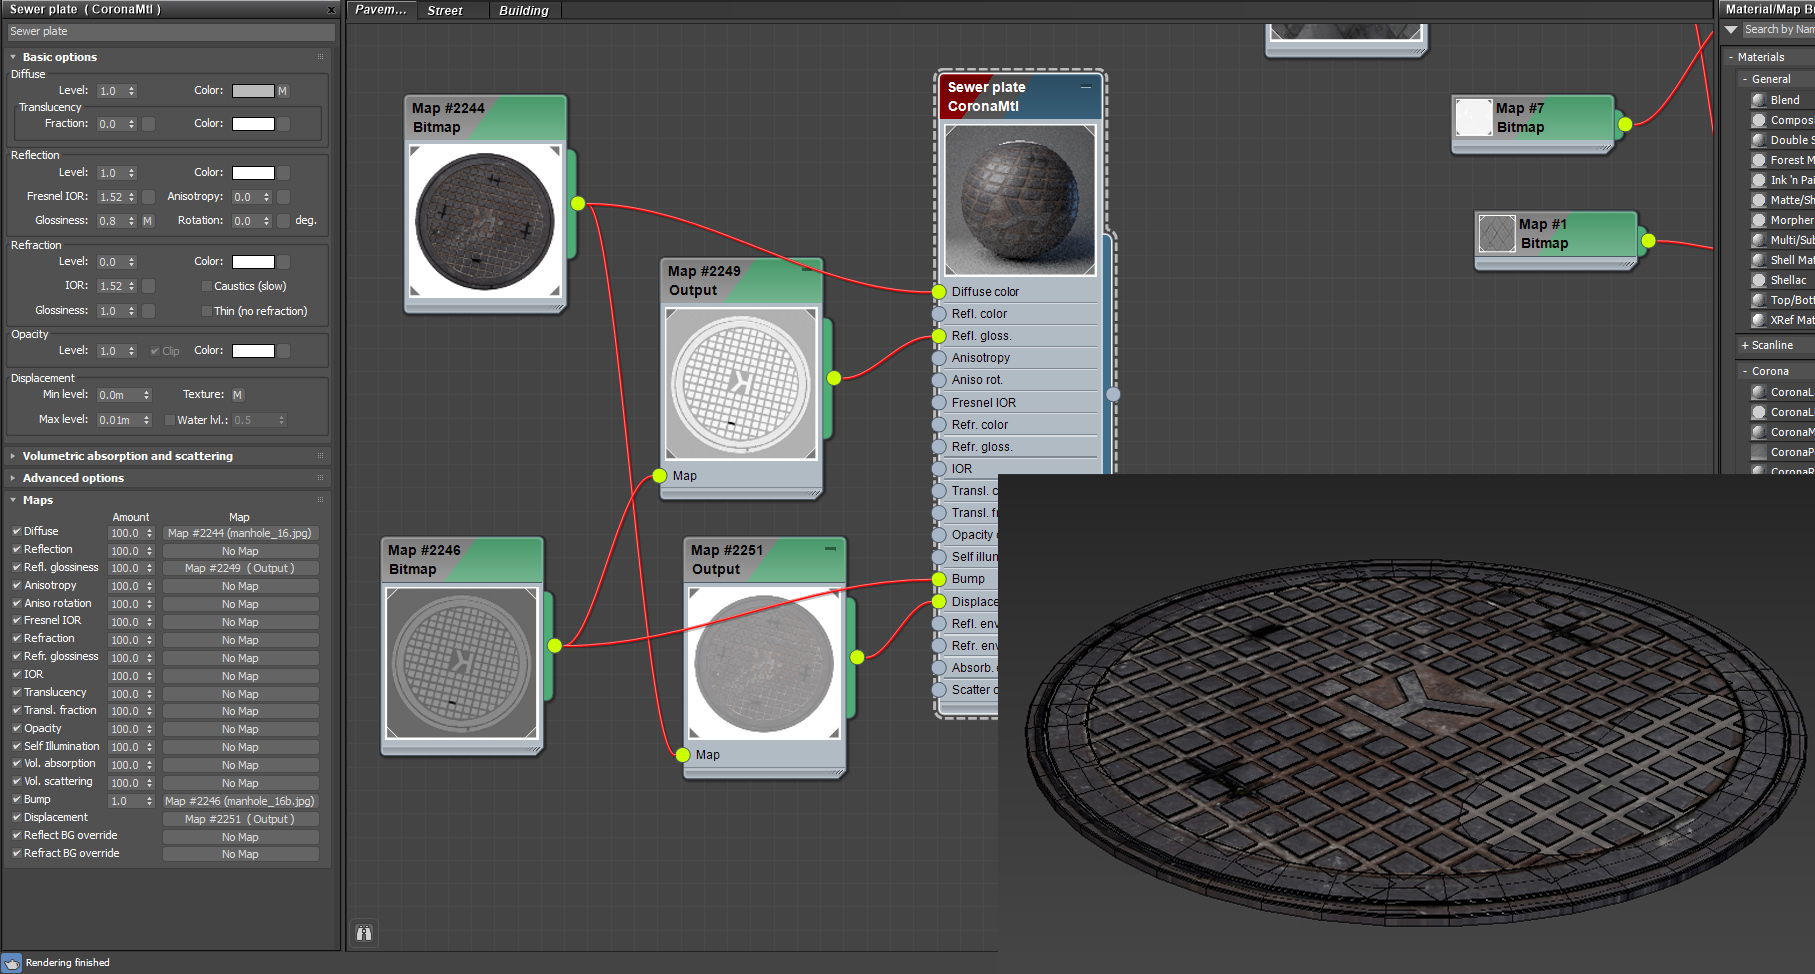
Creating the materials took up the largest part of the time. All the textures needed to be saturated and darkened – the key here is to add reflection to everything with an appropriate glossiness. The foreground materials also have displacement for the fine details:
The curb was done in the same way and rail-cloned along the road:
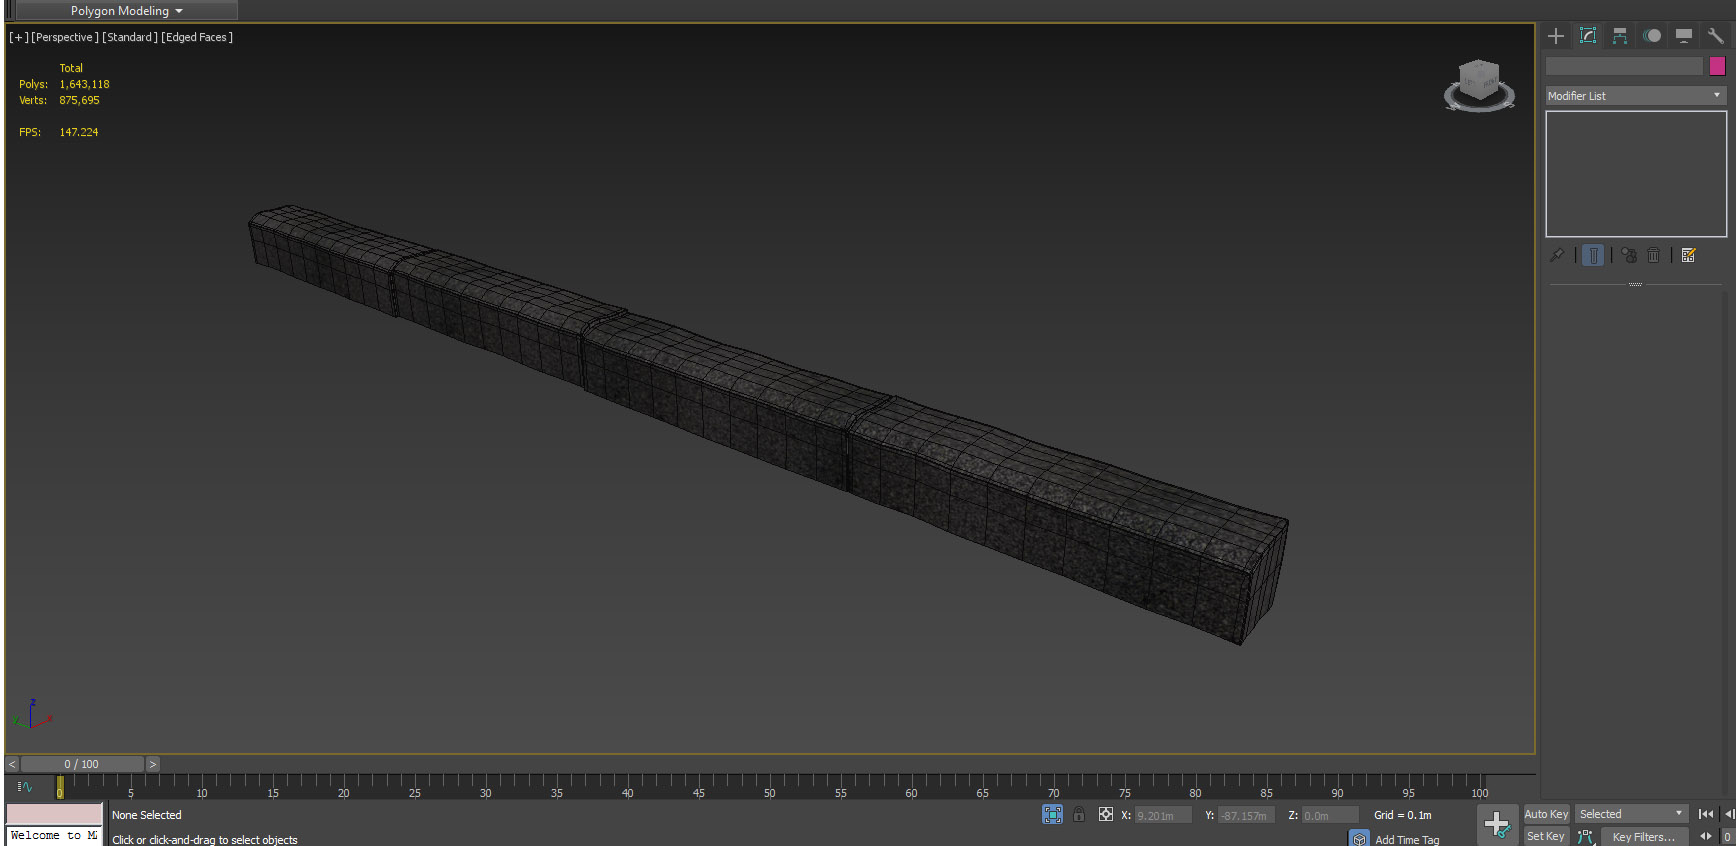
There's not much modeling on the road other than moving some vertices down to create the pools:

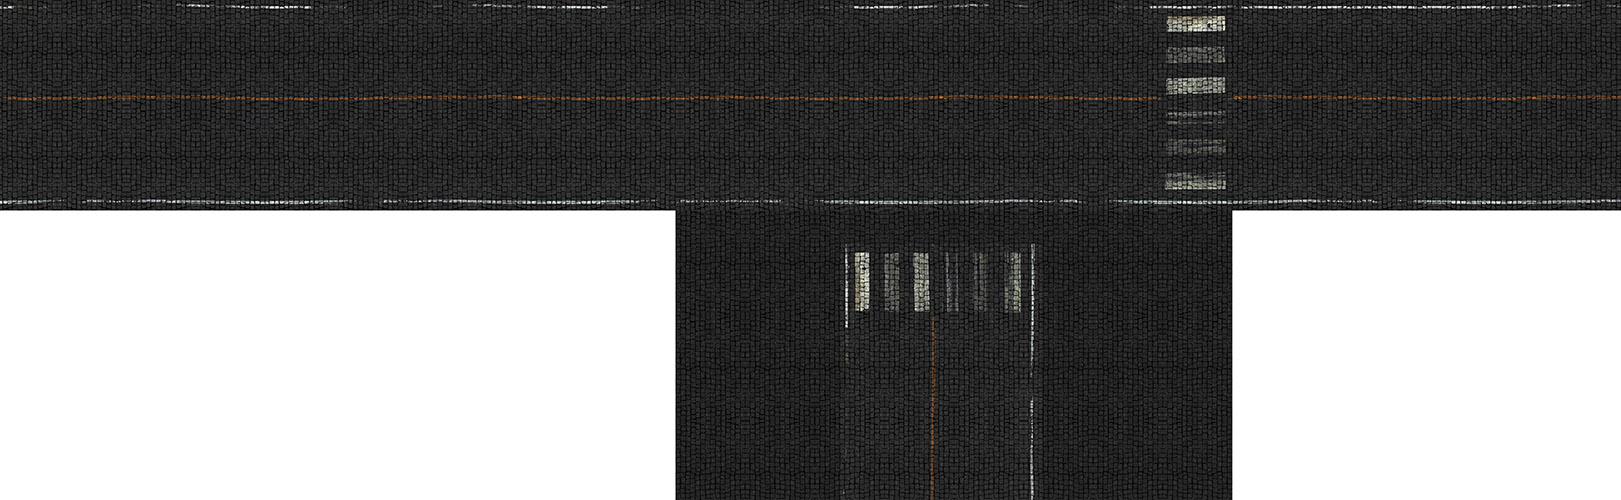
All the details are in the texture, which was 20000 x 6000 to get the fine details:
Here's a look at the texture map for the road:
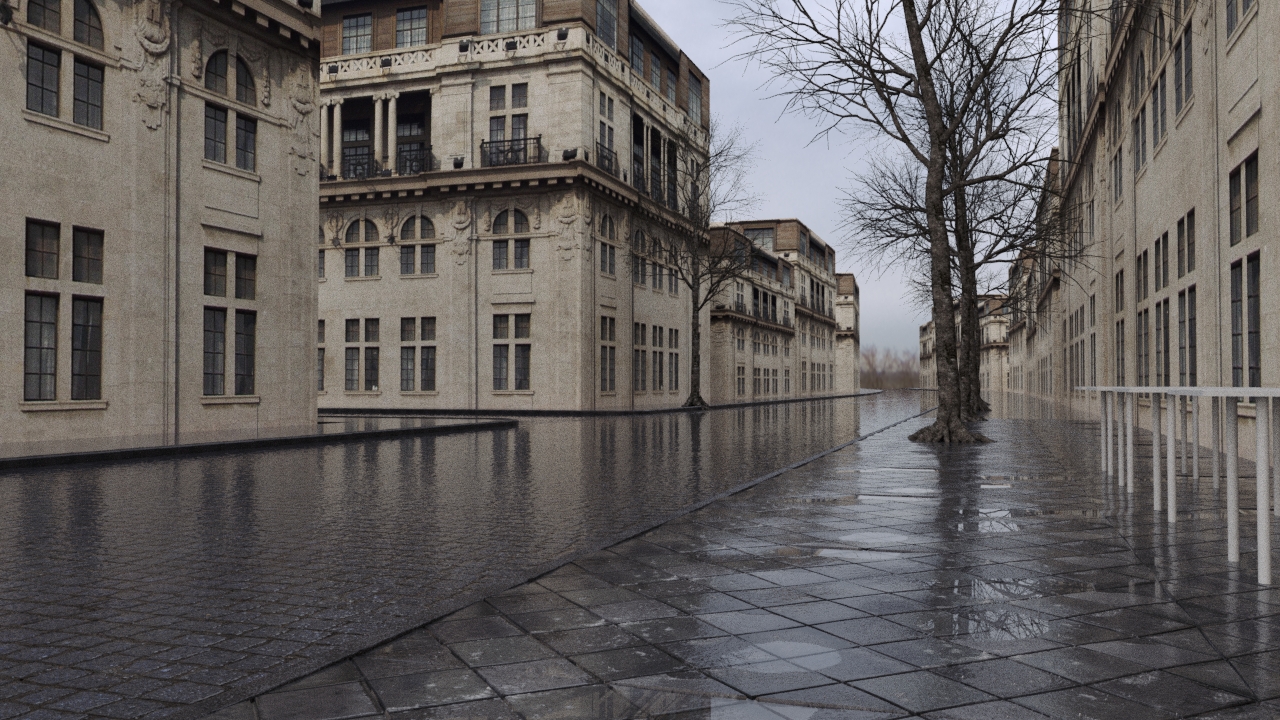
Here is the first test render from this stage, where I also added some trees to get a feel of the atmosphere:
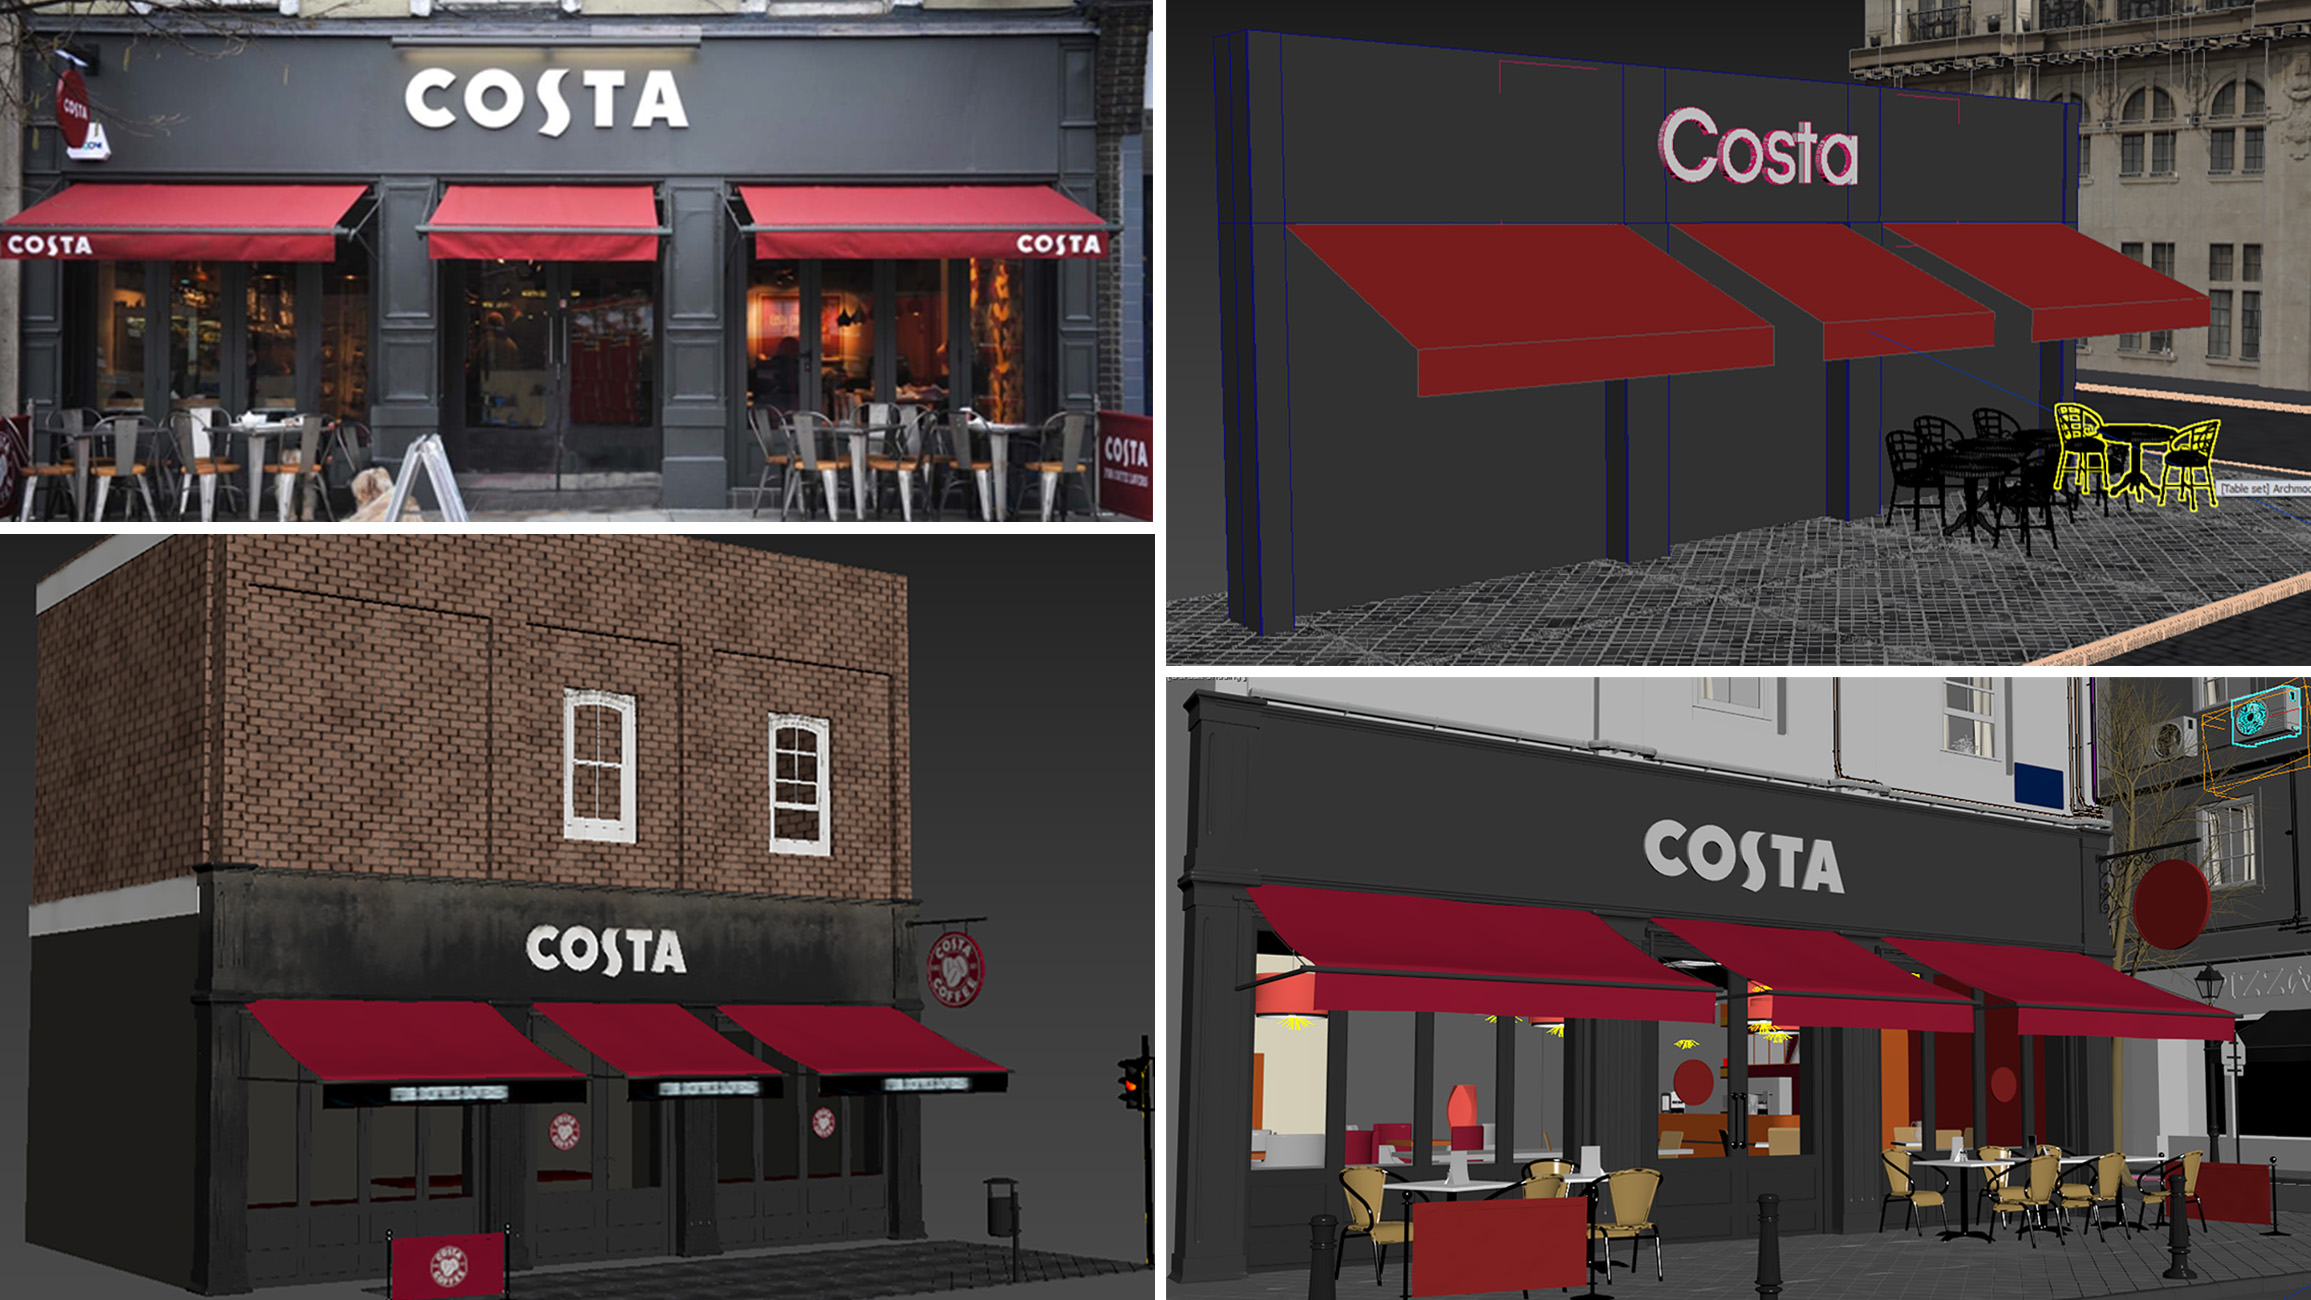
Now it was time to start populate the scene. I started off with the 2 foreground buildings. The Costa store was modeled from a reference, as seen below:
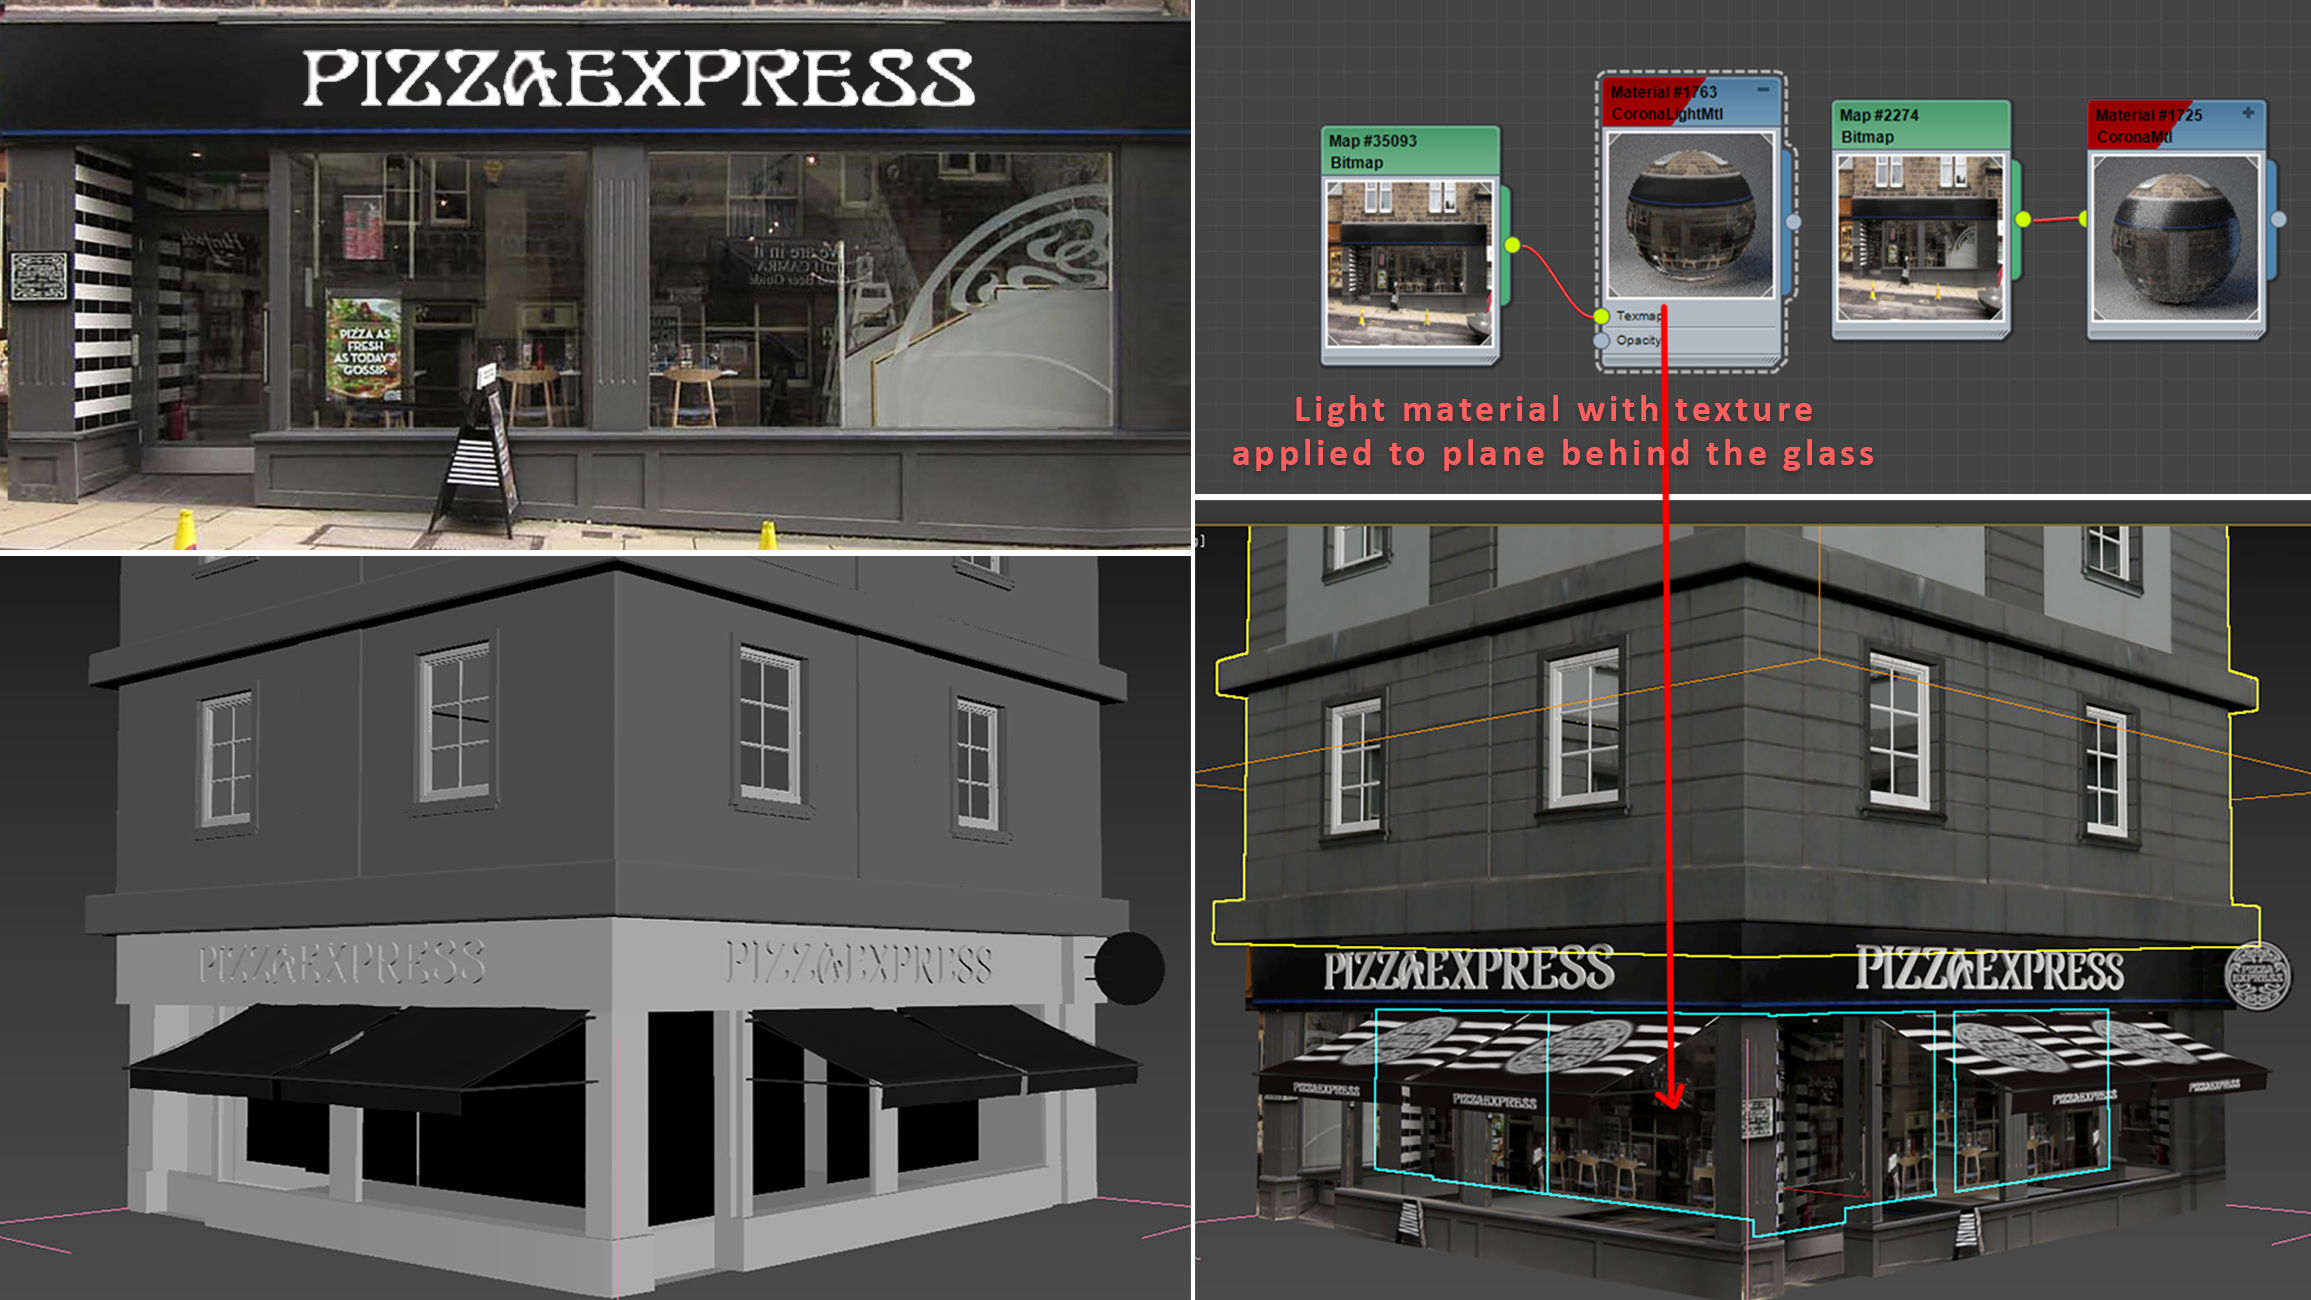
Here was the pizza shop. In this case, the interior is just a texture map on a CoronaLightMtl:
Additional lighting was added inside the buildings to help the water reflections on the street. They are just basic Corona lights:

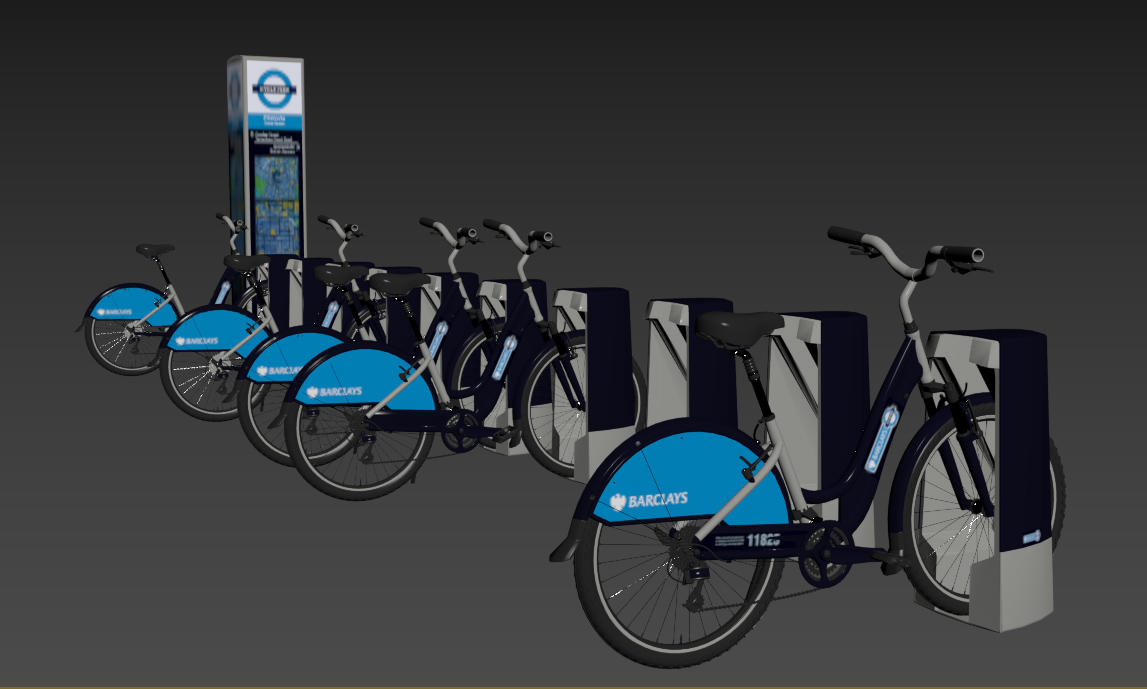
Some street props I modelled myself and others were modified models from various websites that offer free models:
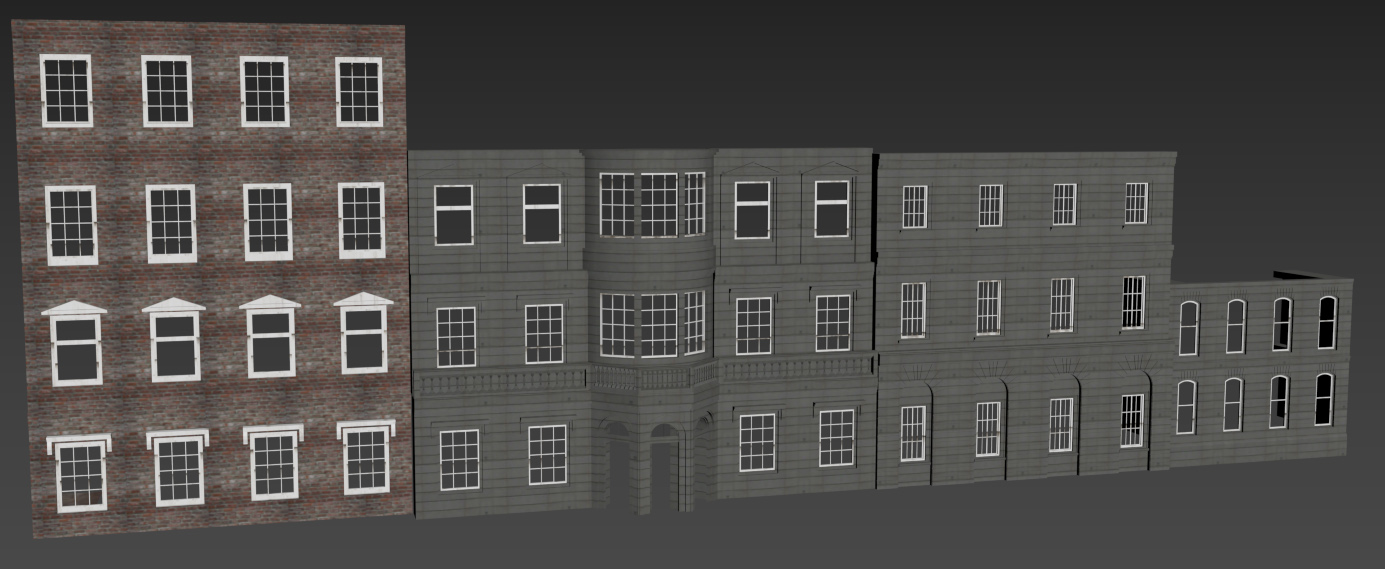
With those props added, it was time for another test render:
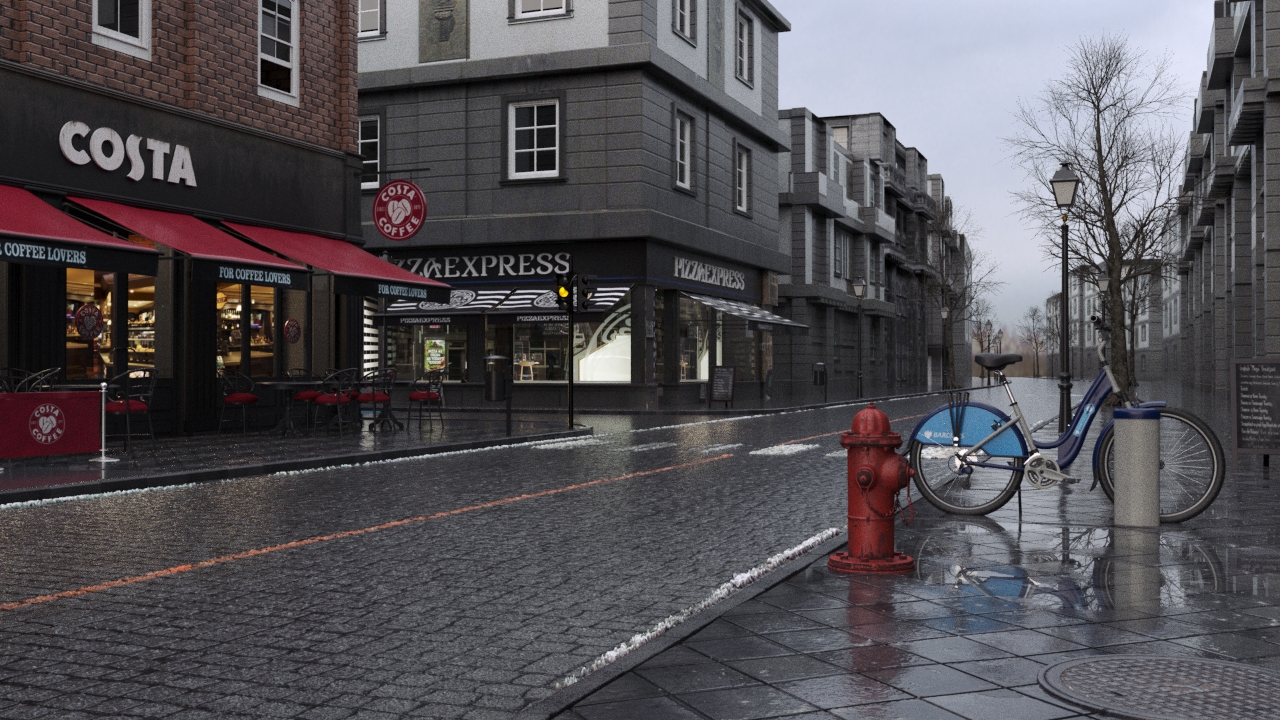
It's almost there! Now time to add more details:

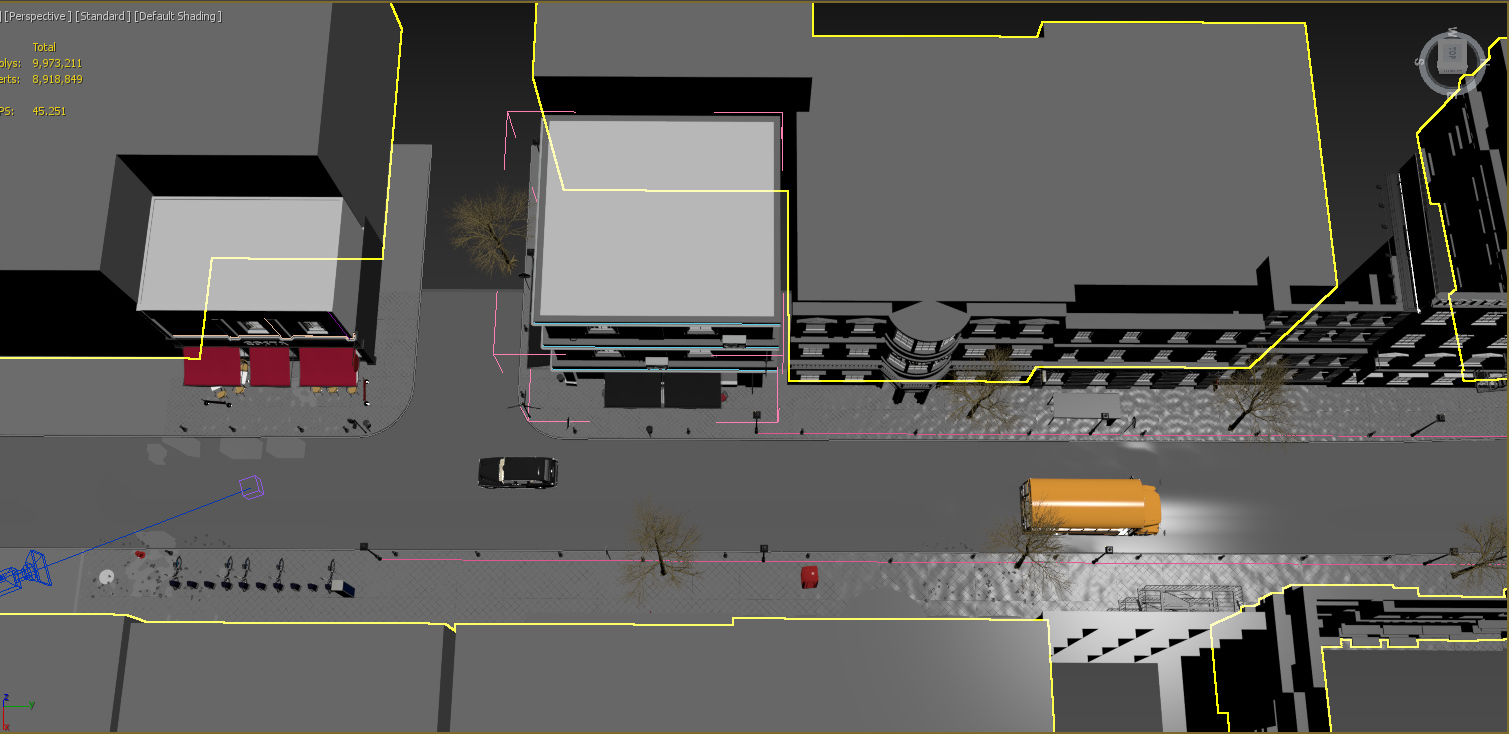
Render Settings
There is nothing to say about the render settings, as nothing is changed from the default Corona settings – goodbye to tweaking material/light/shadows samples!
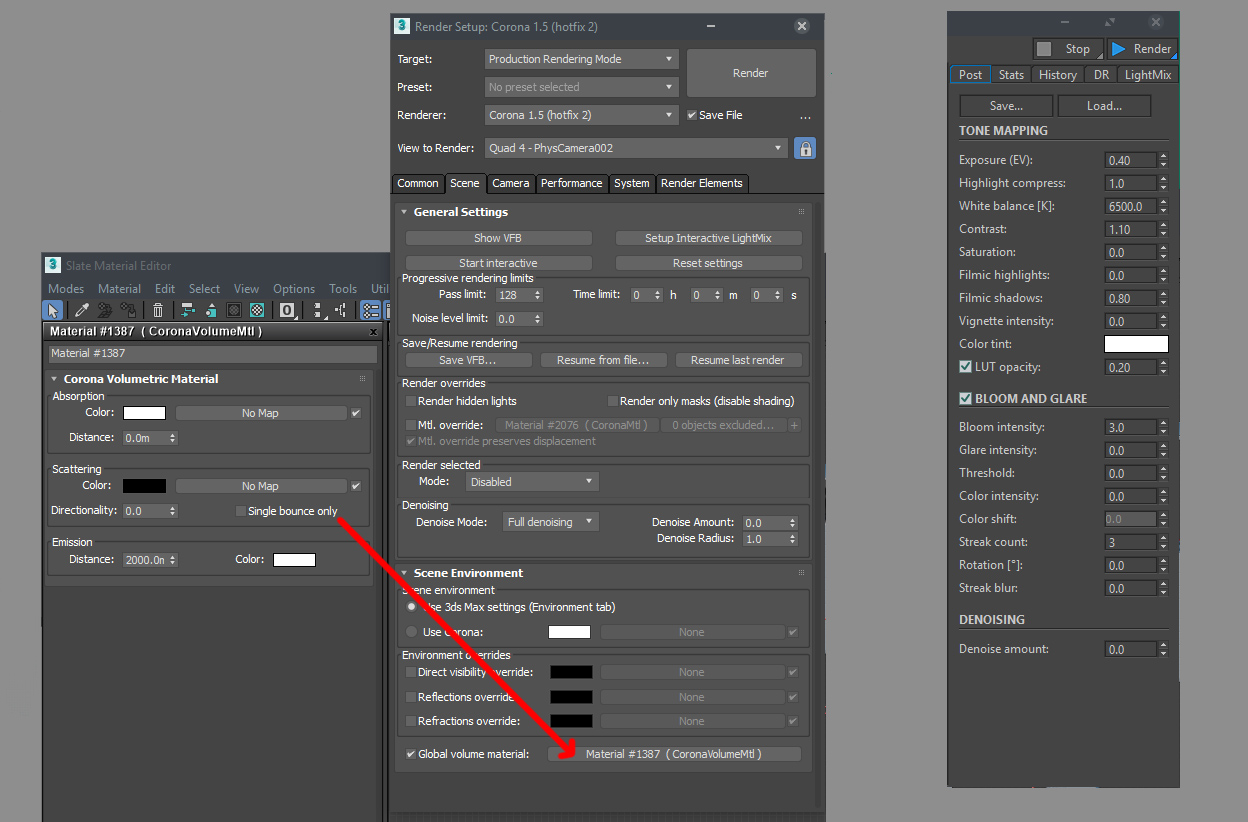
Volumetric fog was added to get the 'morning' look, and I applied some LUT & color correction in Corona VFB:
Here is the final clay and raw render:

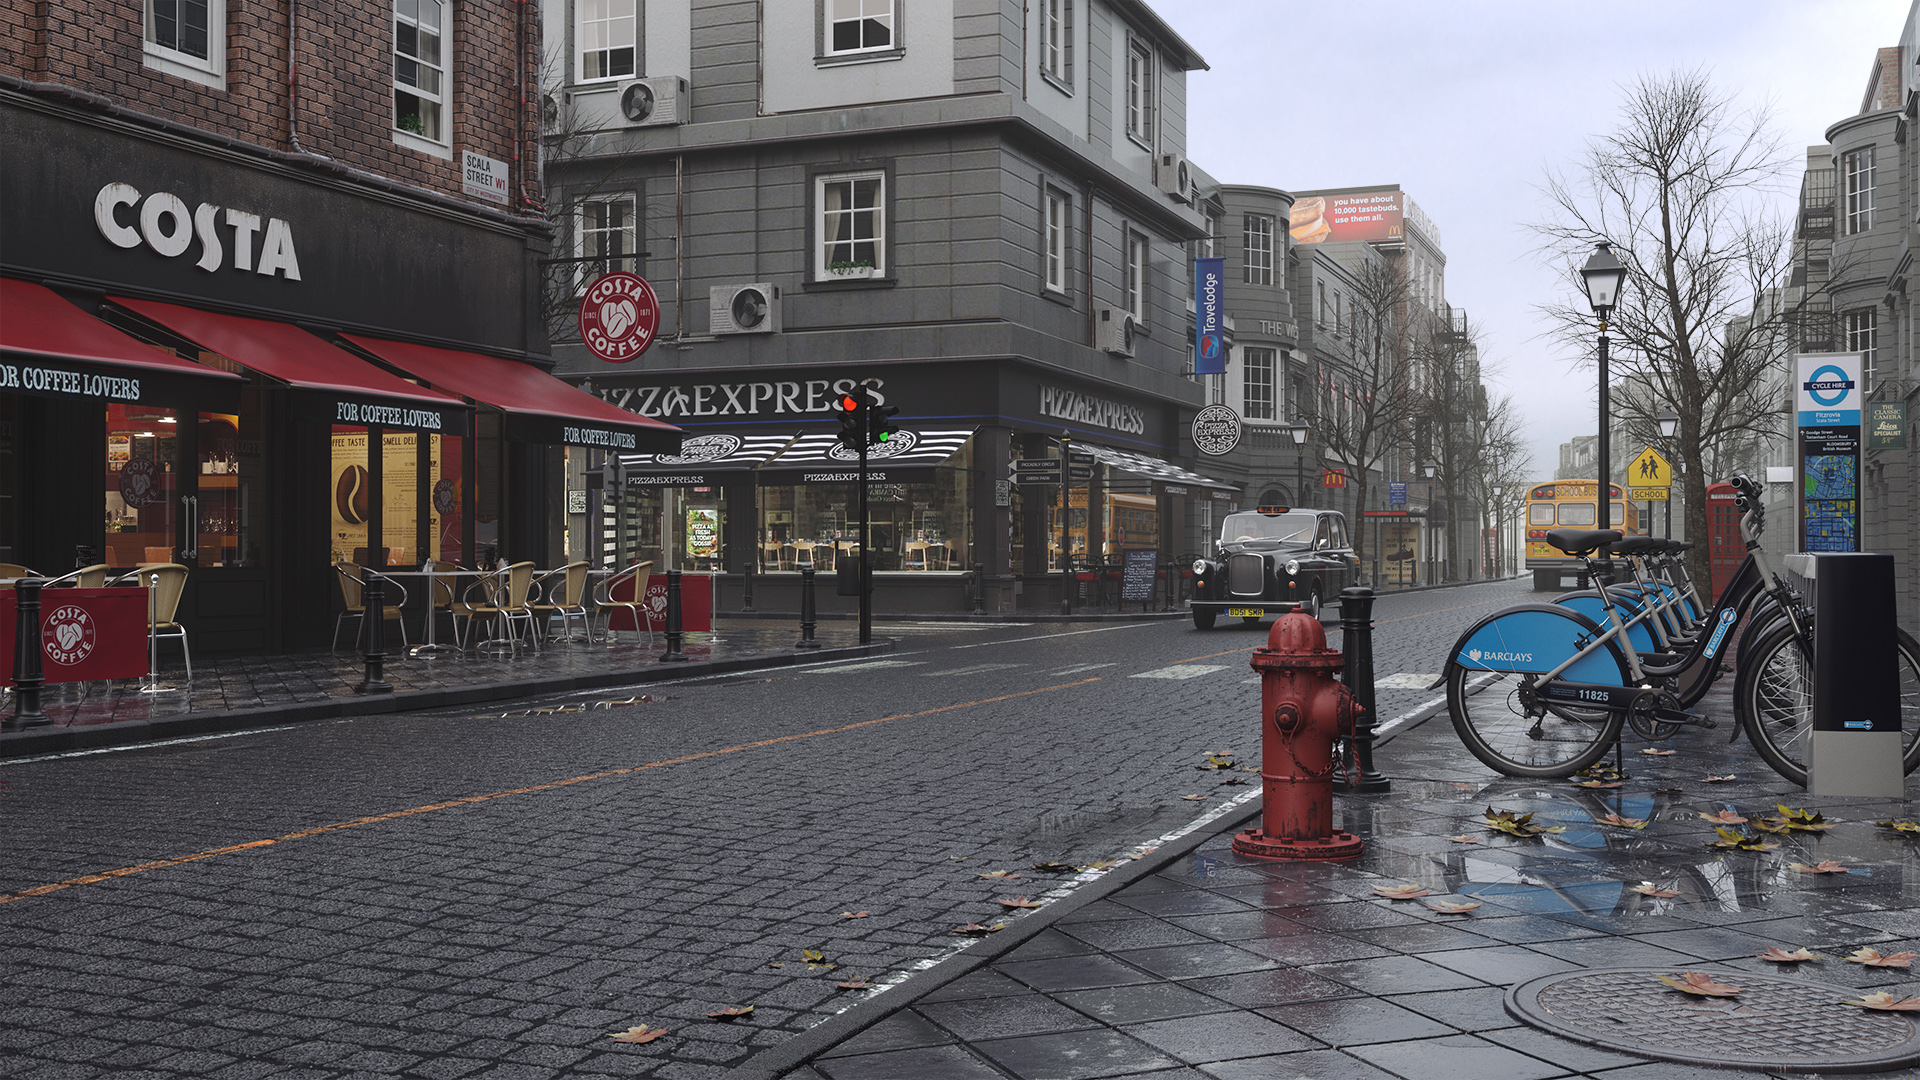
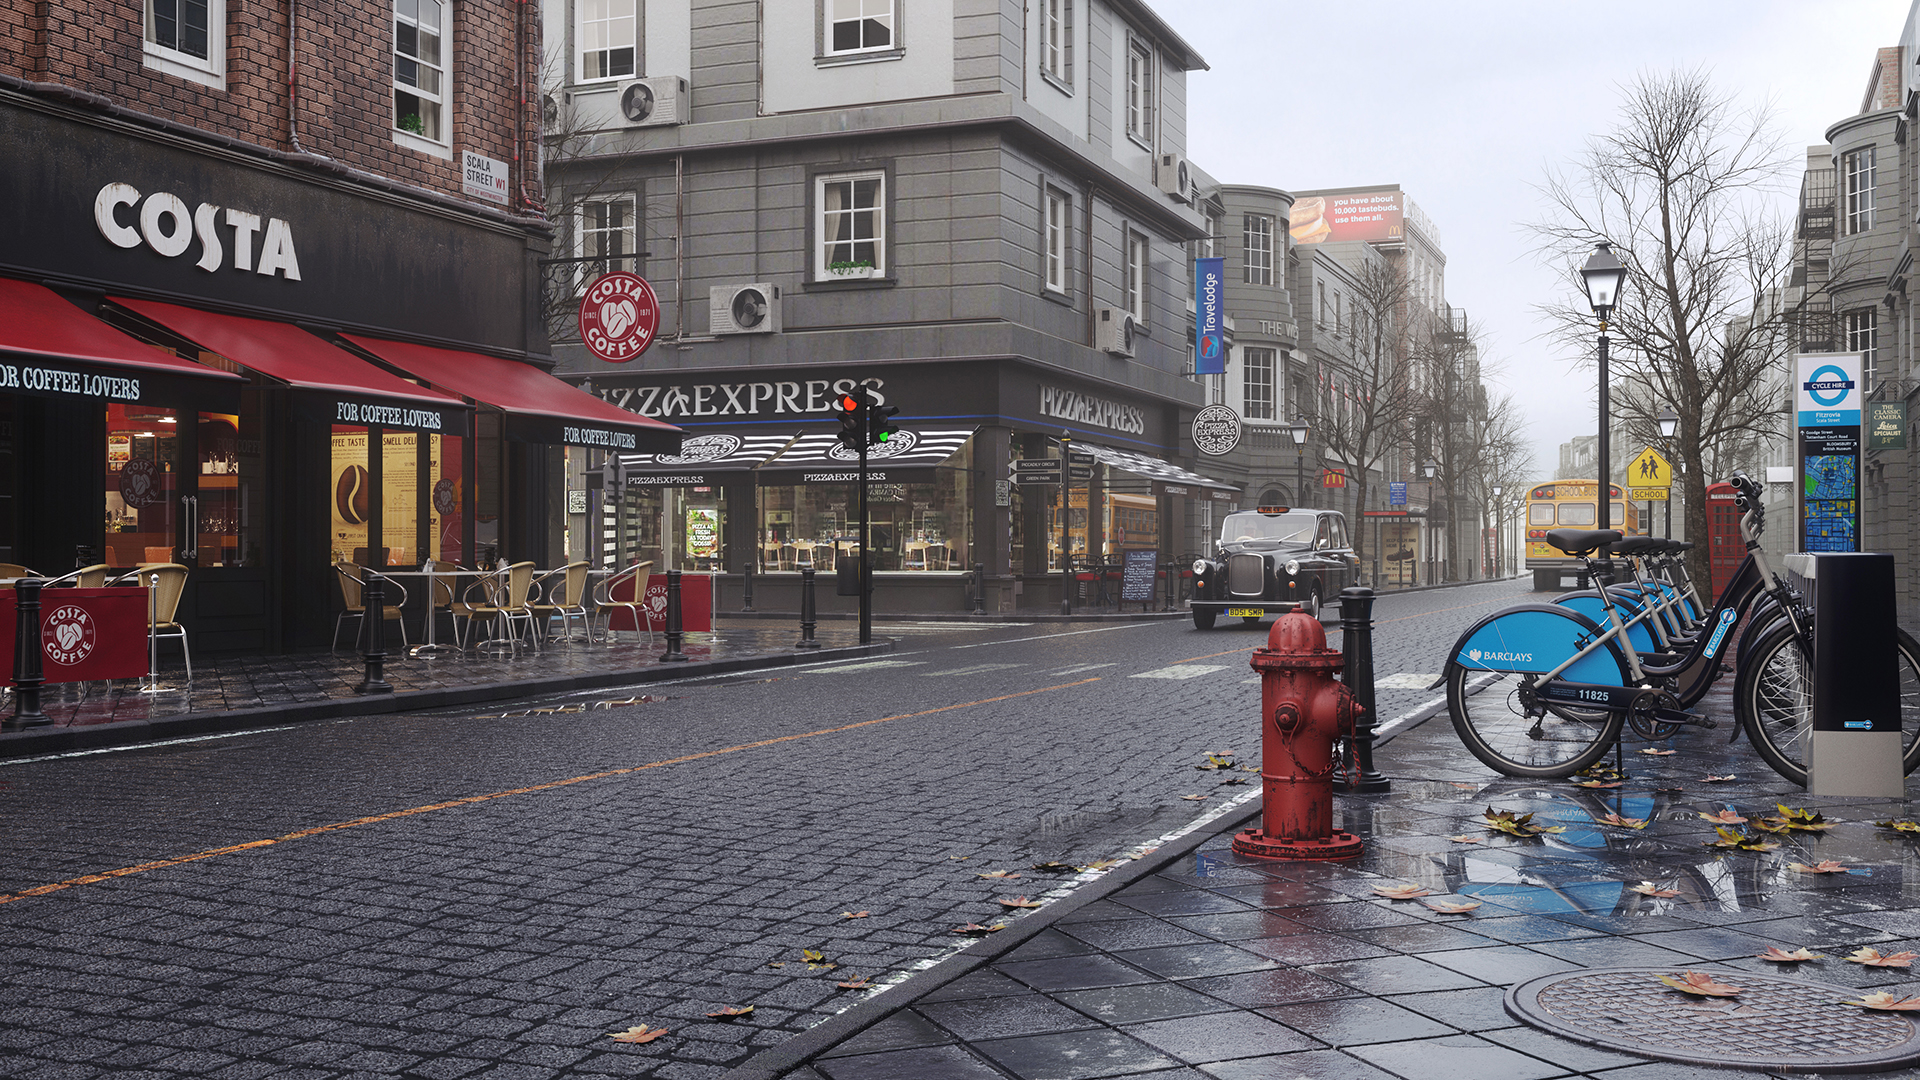
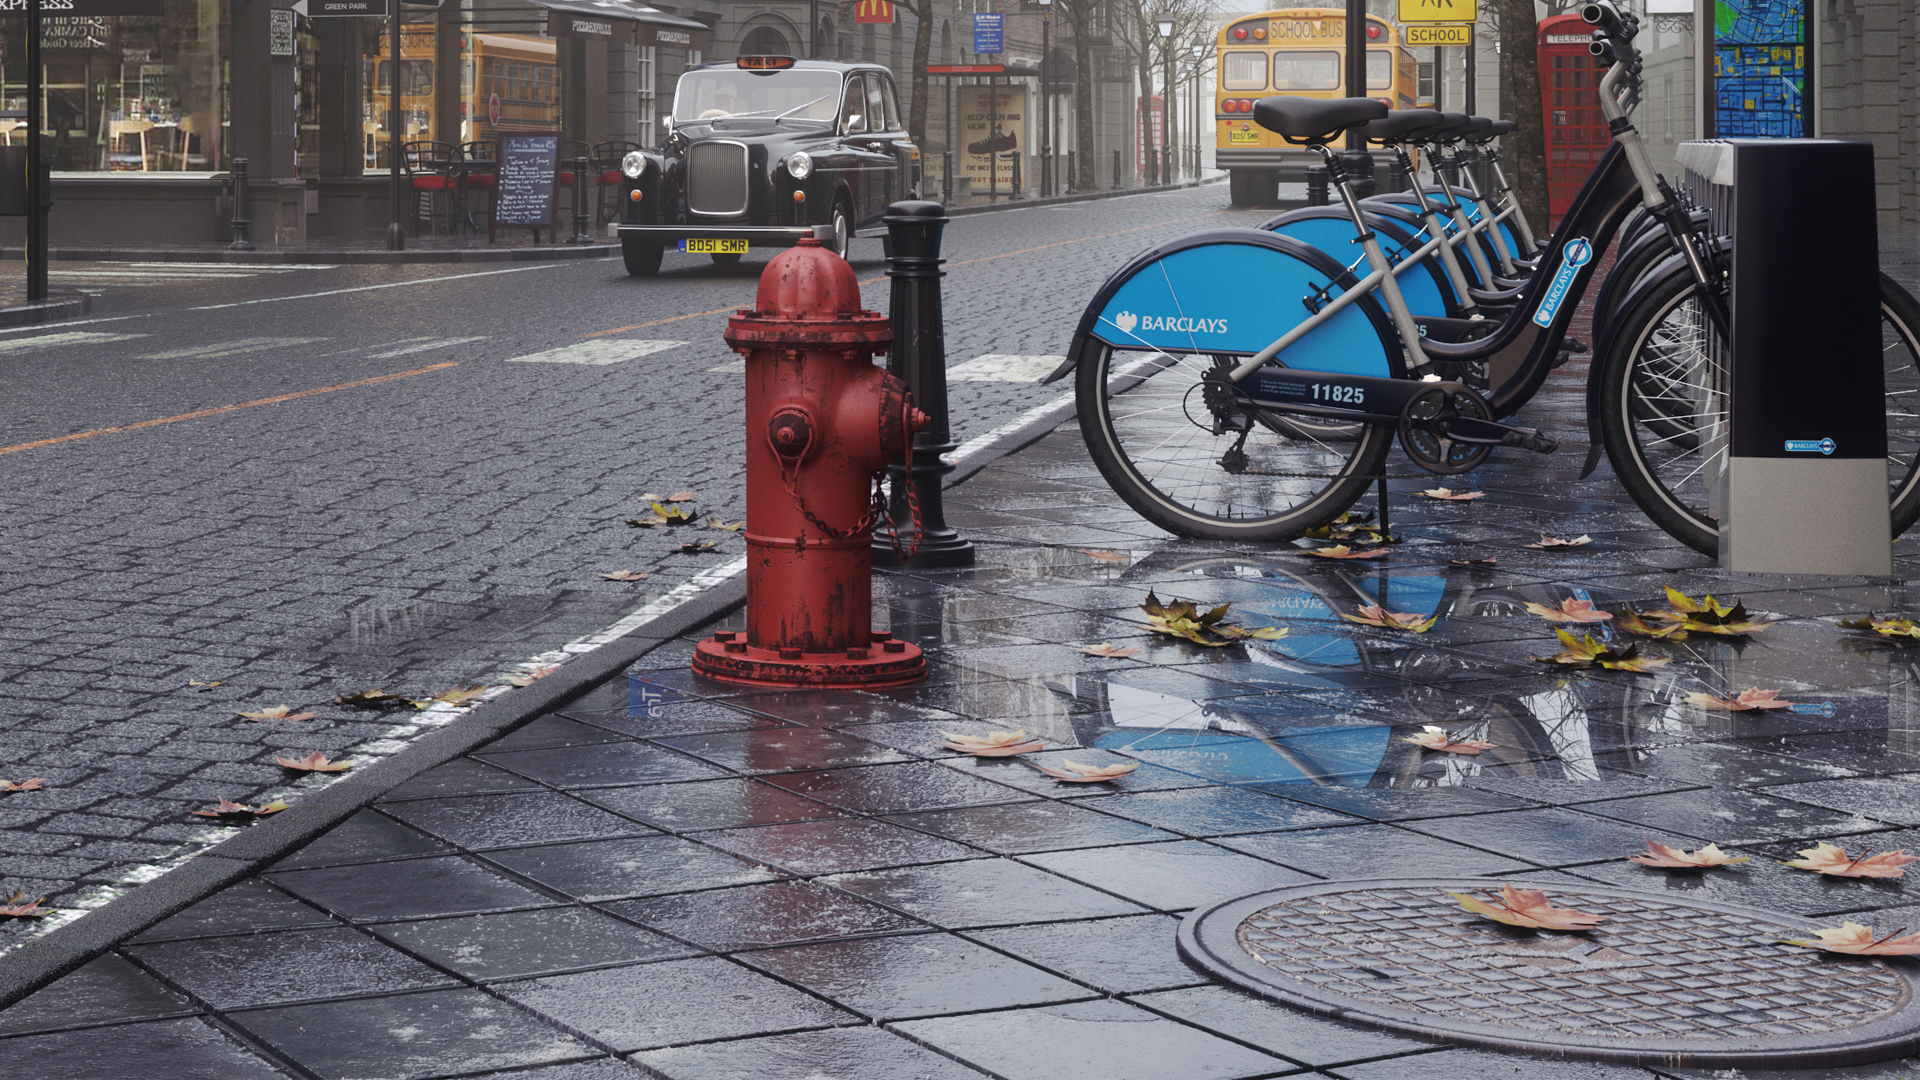
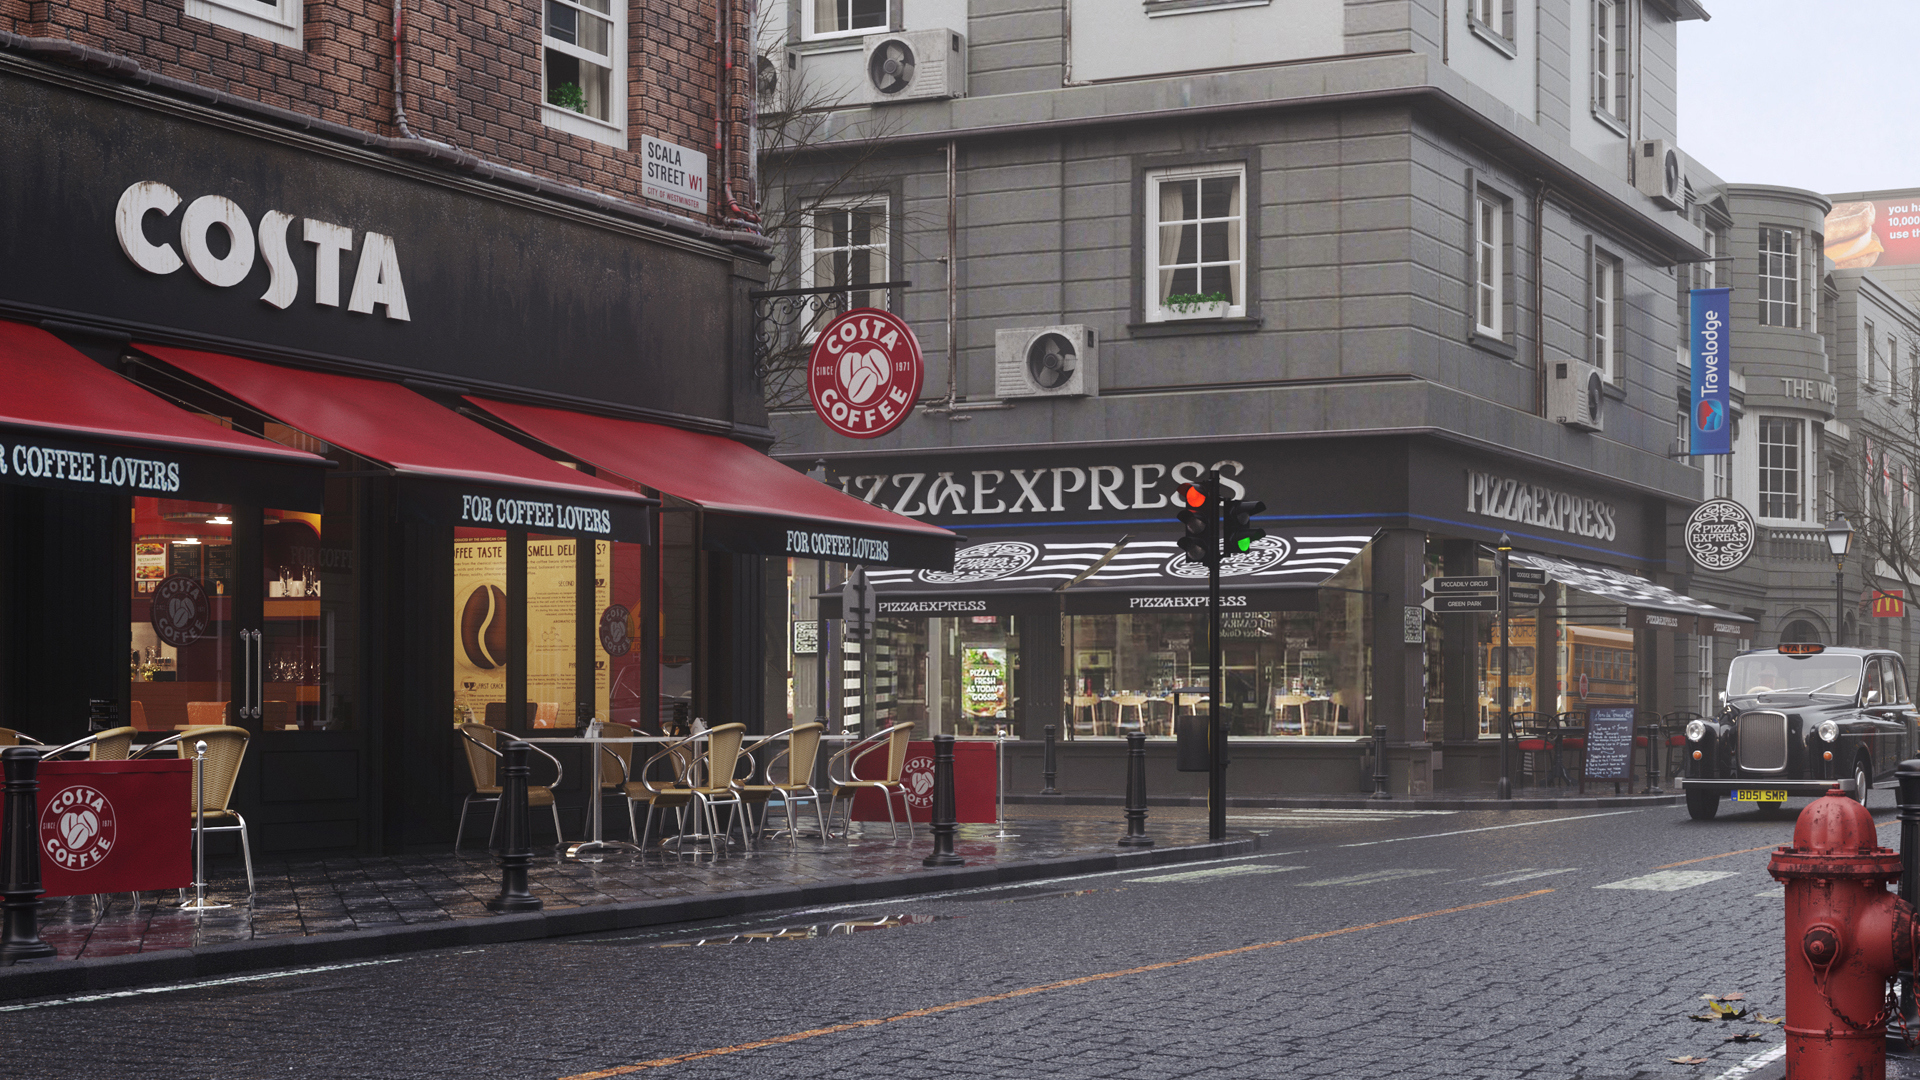
Then to complete everything, some color correction and grading in Photoshop / After Effects:
Shabeer MV:
artstation.com/artist/mvshabeer
mvshabeer.wixsite.com/3dartist
Source - Corona Renderer