The Making of 'The Devoted' 3D Environment
Current animation art student, Marcus Johnston takes us through his creation of 'The Devoted.'
This is Johnston's first time participating in a CG competition. He goes into detail about the importance of communication within the team. Johnston also explains how he used Marmoset, Maya, Zbrush and Substance Painter to add important details to the piece.

Hello there, my name is Marcus Johnston, my good friend Kuno Srilapan and I are students of Animation at the University of Lincoln. I decided to take part in the Cubebrush Worlds challenge to push myself in seeing how I could stick to a deadline and further learn about the tools I could use in environment production, especially along the lines of games development.
Before actually entering pre-production, I felt it vital we thoroughly examined the brief, not only to make sure we were sticking to it but if there were any key words or points that we could really delve into and analyse to use for starting points to ideas; after all, your idea in the first place is the basis of everything and a solid foundation is important. A creative and unique idea can carry you through an entire project, especially if you have troubles motivating yourself through a long one.
After talking over a few ideas together we settled upon the concept of ‘The Devoted’. While having an idea is great, thinking about how you’re going to achieve it, even at such an early stage, needs to be considered to relieve a lot of potential headache further into the project. ‘What do I know how to do?’ ‘What do I not?’ ‘Will I be able to solve this problem?’ ‘How long do I have to solve this problem?’ All of these questions must be asked.
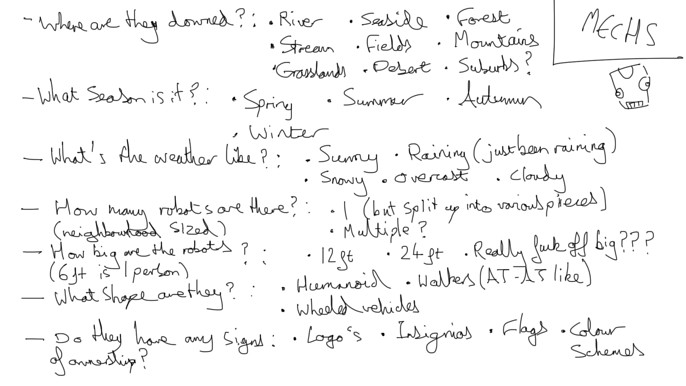
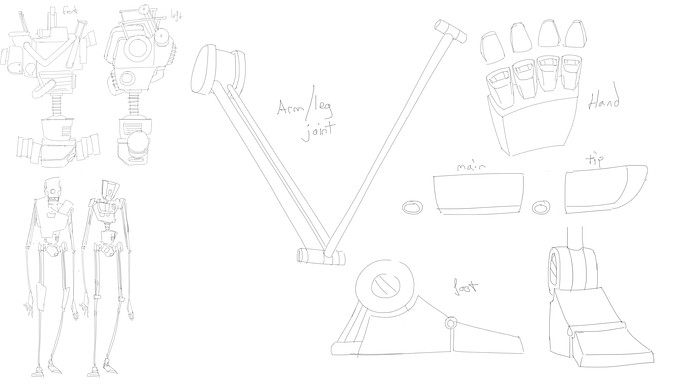
These horrendously scribbled notes go through much of that thought process.
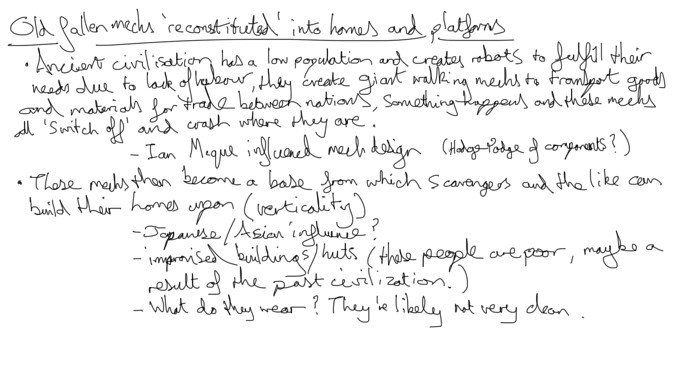
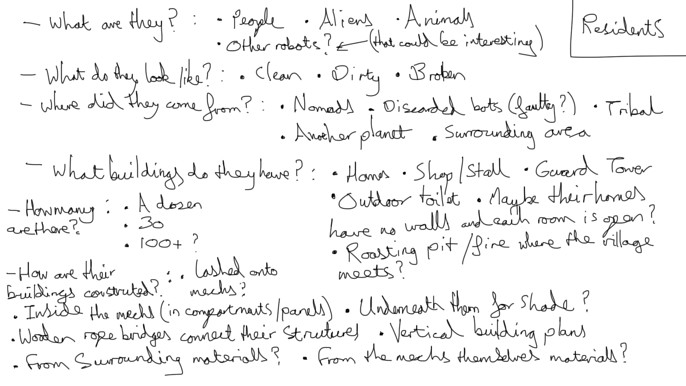
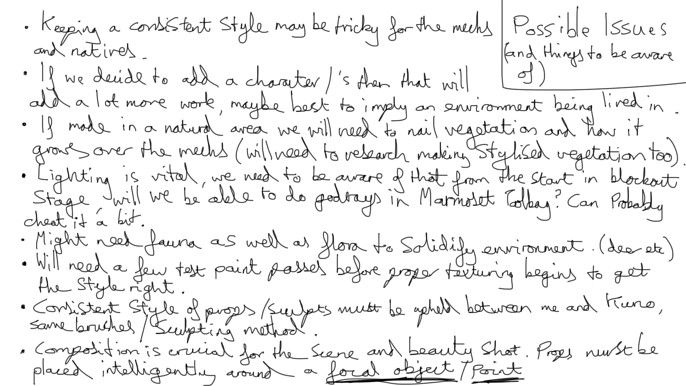
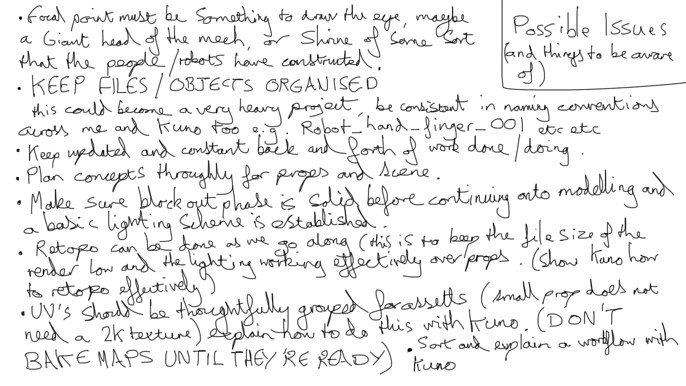
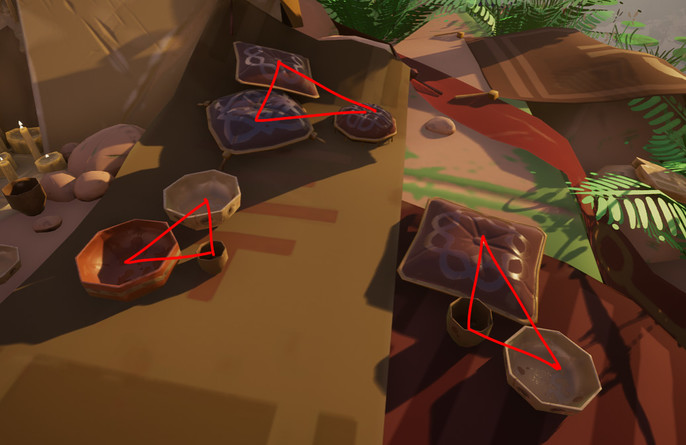
Among those notes I mention a bit about working with Kuno and establishing a workflow to adhere to. Kuno’s a strong modeler and was tasked with creating many of the rocks and small miscellaneous props like bowls and cups. If you’re working with multiple people on a project it’s imperative you’re all on the same page and aware of what each other’s strengths and weaknesses are, constant communication is a must too, going dark on your team is one of the worst things you can do, especially if you’re having issues. After all of that planning we formulated a prop list, and importantly too, a timetable that, while flexible, could be referred to to keep us in check.
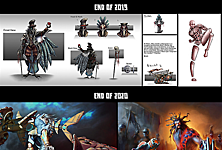
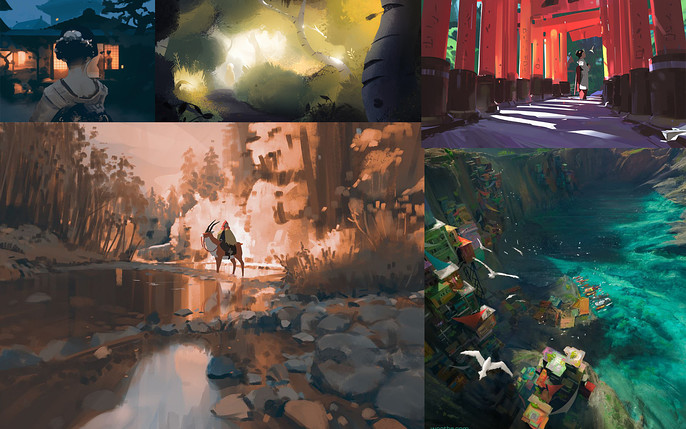
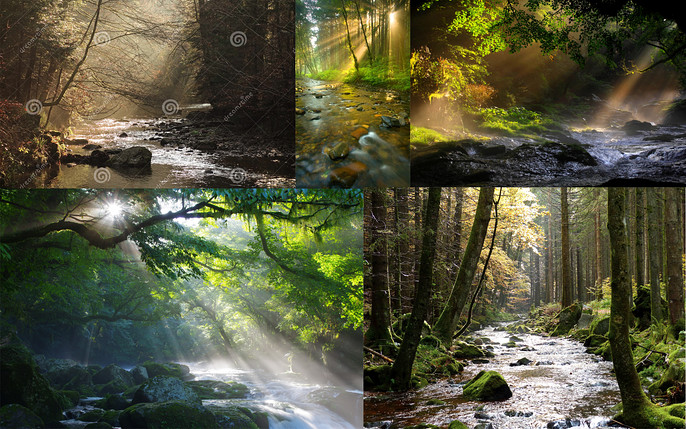
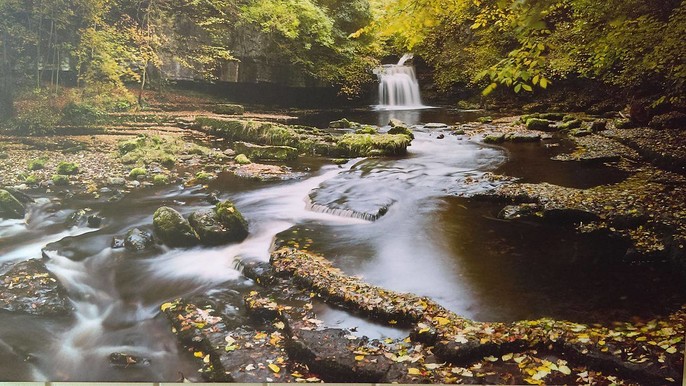
Research and reference, drilled into pretty much every art student, forms the basis of your style and visual development. We combed over many artists and pieces, highlighting a few who’s styles we liked, as well as going over settings in the real world, creating mood boards. Every prop, even the most insignificant, needs reference to prop it up (ha!), so don’t feel like the small amount of time you use collecting research is wasted. Funnily enough, the final scene ended up being based on a waterfall in my home village! Sometimes inspiration is right on your doorstep.
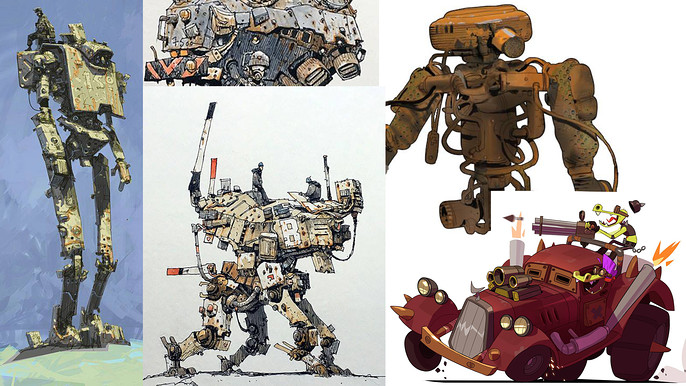
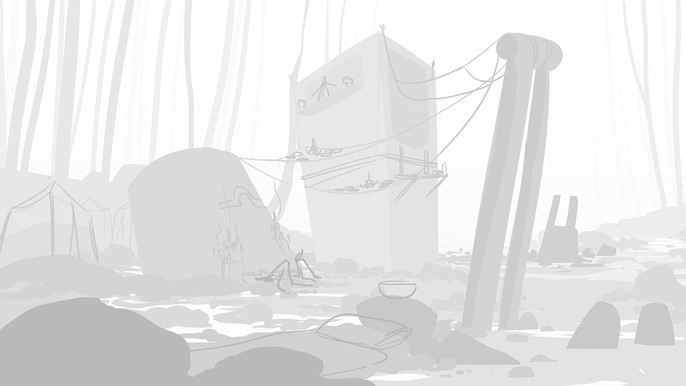
We then began coming up with the concept, with a big focus on the giant robot and how that would be constructed and function; even though in the final scene it would be disassembled, creating it whole first simply makes sense and doesn’t allow for any ambiguity in the audience’s eye. A good deal of time was spent framing the scene too, how everything would merge together, especially when dealing with this new civilization adapting to an old structure, it all has to ‘fit’ and be coherent.
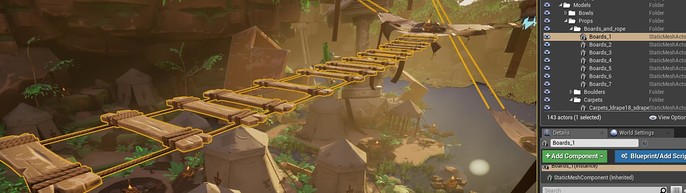
Next, I created a very rough and ready block out to work out the scene in maya, bringing it over into marmoset. While it wasn’t exactly how the final piece would turn out, it gives you a sense of the scales involved, especially in an expansive environment. This is also where you can test out your lighting schemes. In retrospect, I should have given more time to the block out stage and fleshed it out a bit more, maybe experimented with a wider variety of compositions. I didn’t plan on bringing everything into the Unreal Engine either, and so if done again I would do the block out in Unreal, this also means that the props could be automatically updated in the scene as progress continued. Lighting should also have been a much greater consideration at this stage, as well as throughout the remaining project.
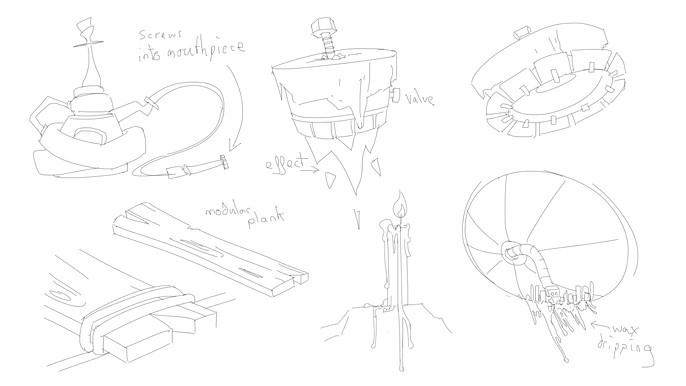
At one point, we also thought it would be interesting to have electrical symbols as part of this religious theme, painted or carved into the scene by the populace there. I created an alpha pack for this purpose and, while most never got used, had many alphas that we used throughout for hard surface detailing.


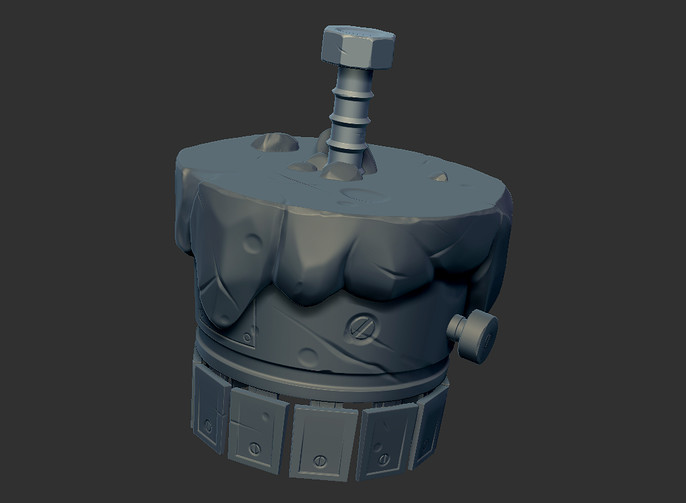
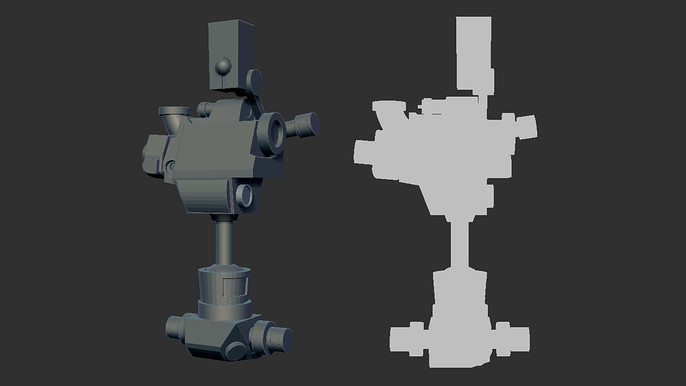
The meat and bones came from modelling and texturing the props, the basic workflow involved for the majority of hard surface things was (Maya – Zbrush – Marmoset – Substance Painter). In Maya it’s important to get your topology and mesh density right for sculpting before you go into your high poly, this was one of my greatest frustrations on this project and something I definitely need to practice more with. As a shortcut for not worrying about edge loops in my low poly, I would bring the model into Zbrush and use the crease tool in Zmodeler on the edges I wanted sharp, after that I could soften them when I had subdivided if I so pleased. Not a healthy practice to get in the habit of, but as ham-fisted as it was it got the job done and was quick.
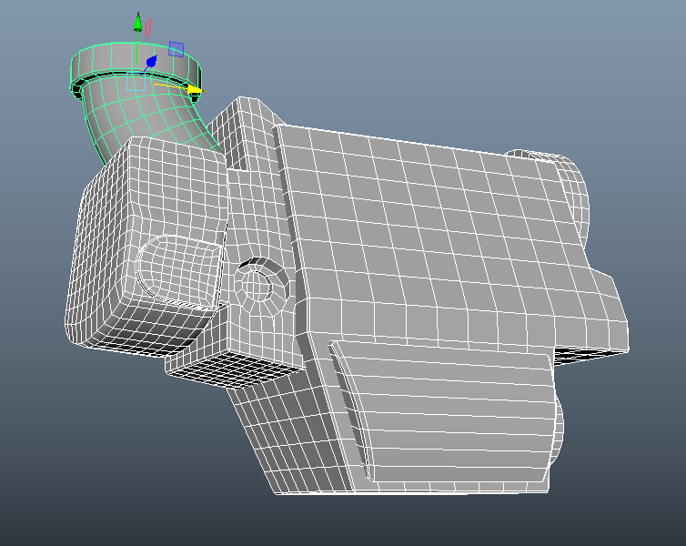
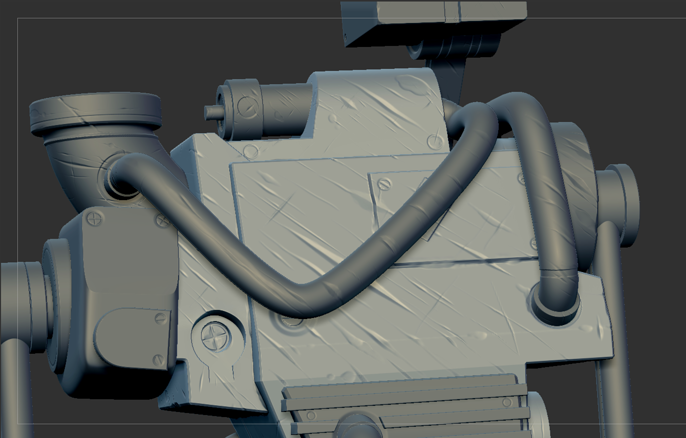
In Zbrush, to give all the hard surface models a worn look, especially in the giant robots’ case, I used Michael Vicente’s Orb Crack brushes, really going to town on ‘beating up’ this ancient behemoth, it’s important to not go too overboard though and temper your enthusiasm, too much detail and you risk losing everything in a muddy ocean, I aimed to have key areas where I isolated large scratches that could span the entire robot mesh, and in places that would make sense. I mean this was a giant wandering robot after all! They’d have had to have bumped into a few mountains in their time.
Saying all this I did in fact get carried away with the wear and often put scratches in places that didn’t make sense! You’ll be able to see in some of the following images.
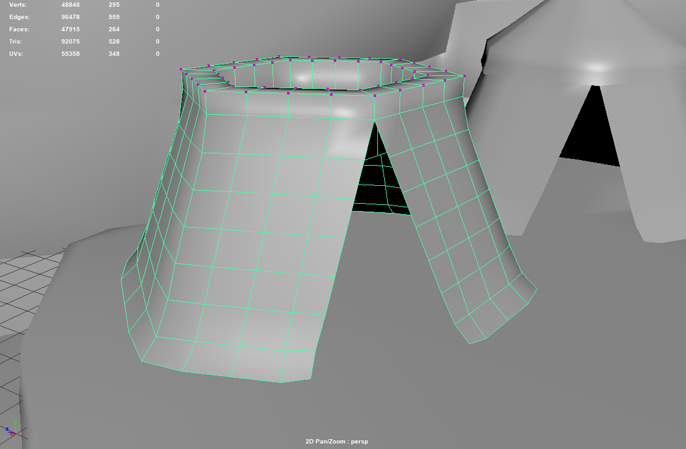
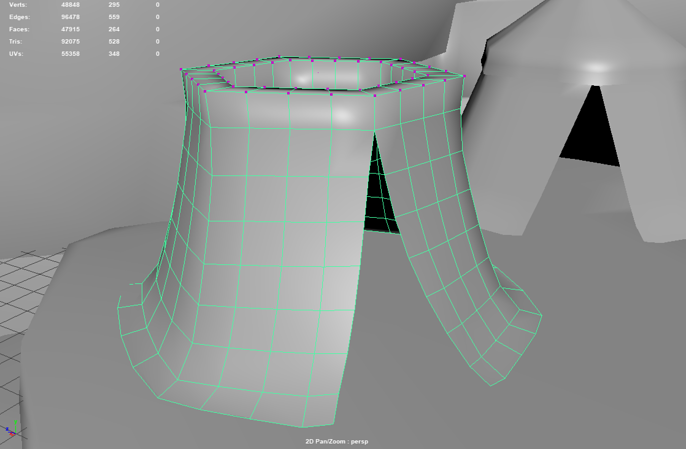
Baking the high poly down onto the low poly was done in Marmoset Toolbag which has some fantastic tools when creating normal maps and the like. UV unwrapping is something I’m still trying to get down and there are a bunch of little things that you can do to improve your map, but for the basics it’s generally just important that you have your seams well-hidden and enough padding around your islands that they don’t bleed into each other when baking. You can always go back into Maya and tweak your UV’s if something goes wrong, it’s a lot of back and forth.
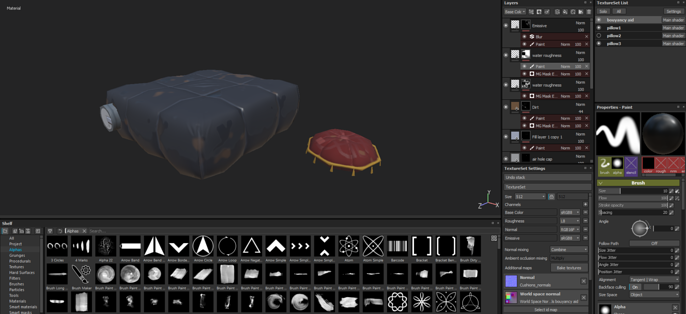
I use Substance Painter for texturing simply for its very robust layer system and ease of use, I don’t believe it makes that much difference which program you utilize. When working on texturing I try to work ground up, so I start with a base color, and then gradually add more layers where necessary. Adding details with roughness is also a very effective way of giving your prop a story, be it water splashes or where an outer shiny coating has been worn away to leave a matte base. Creating maps like ambient occlusion and curvature and plugging them into smart masks are fantastic for building up things like dirt and wear, they’re great time savers, but make sure you manually fix any visible issues along seams.
For every prop I only used Base Color, Roughness, Normal, Opacity and an Emissive map where necessary, depending on what style you go for will depend on what you need to use. Don’t feel forced to use maps that you think are unnecessary for your project, but feel free to experiment, you never know what can work!
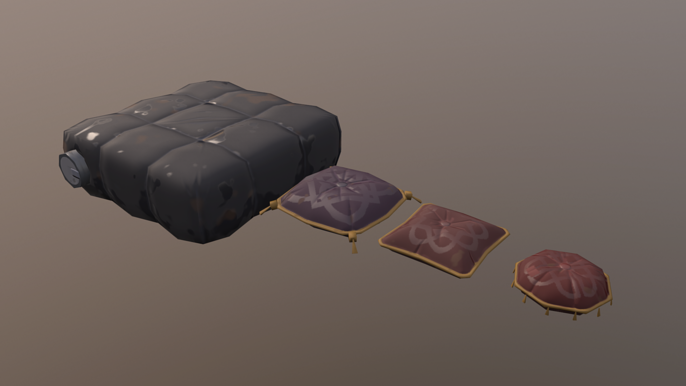
There were a few props which I had to include cloth simulation, allowing the material to drape over the ground, primarily the tents, carpets, and drapes. For these I needed to make sure they had sufficient mesh density to deform, as well using transform constraints on the vertices on top of the tent to hold the material upright, testing them within Maya using ncloth. With this there’s a lot of trial and error, tweaking values to get the quality you want, take your time to get it right because you can then set those values as a preset and reuse it on the same asset, or even a different one!
For our props and scene, silhouette was very important, especially in a stylized environment, strong shapes are the foundation. Details are great for giving the prop a story and some eye candy, but what the viewer sees and takes in at first glance ultimately leads their impression of a piece.
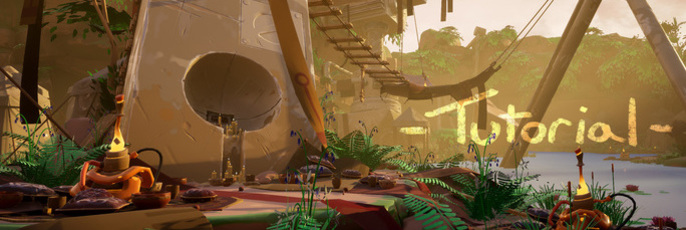
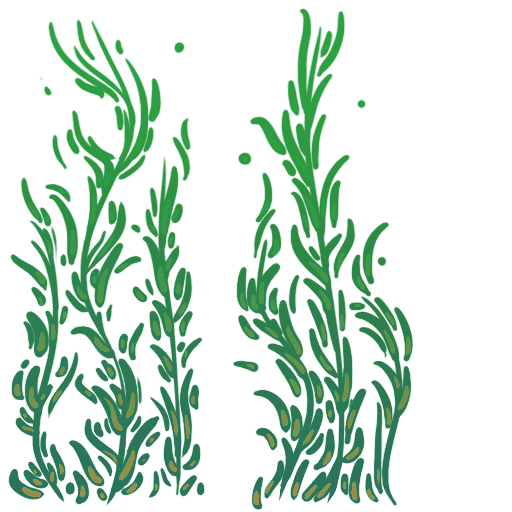
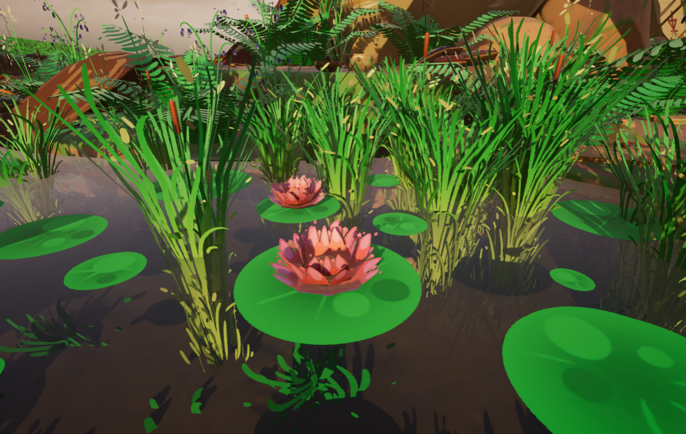
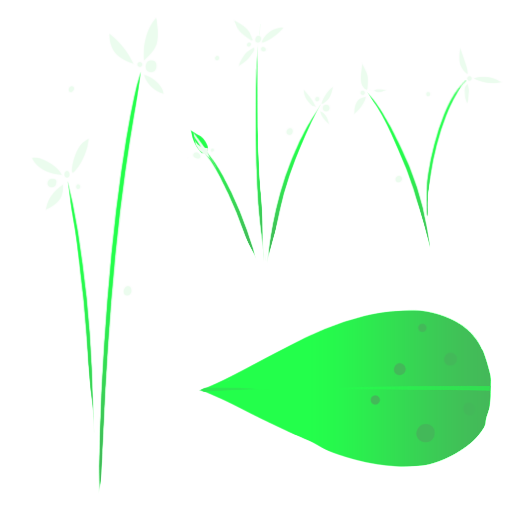
Vegetation was all done as simply as possible to keep to that aesthetic we were going for, lush colors and light on geometry, all painted in photoshop. Adding flowers was a great way of injecting some small contrasting colors into the scene to break up some of the browns and greens, giving some much-needed life to the area. Research was done for all of the vegetation and every plant was based on some form of forest flora; celandines, bluebells, wild garlic, even kelp for under the water! While not necessarily a part of a lakes’ natural biome, the water flora adds just yet more life to the scene where having just a water plane may be a bit anemic.

Every prop was placed by hand and, while obviously time consuming, gives you the greatest control over your scene. Always work from large to small, large features will naturally direct where every other prop is populated, if in doubt work in threes and triangles, it’s a comfortable composition that feels right to the eyes, just don’t overdo it.
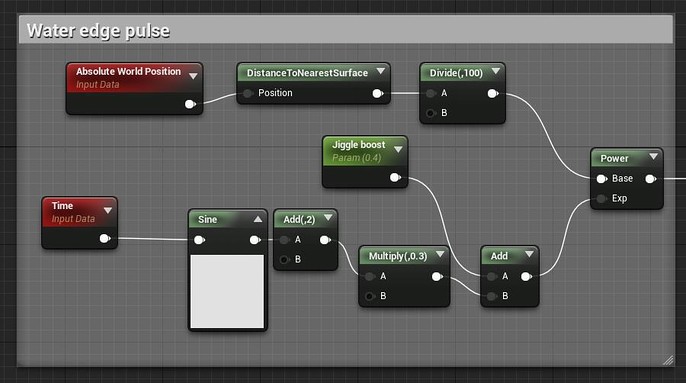
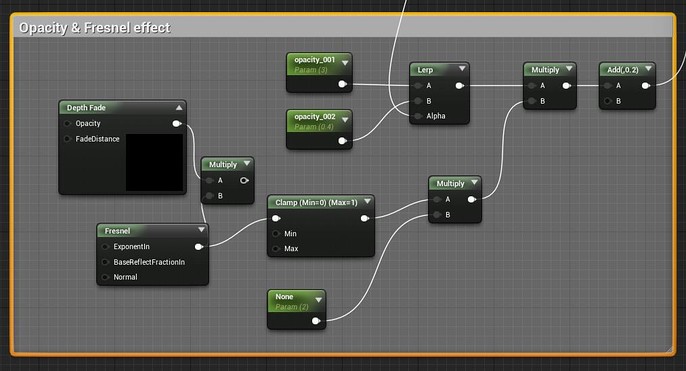
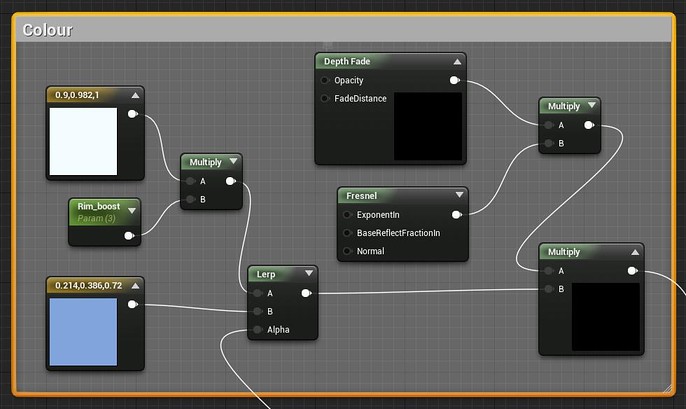
The water material created in Unreal Engine was in fact my first real delve into the material editor, so I’m really no expert on this! I have a Fresnel effect that controls the opacity of the water when viewed at an angle and the rim of the water has a small animated pulsing which is controlled by distance fields. The material was completed somewhat later in the project where the deadline was looming, in retrospect I’d have loved to add some ripples or messed around and experimented some more with it. I feel like the water is one of the weakest aspects of this piece, although the stillness of it creates something of a fairy tale like quality to the scene which I’m rather fond of.
While I’m happy with how the scene turned out in the end, there are many areas which I’d like to revisit and improve upon, and I believe that one of the most important aspects of self-improvement in an artistic field is recognizing your faults; as a wise man once said, ‘If you’re not making mistakes, you’re not working on a problem hard enough’. The original intent of the piece was to contain everything into a single marmoset scene, and one that could be viewed in the marmoset viewer, but as details were slowly added I realized this probably wouldn’t be possible, and when they announced that the deadline would be extended by a month I felt we could increase the scale a bit more, import everything into Unreal and add more details which definitely improved the quality. It’s important you temper your vision and scale, especially on a time scale, otherwise you’ll never know when to stop!
Importing everything into Unreal Engine though came with the issue of lightmaps, because everything had already been placed in Maya, for saving time I grouped everything into sensible chunks and brought them over, and while efficient, meant that the lightmaps had to be sizeable to minimise lighting errors, and of course meant any edits couldn’t be made in Unreal.
Trees were also a source of frustration as I found it very difficult to create a dense looking canopy with as few cards as possible.

I learned a great deal over the course of this project, spoke with many great artists and had fantastic feedback from them too. I had never entered a competition like this before and realize now what an opportunity they are to further one’s skills and get into contact with artists. I fully recommend to anyone who’s considering entering something like this to just go for it, you won’t regret it! Thank you as well to the Cubebrush team for reaching out to me to create this tutorial, as well as running this competition, you’ve all been very accommodating!
And please don’t hesitate to contact me if anyone has any questions, I’d be more than happy to answer them to the best of my abilities.
Emails:
Marcus Johnston
Kuno Srilapan
Marcus' Cubebrush Store can be found here.