The 'Making of' Dark Sadness
Anufrieva Olya works at the studio Wizart Animation as a Lead Character Modeler. Her duties include characters sculpting, modeling and development of facial blendshapes. Olya's team creates Animation Movies. In her leisure time she likes to participate in contests, speedsculpting, cycling, playing games, watching animated movies, eating cookies and participating in Art War 2. Here is the 'making of' Dark Sadness.
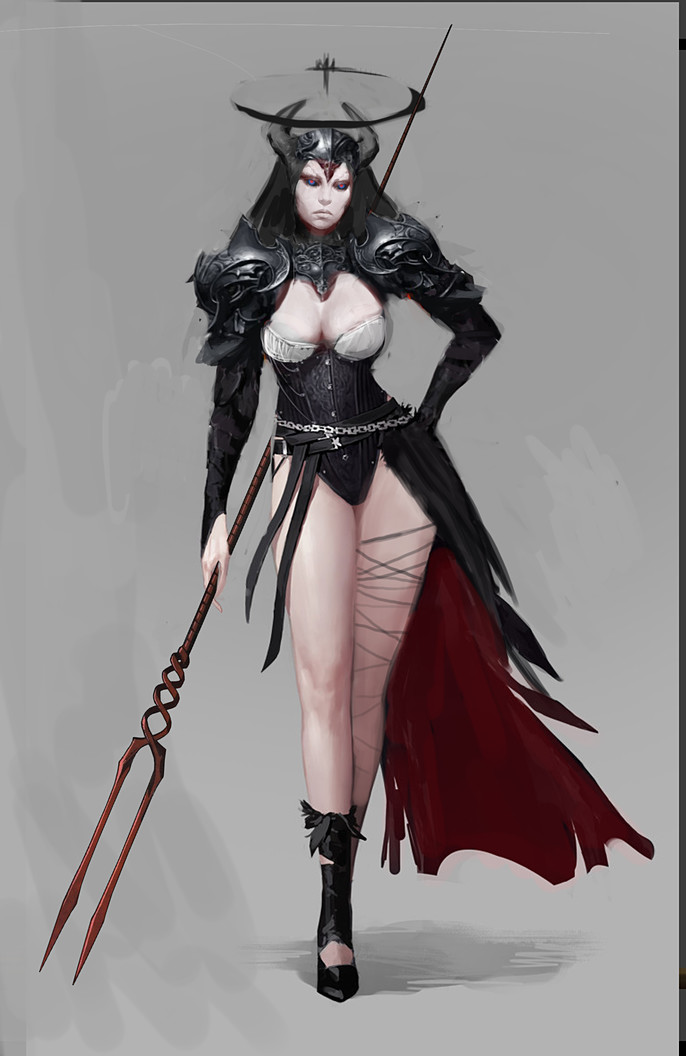
I was not able to participate in the past ART WAR. This time, I decided that I will give all the best and take part! To begin with, I had to choose the side that my character would represent- Light or Darkness ... Of course it's darkness!
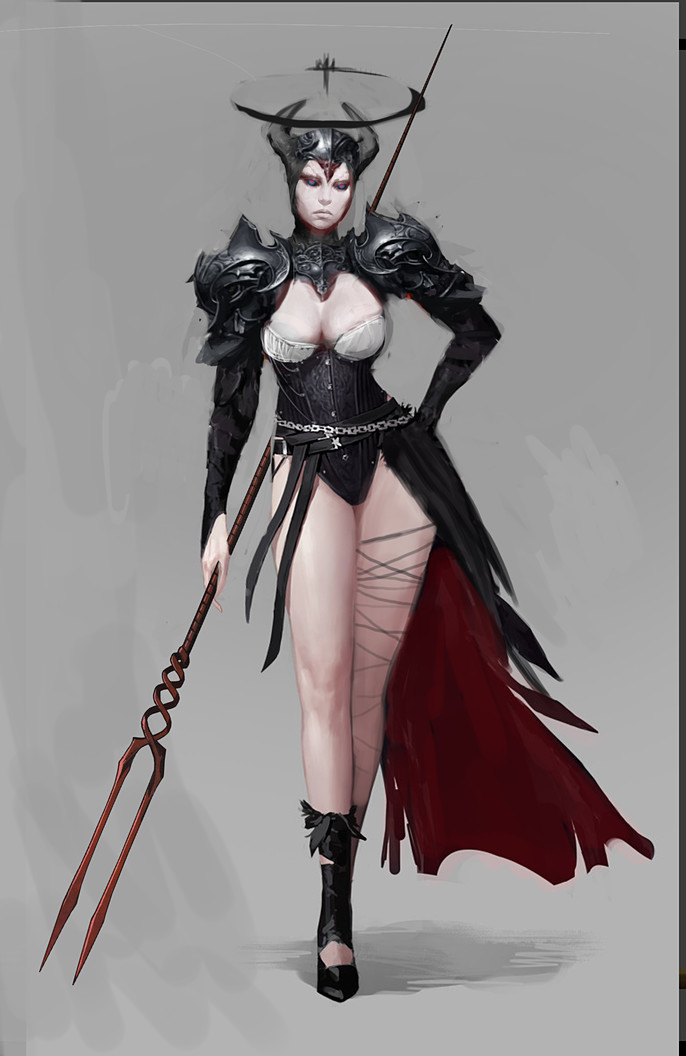
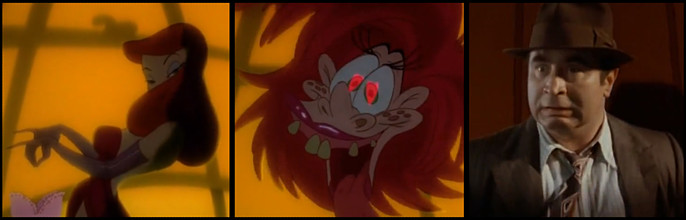
So I started with the first set of references.

I created collage that will increase later.
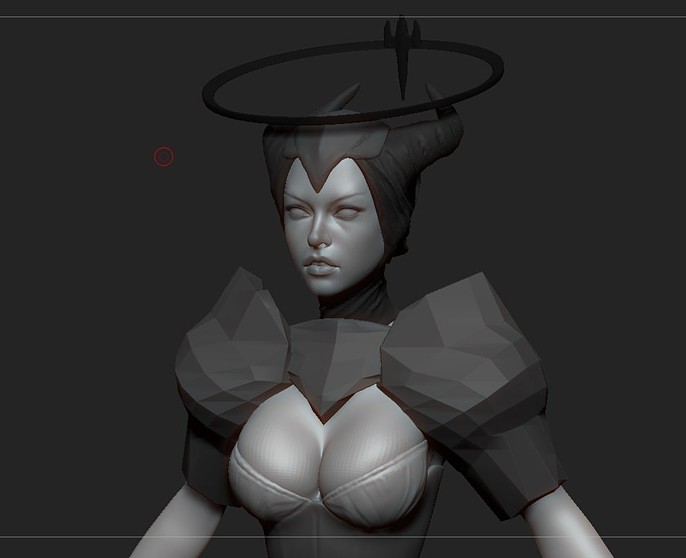
During the initial phase the hair looked good, but the head merged with the shoulder pads. I made another image without hair. I liked it so I started to sculpt.
Sculpting
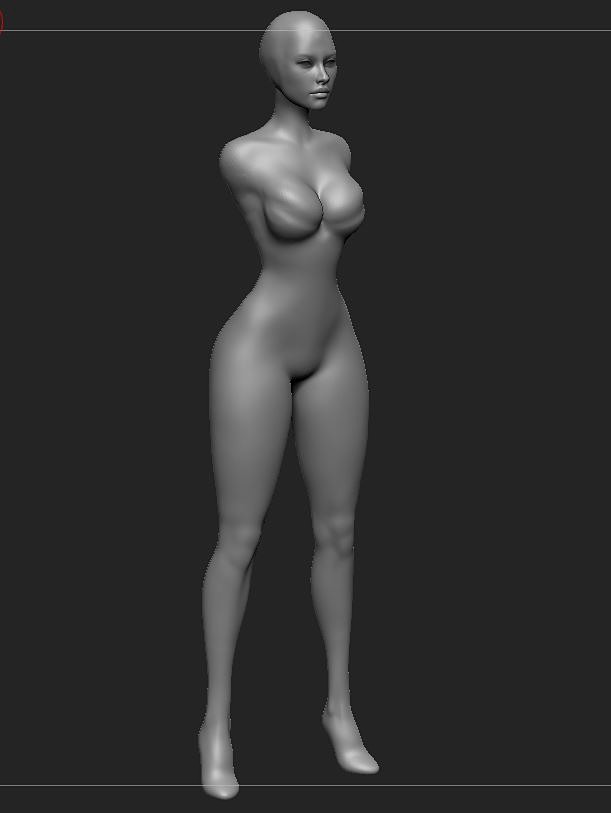
I sculptured everything in Zbrush 4R8.
The head is a separate subtool so that it would be more convenient to edit it.
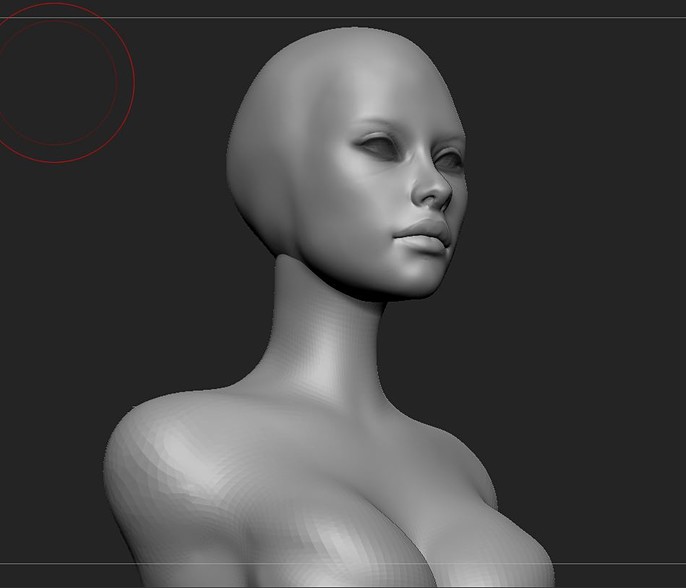
Sometimes I overpaint sculpt so that I don't lose the idea and the final image in my head.
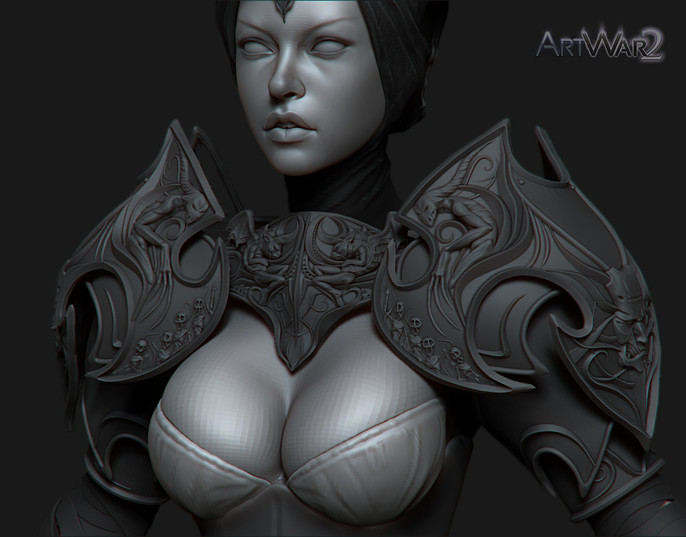
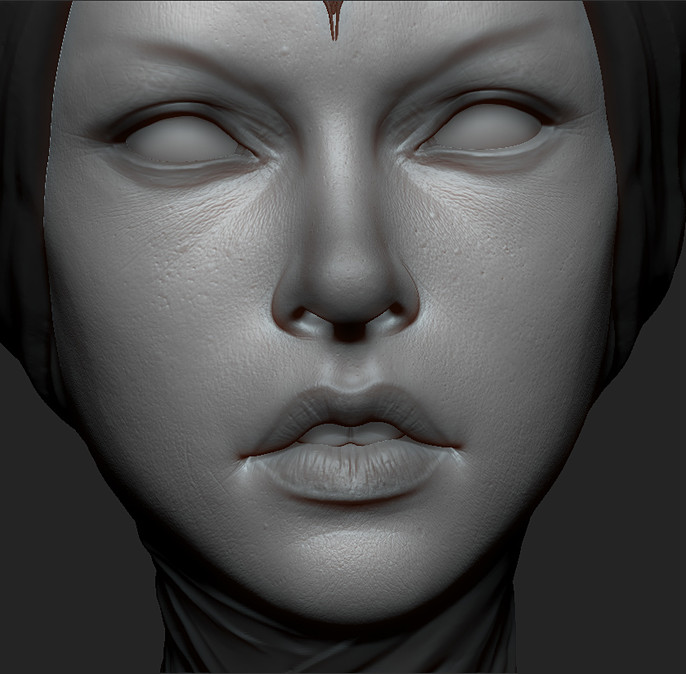
The most important thing in a character is a face. Even if everything is done excellently a bad face can spoil everything.
Therefore, the sculpture of it took a very long time. There were many versions.
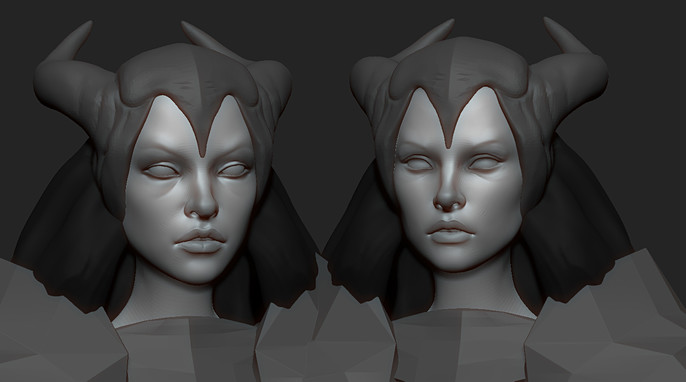
The end result...
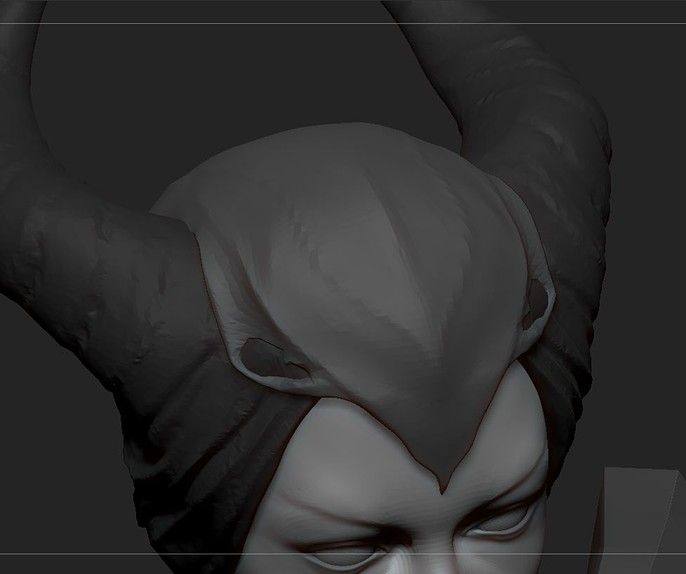
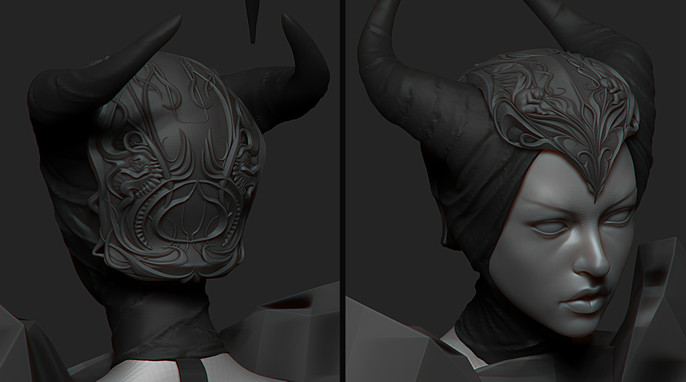
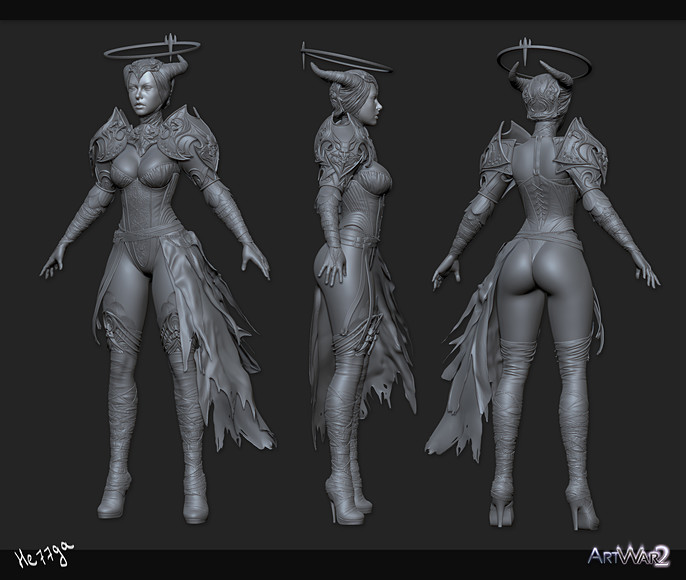
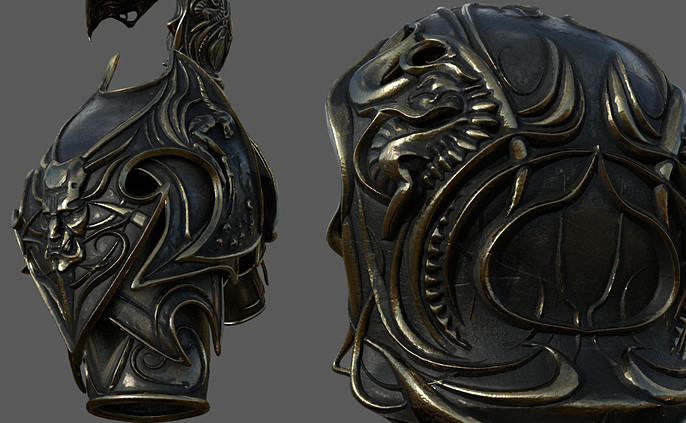
After the body, face and different trifles - I finally decided to take up armor. I wanted something interesting, not just pieces of iron on the shoulders, but some patterns of the dark side and they should be the main highlight of my girl.
The creation process was divided into four stages:
1. Creating Base
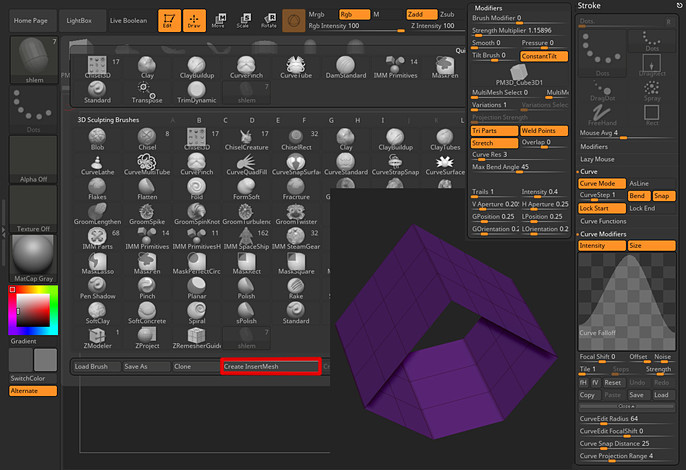
2. Created Brush for Patterns
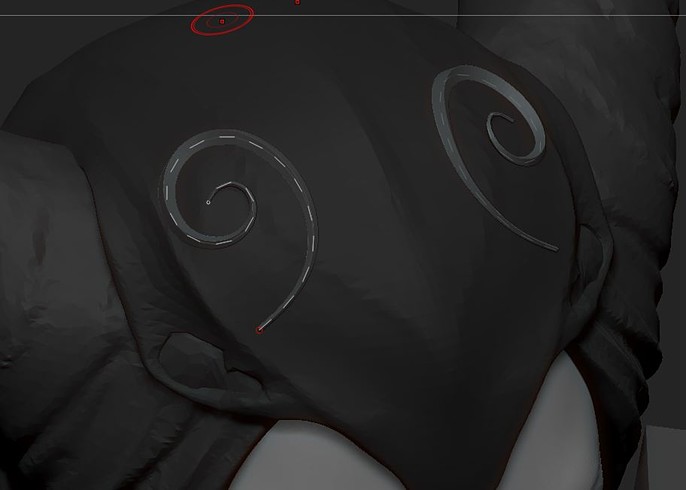
3. Make Patterns
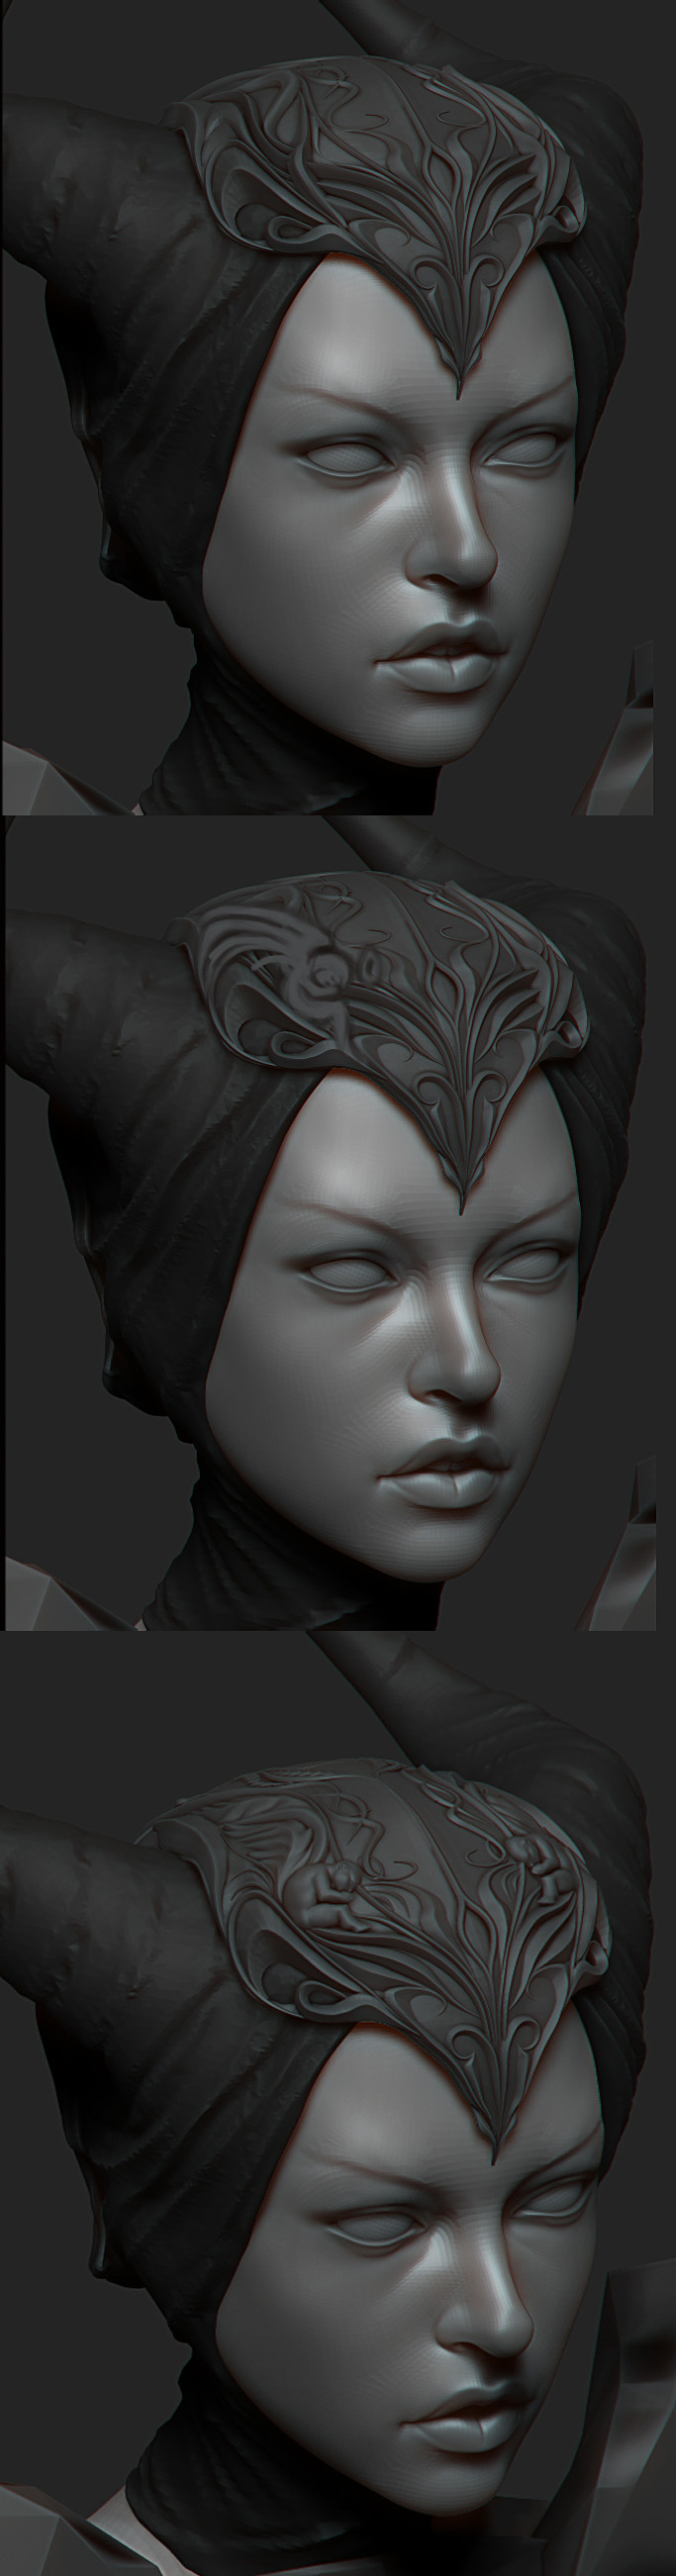
4. Overpaint the Sculpture
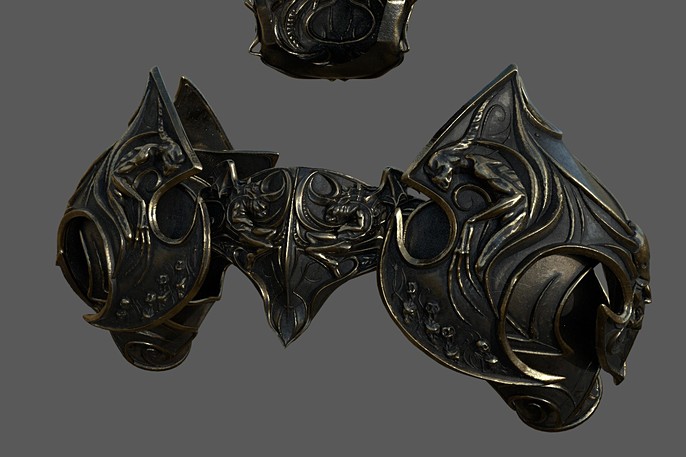
After the patterns were ready, my inner critic said that everything is bad, terrible and corny. After crying a little, I decided to add something interesting and again overpainted the sculpture, after which I added angels and demons on the armor. My inner critic was pleased.

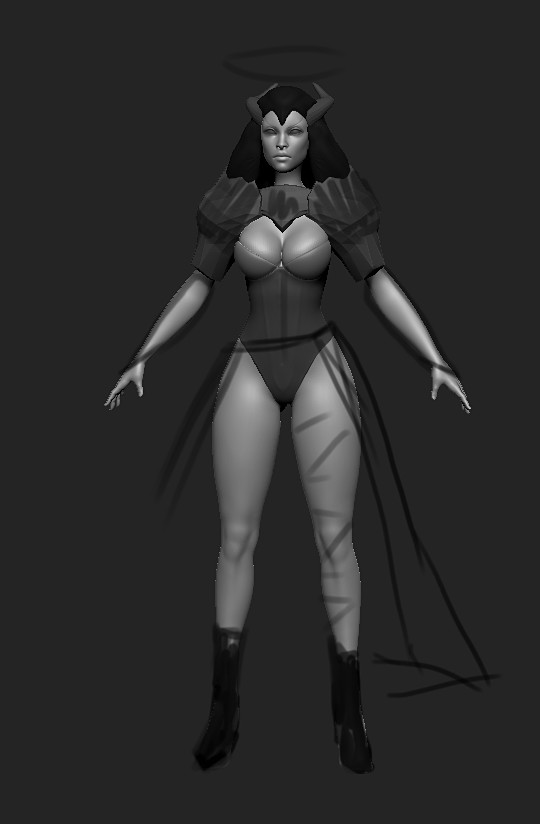
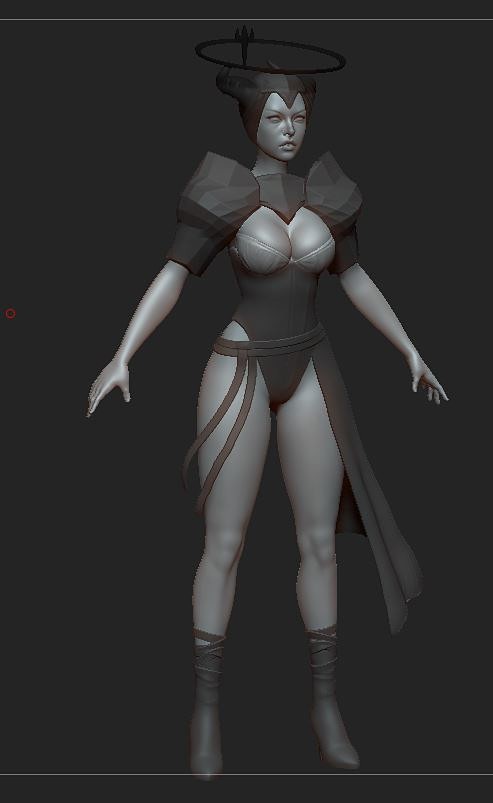
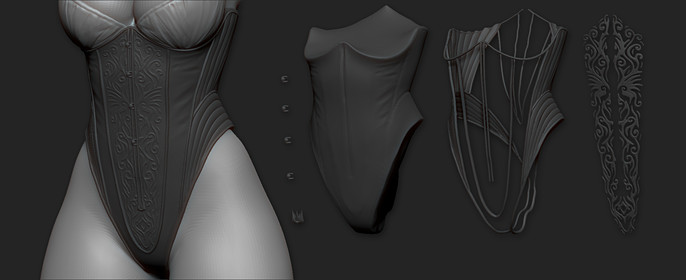
Then I proceeded to the clothes.
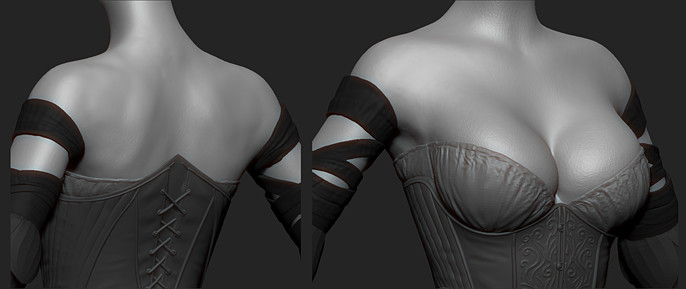
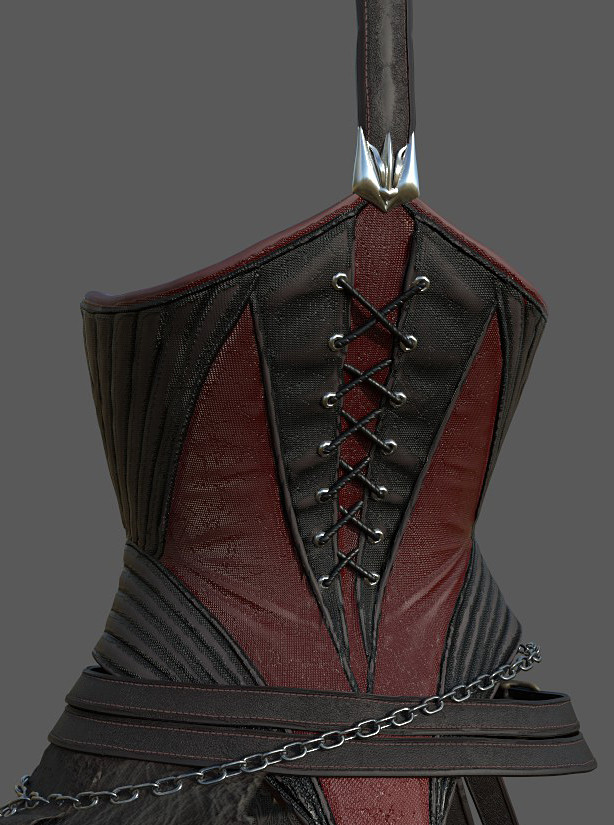
Corset
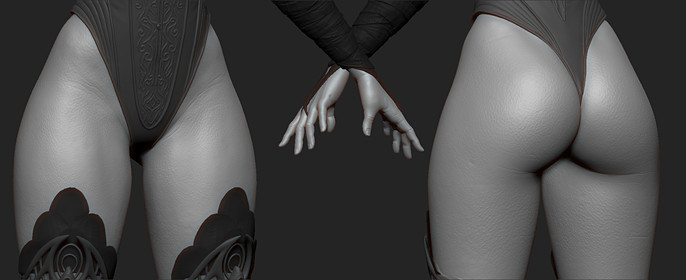
Hands
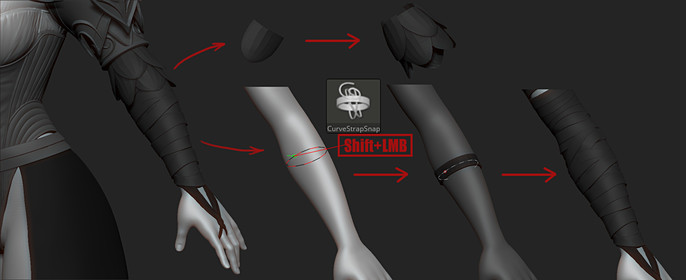
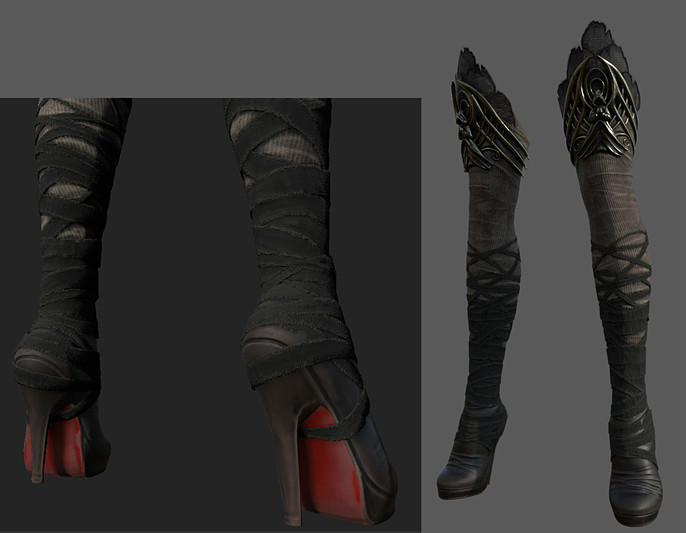
Bandages
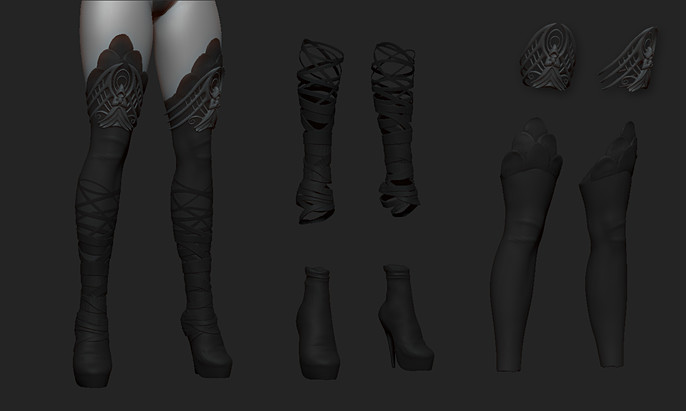
I added small details to the bandages and here is the result.
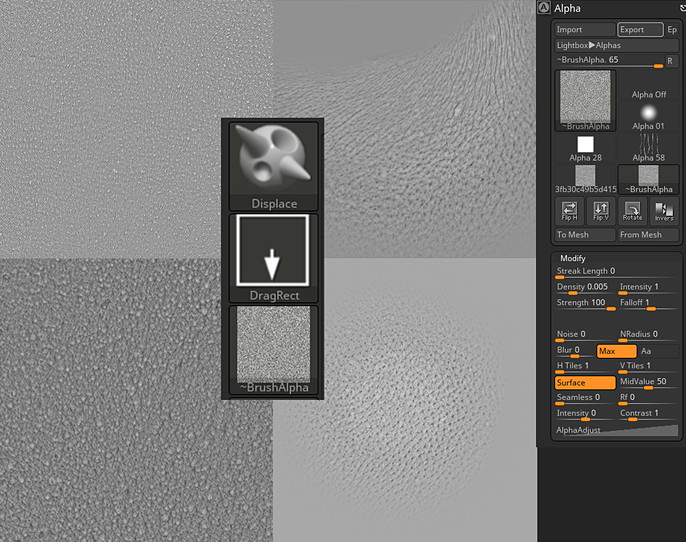
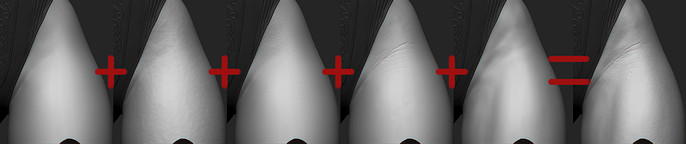
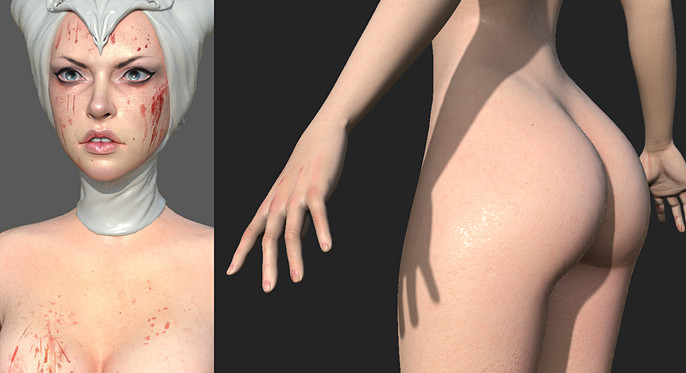
Then I added details on the face and body.
I used alphas I found on the internet and layers in Zbrush.
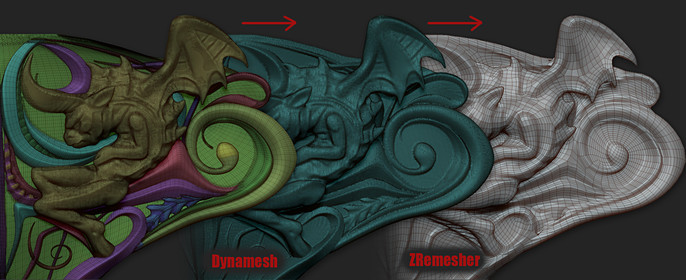
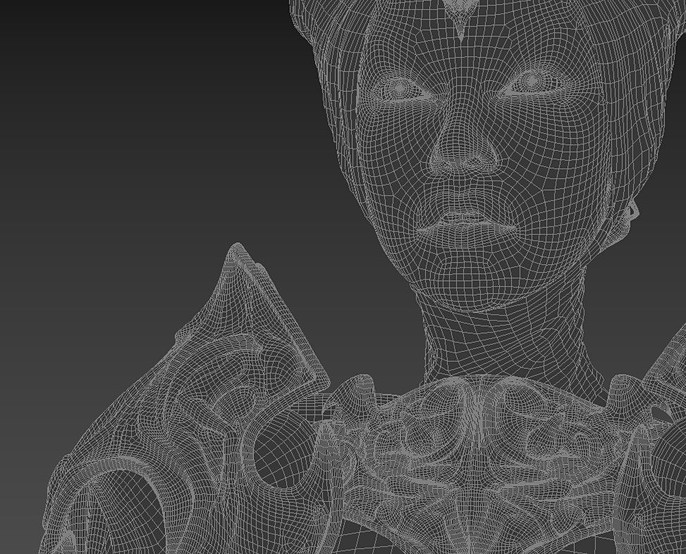
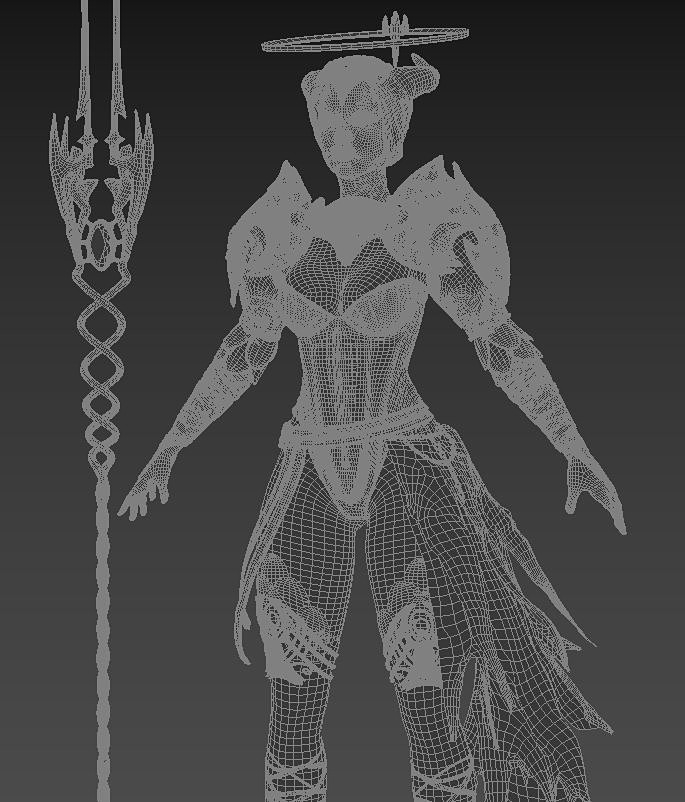
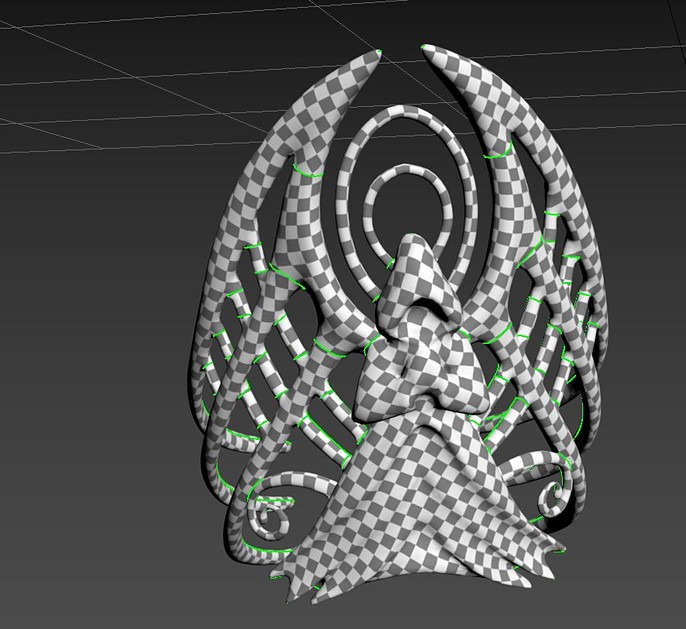
Retopology and UV
Before the retopology, I prepared all objects. Merged some subtools for use DynaMesh and ZRemesher. There were no restrictions on the number of polygons, so I did not really bother with building a topology.
I used 3D-Coat for edit the wireframe., imported Hi-poly as a reference mesh, then clicked Import in the Commands tab and Enter. Some objects had to be edited almost completely. This method saved me a lot of time.

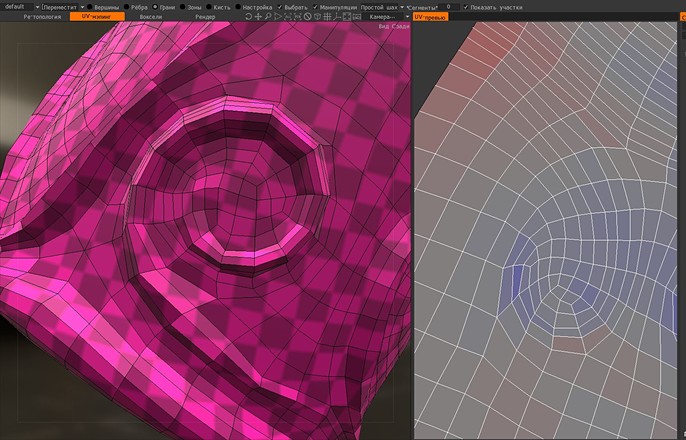
I created UV in 3D-Coat too.
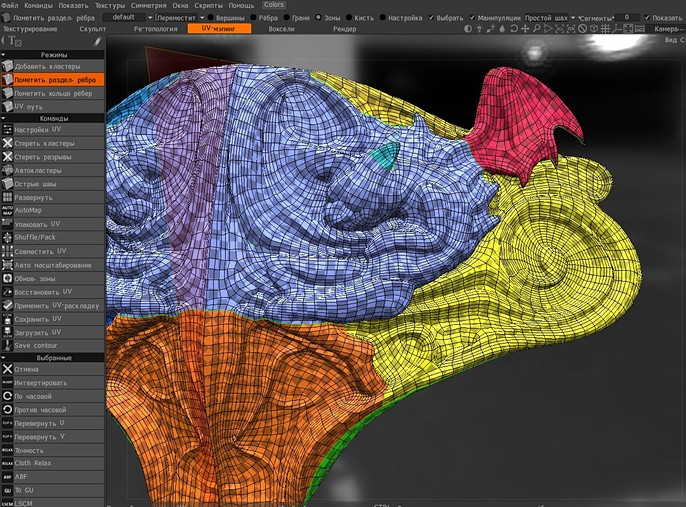
And this is the result.
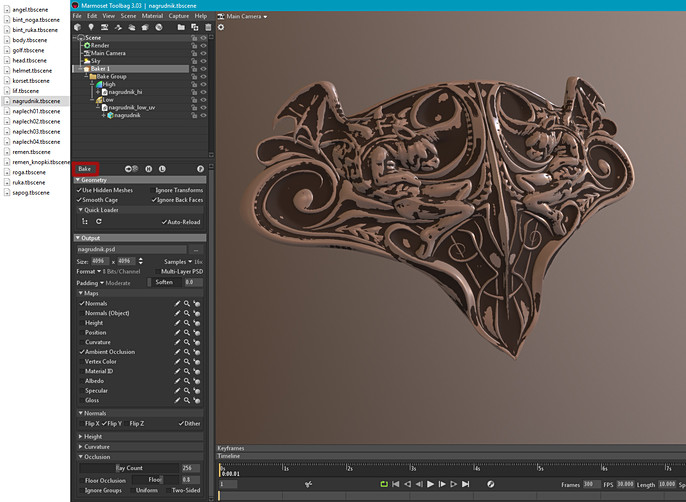
Texturing
Finally it's time for textures! I created it in Substance Painter 2. Baked Normal map and AO in Marmoset toolbag 3. Just in case, I saved the files in which I baked textures for each project. Later, it really helped!
Then I started texturing!
I split the model into several parts so as not to overload the viewport of Substance Painter 2.

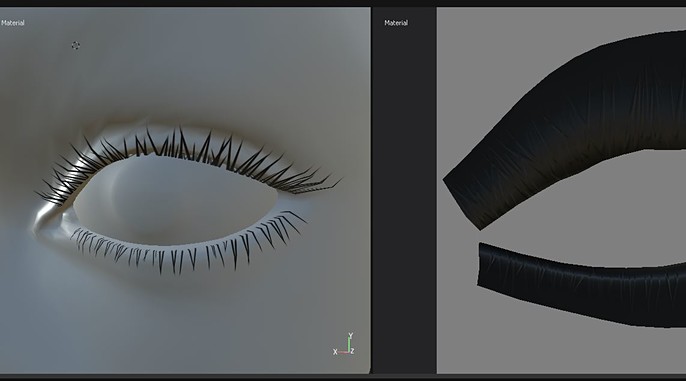
I added eyelashes and painted them in Substance Painter 2.
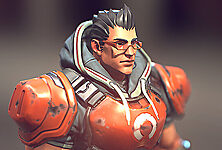
I checked what my girl looks like in the Marmoset Toolbag 3.
And I gave feedback to myself.

Light, Render, Pose, Final!
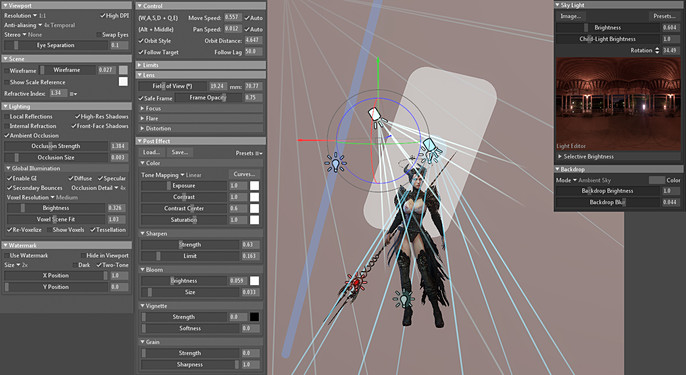
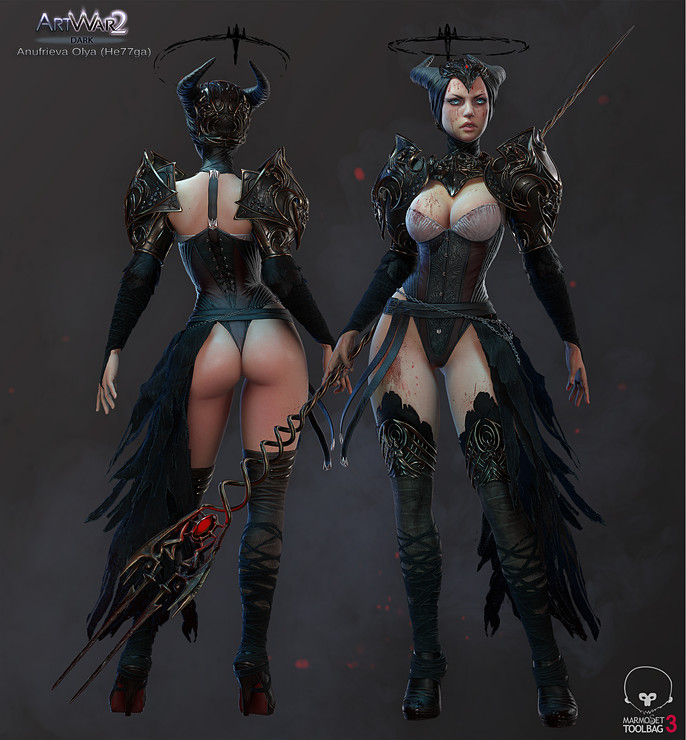
So, after many edits I began to collect the final images. All renderers were made in Marmoset Toolbag 3.
Scene lighting- 6 light and HDRI.
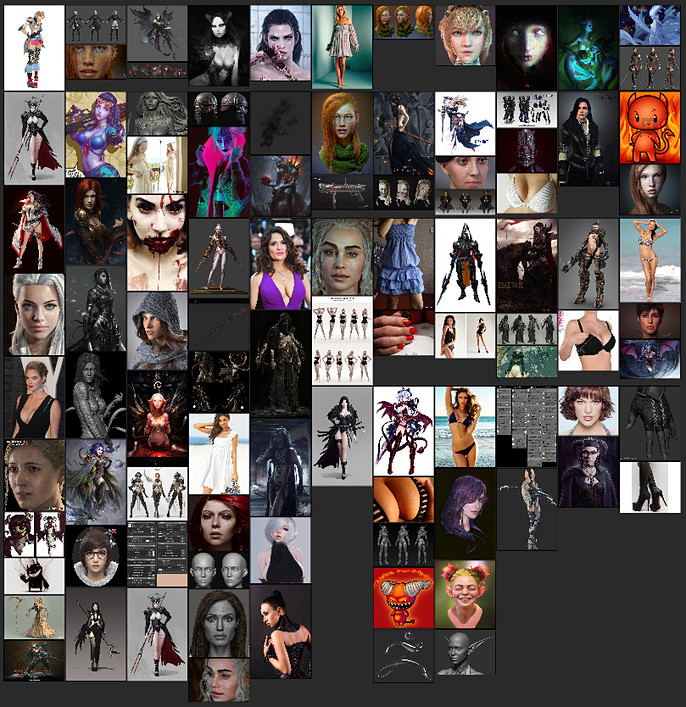
This is the final set of references. Each picture contributed to the result.
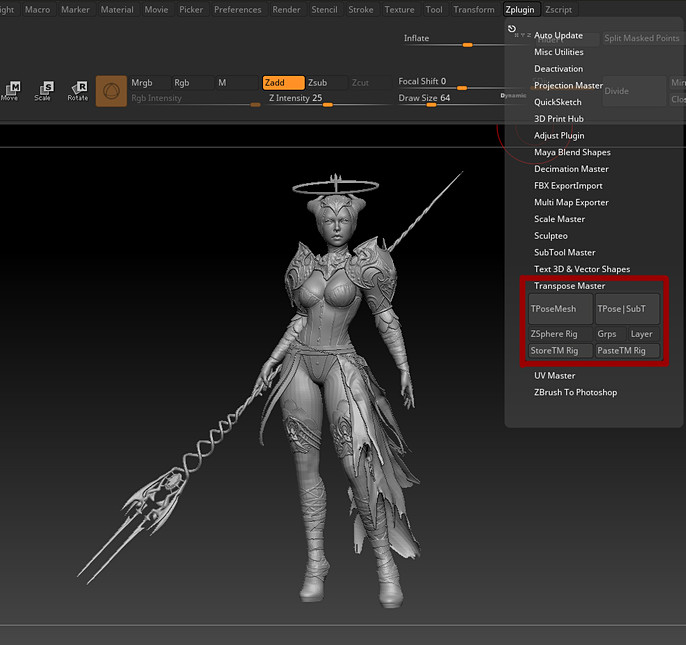
I posed my girl in Zbrush using Transpose Master.
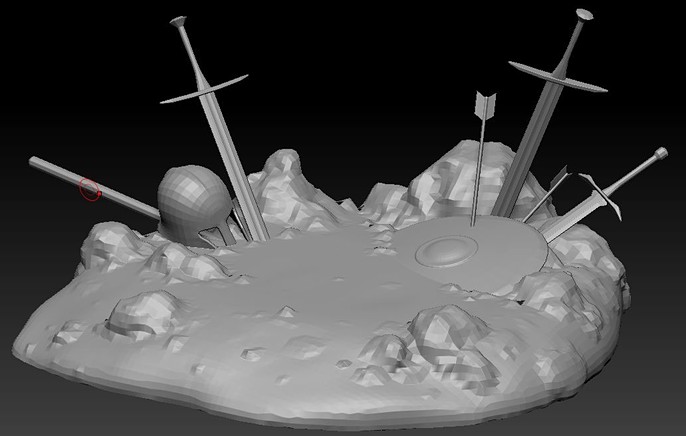
Sketch of Background
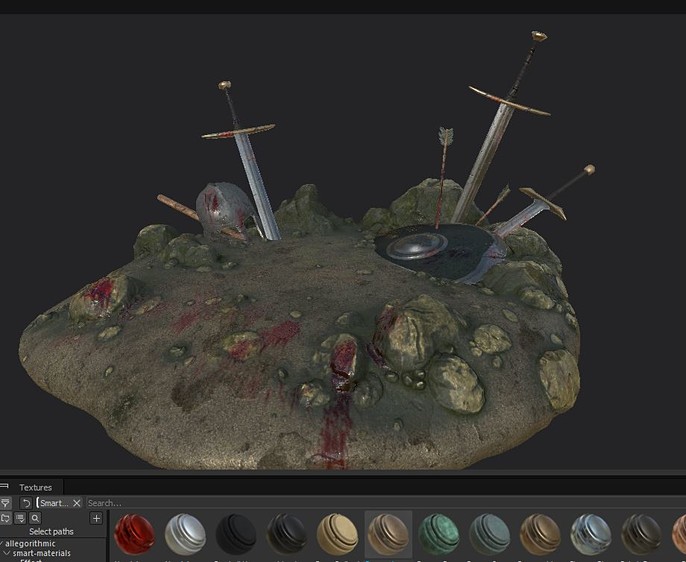
Creating Background
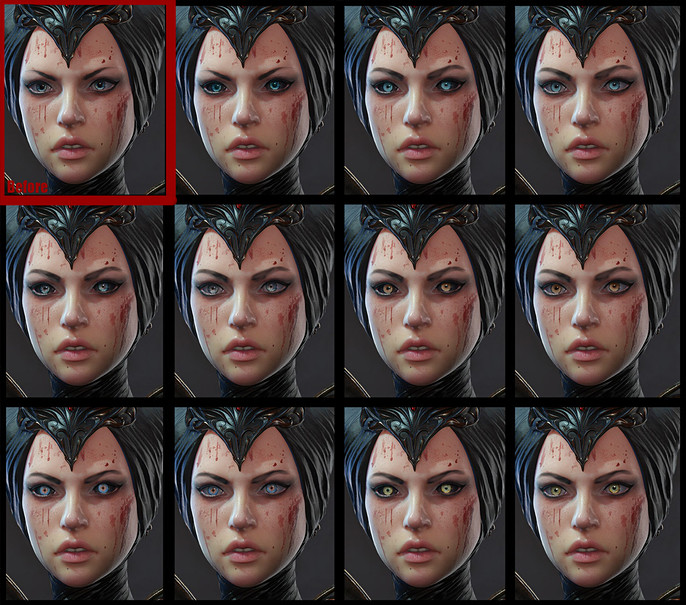
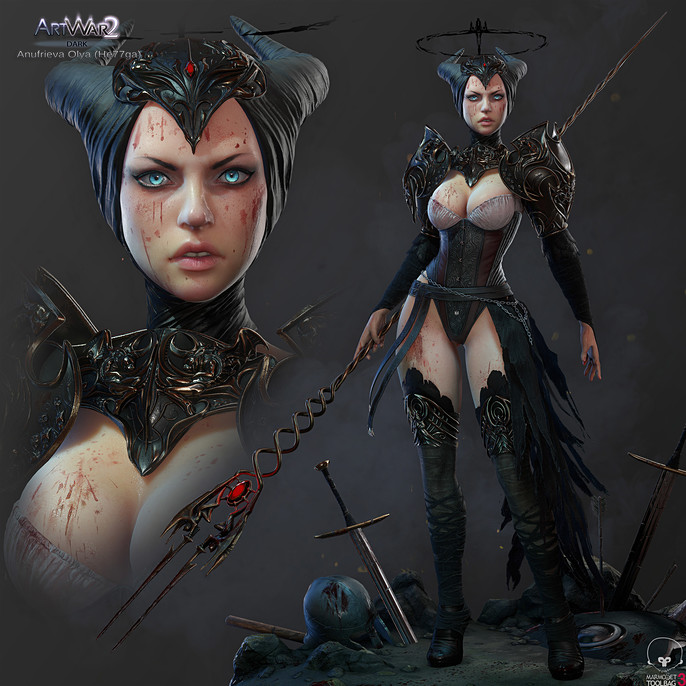
As I said before the face is a very important part. But the eyes are a super important part! At the finale, it seems to me not enough expressive and I decided to correct it. It had a lot of versions, thanks to friends for participation and feedback!
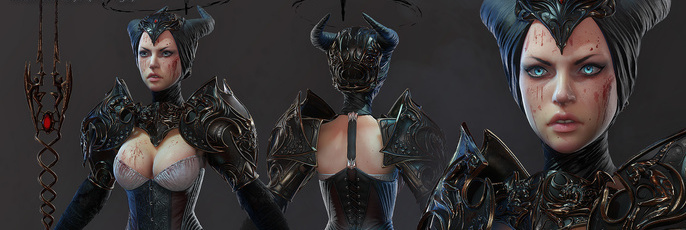
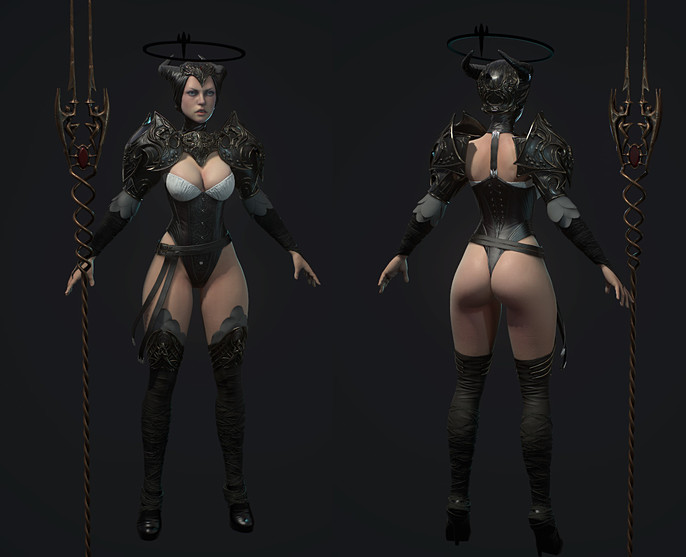
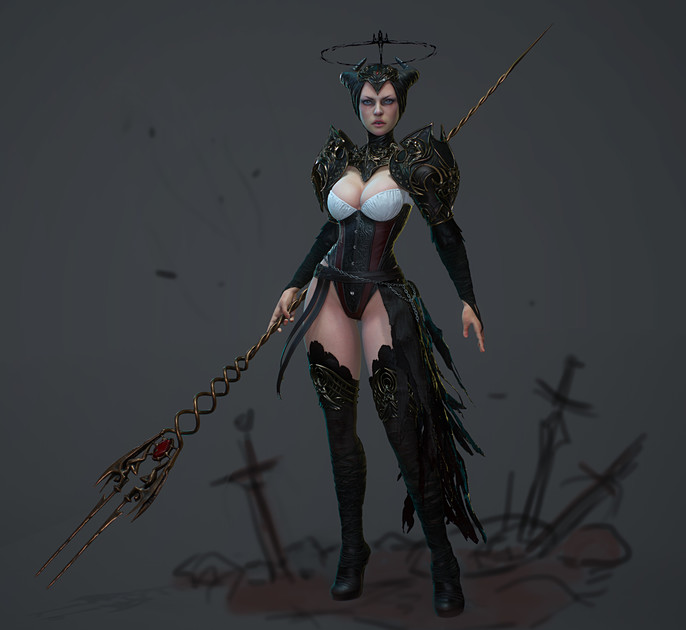
At last, the Final Result!

Thanks to all who have read this far! And thanks to Cubebrush.co for the contest, it was fun!
Check out more of Olya's work here and his work on the Cubebrush forums here.