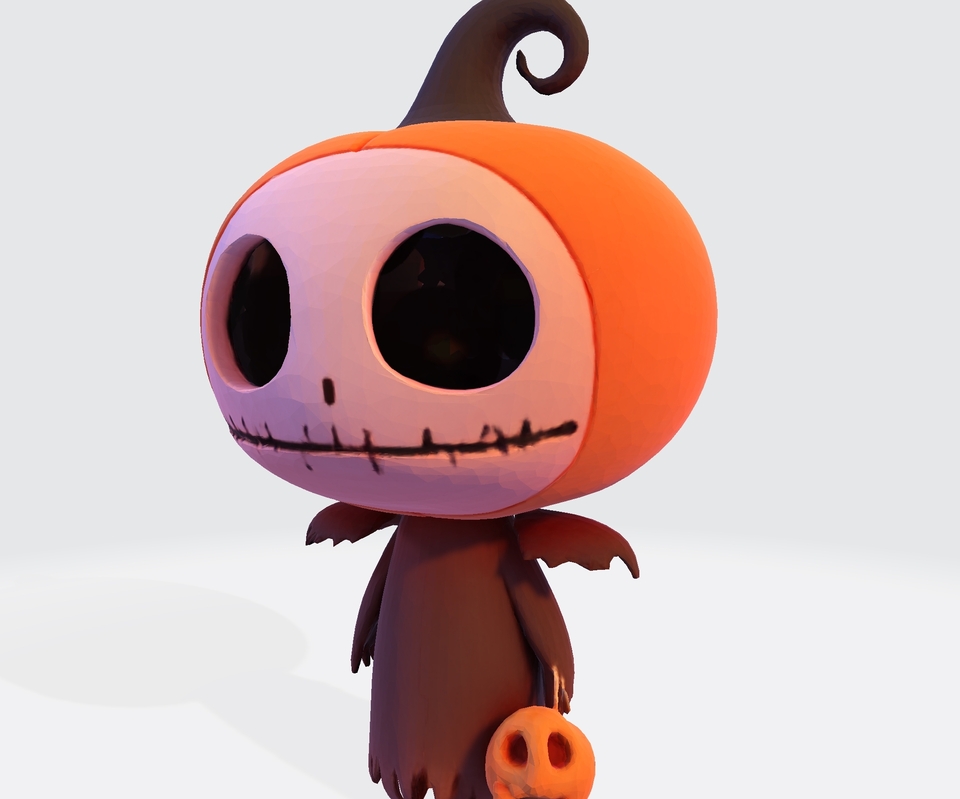
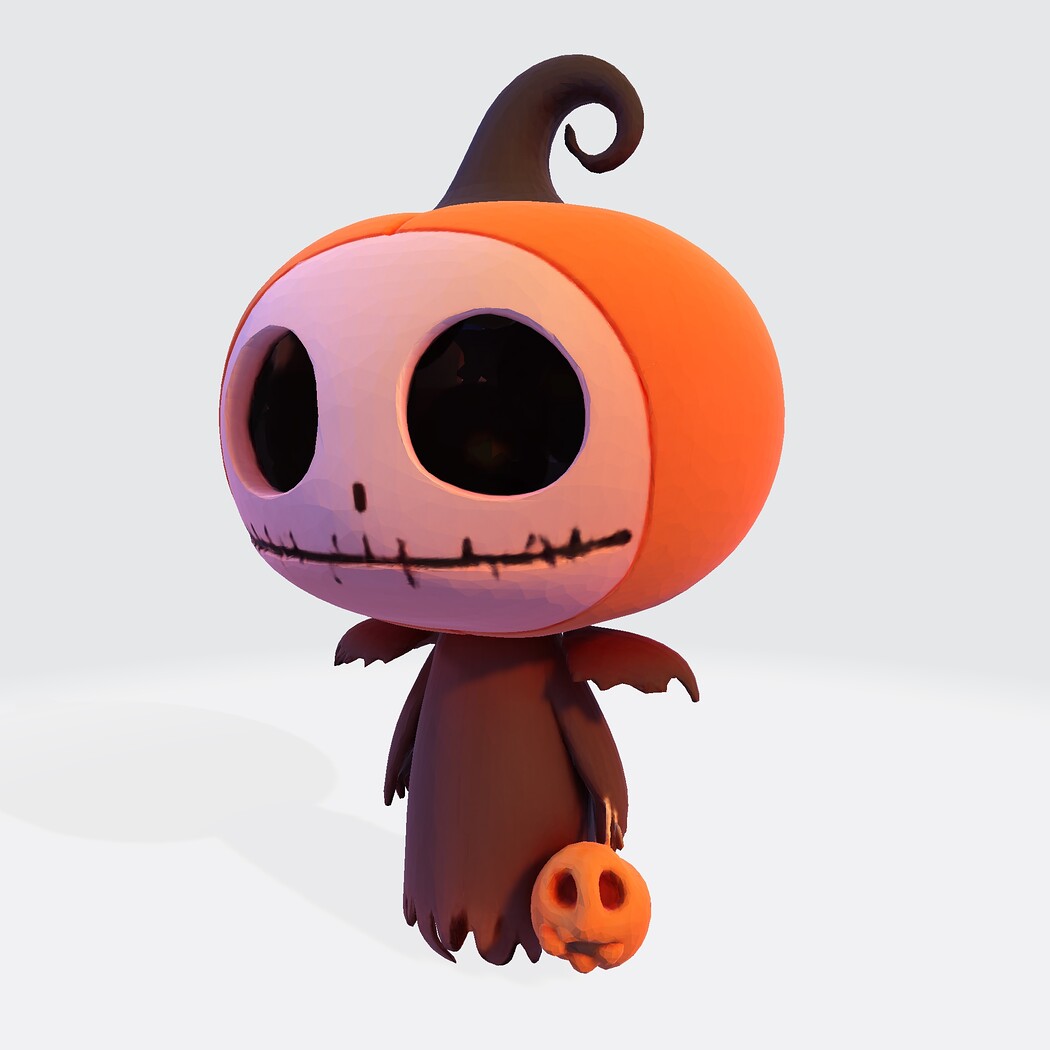
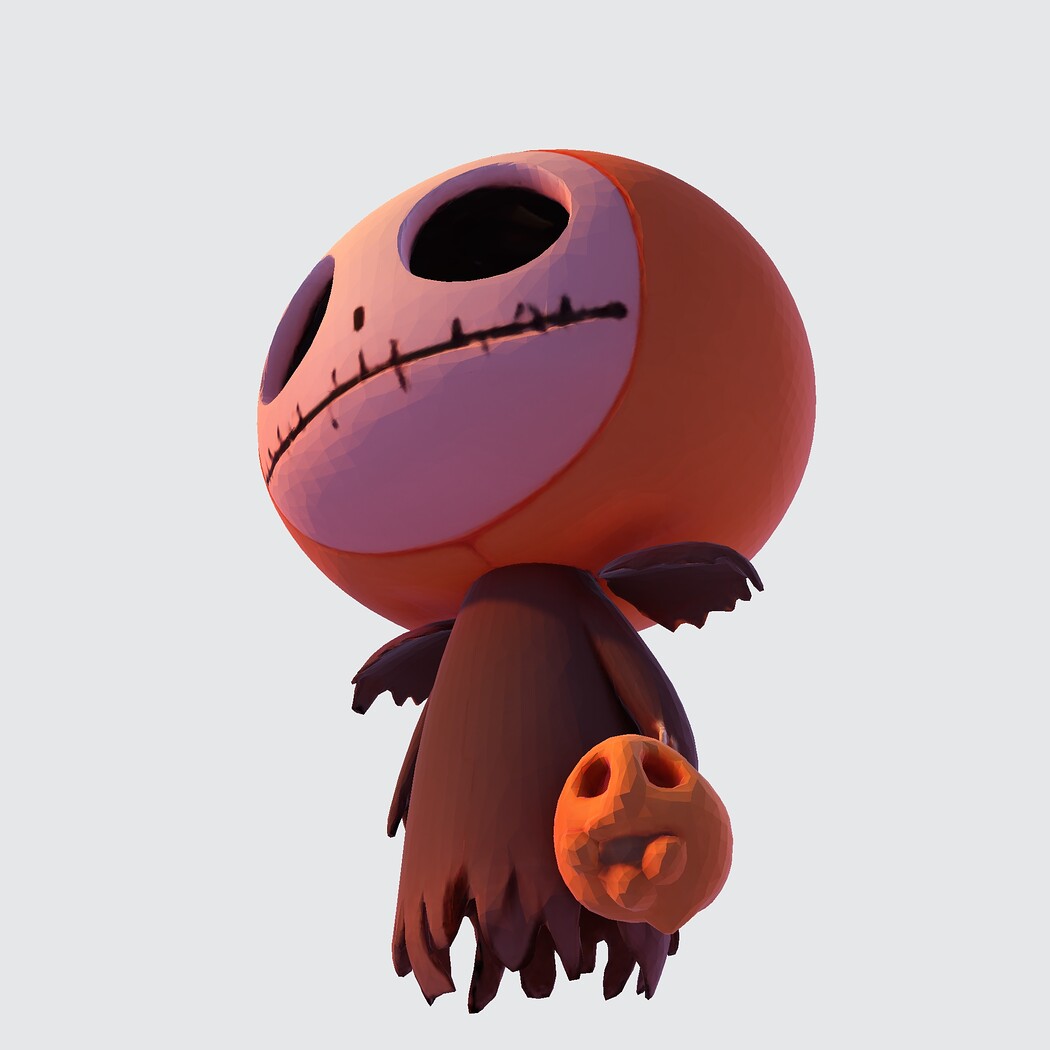
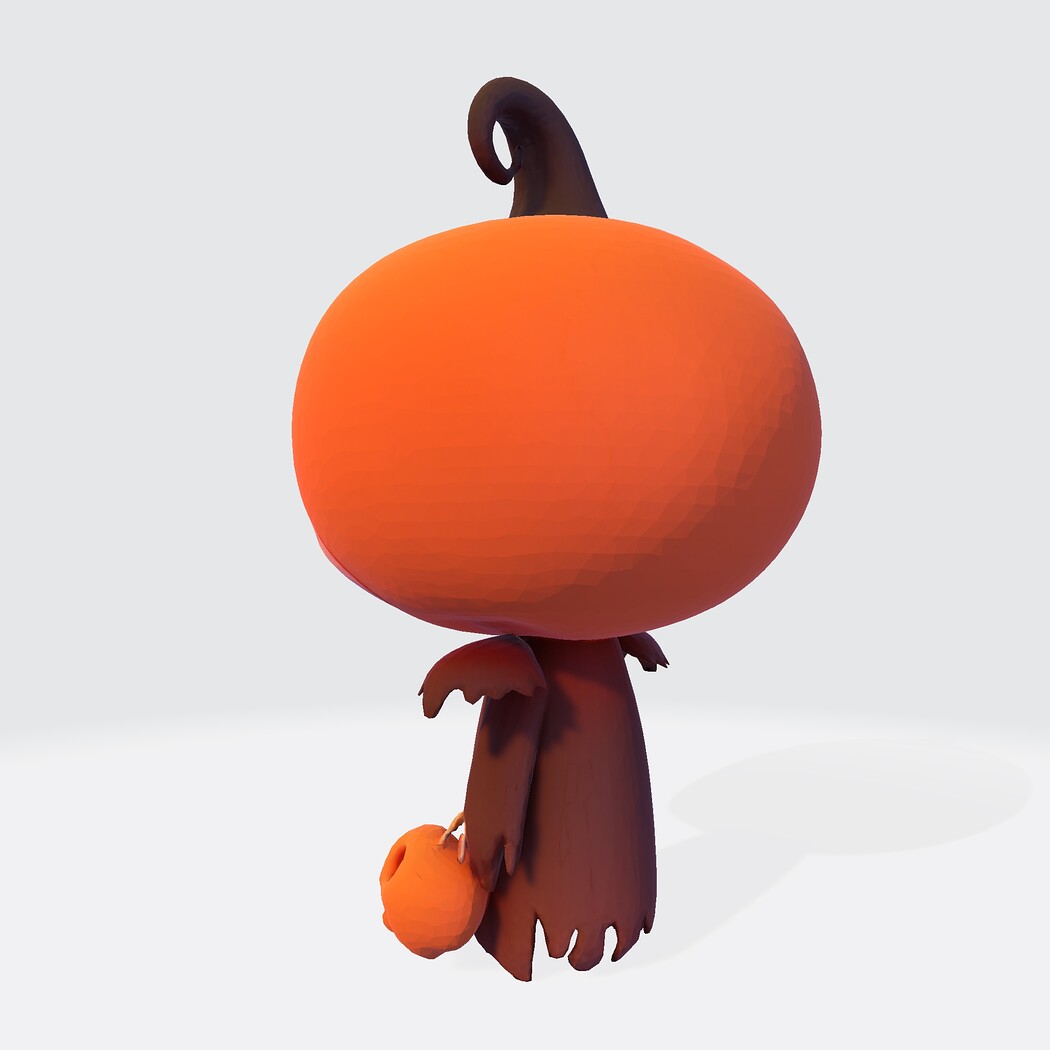
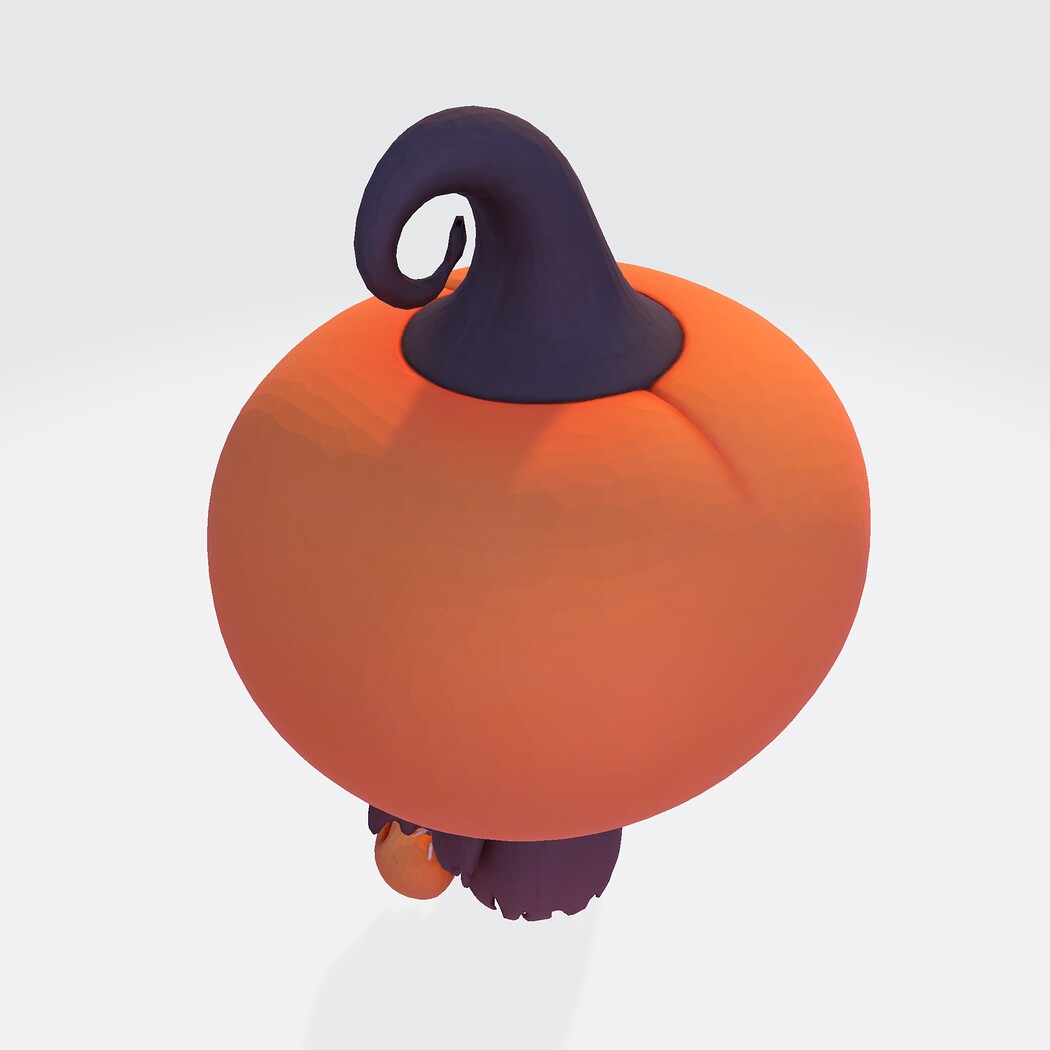
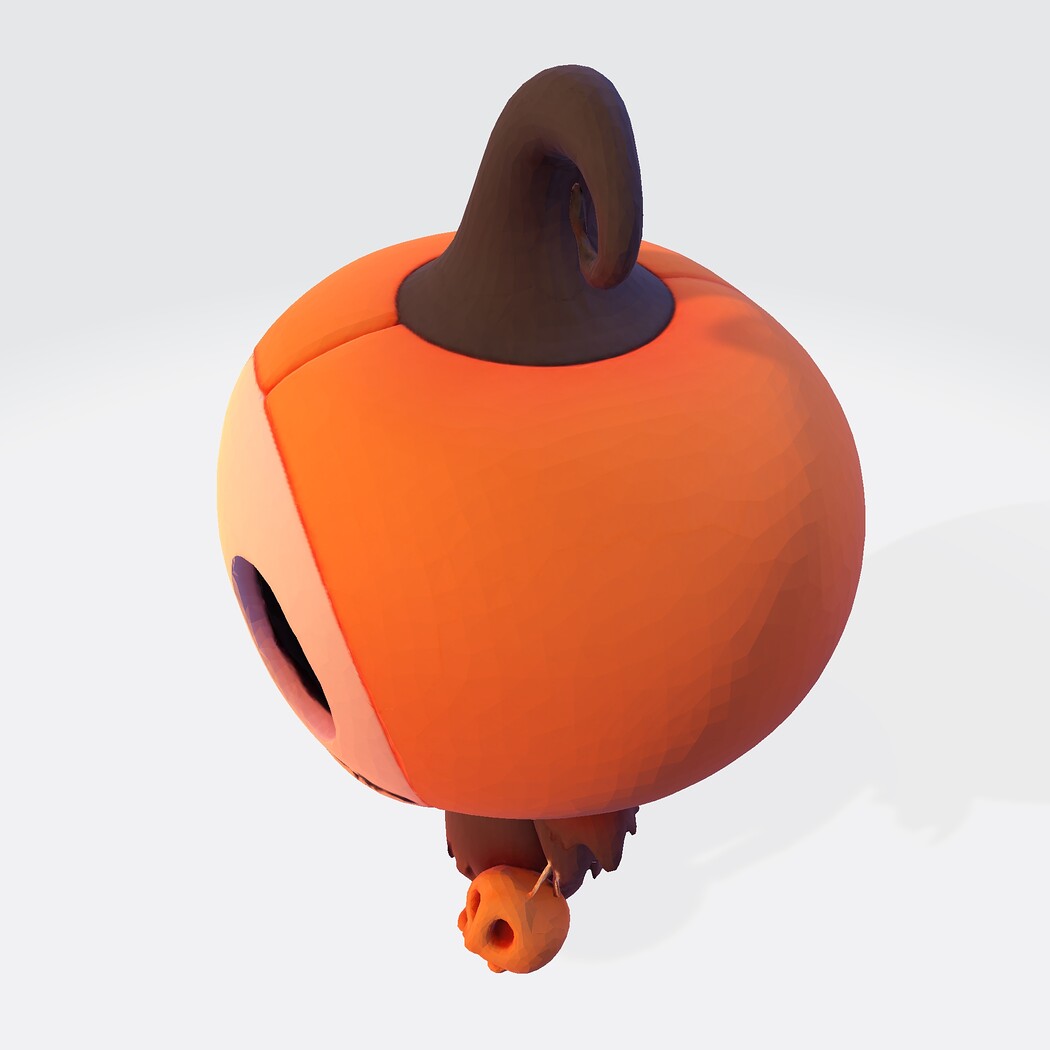
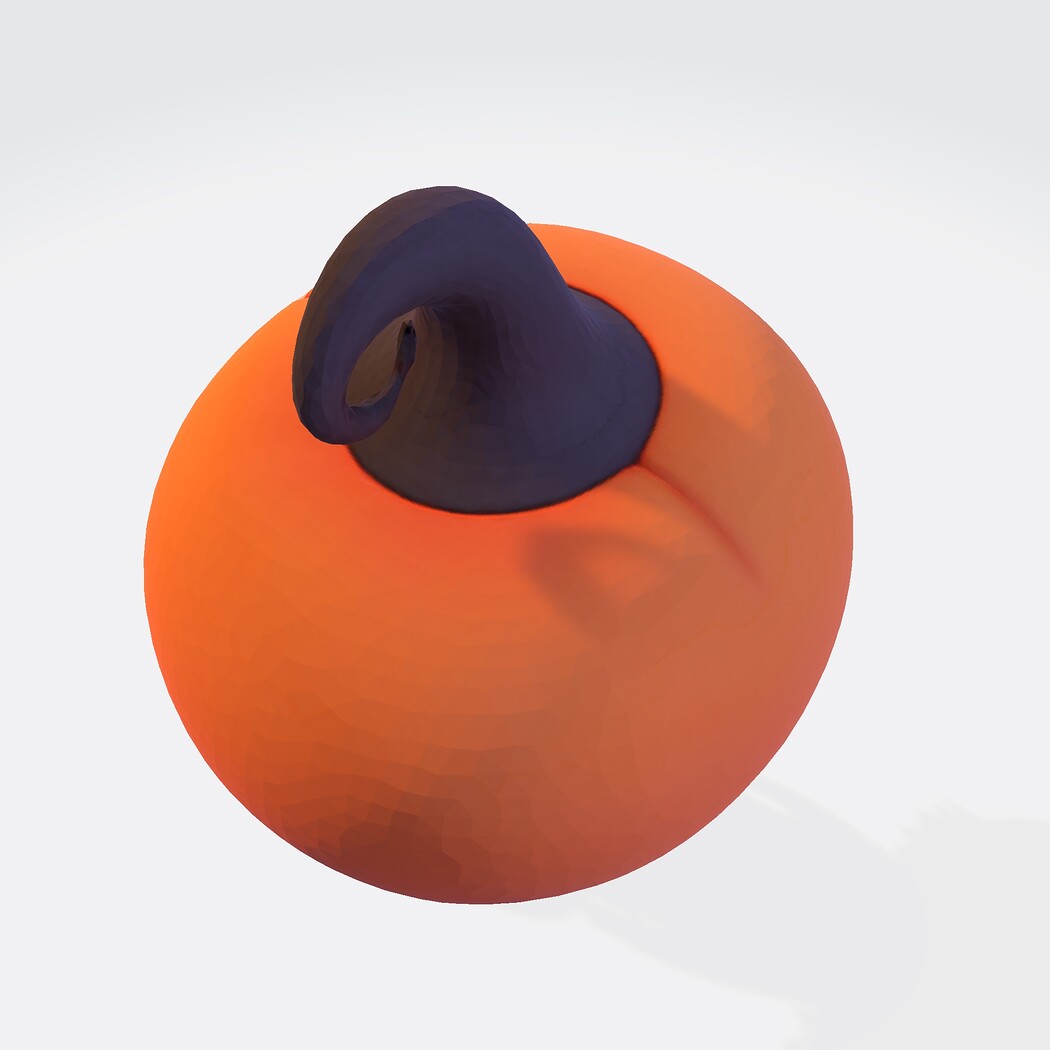
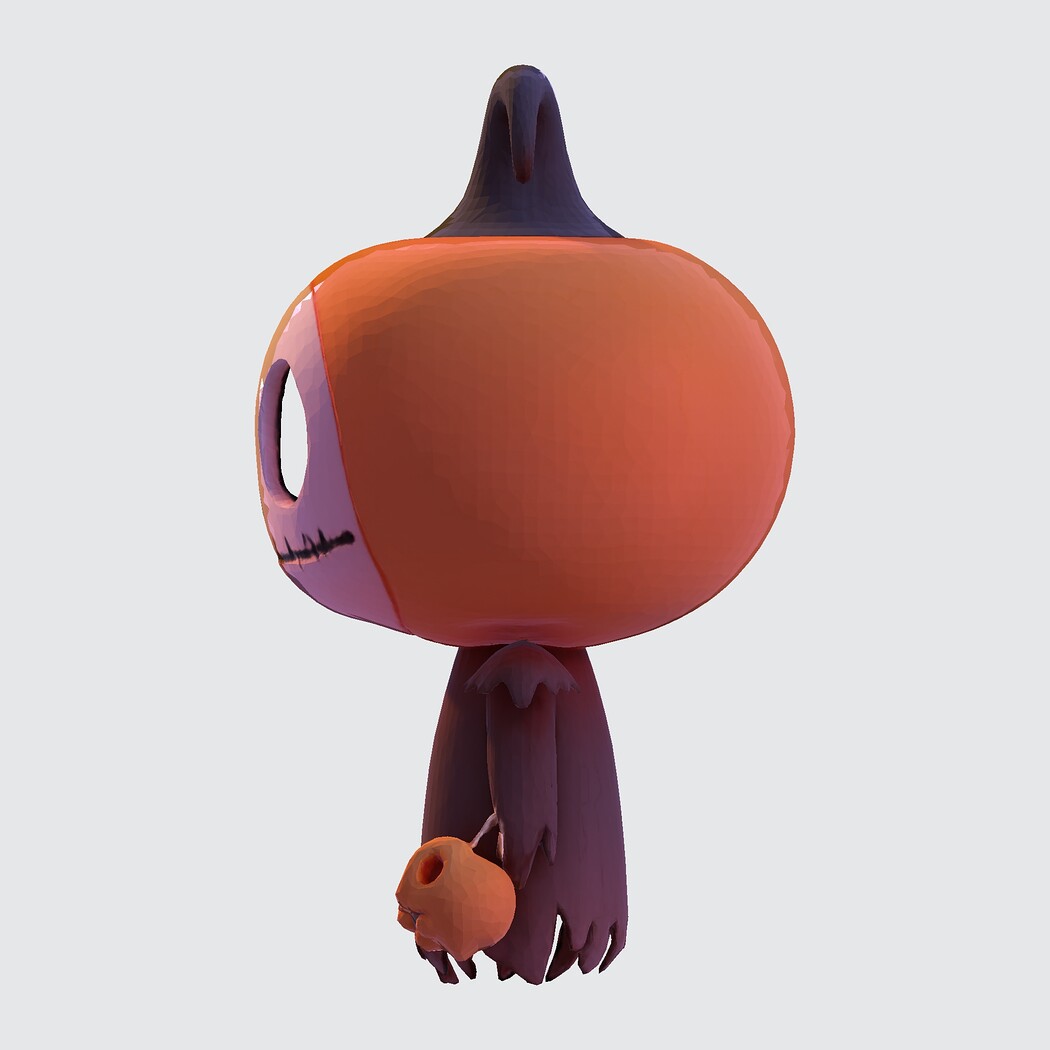
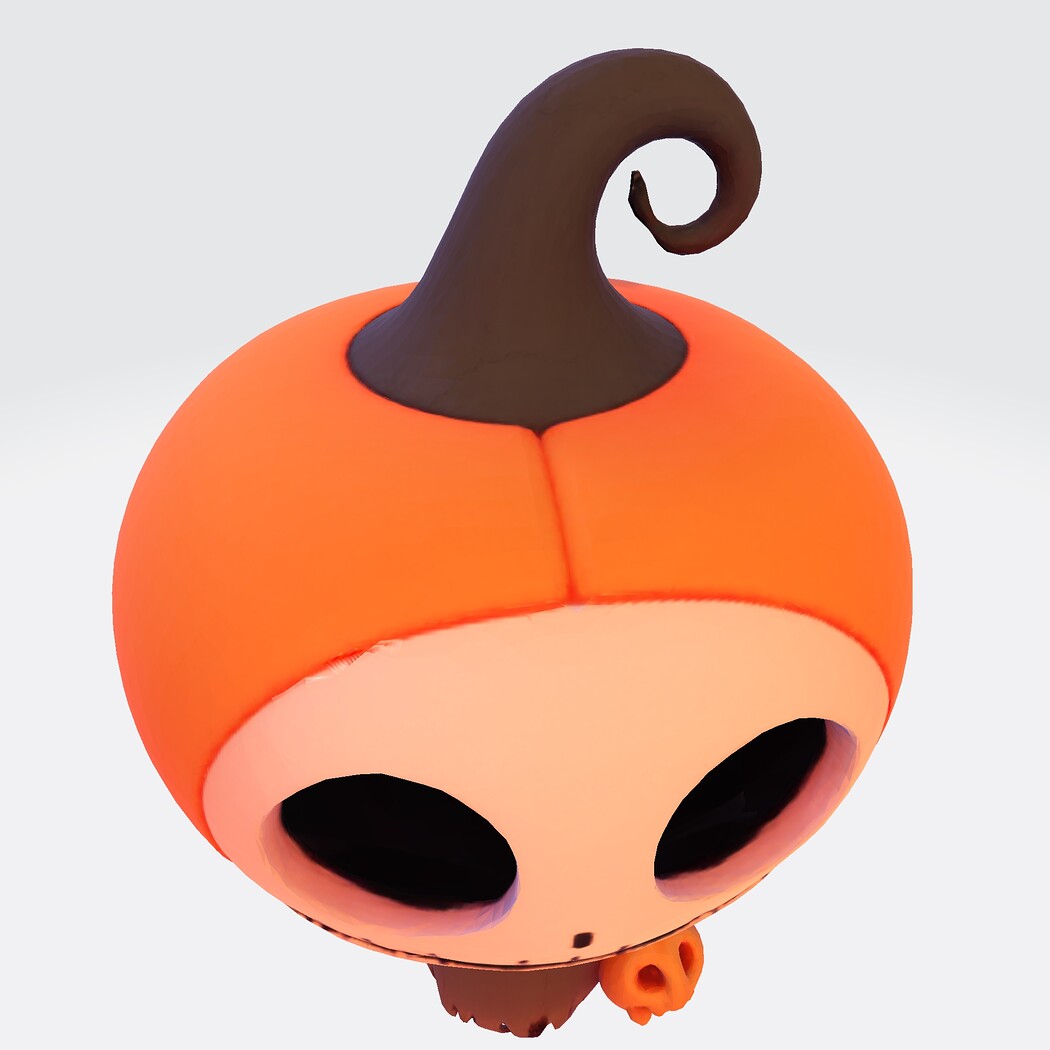



cute spooky creature
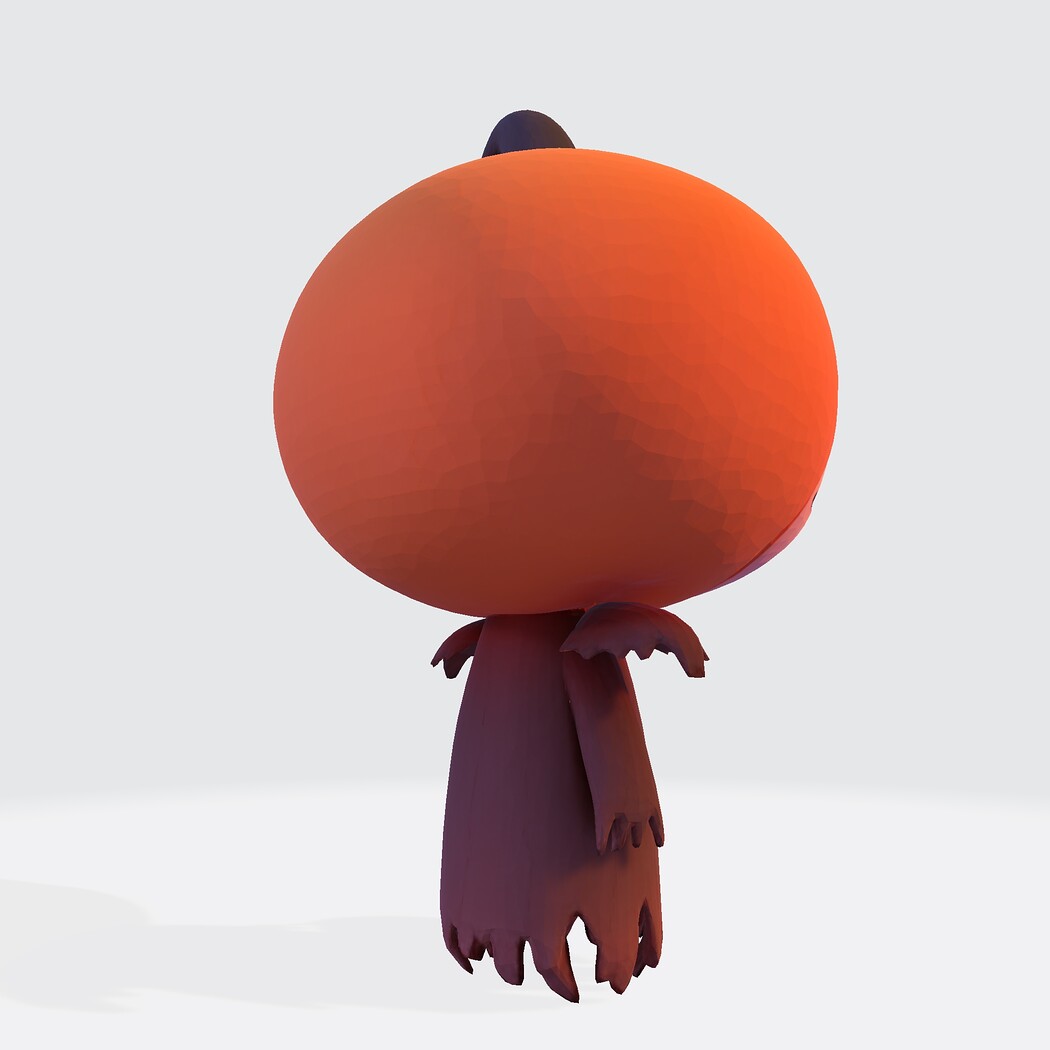
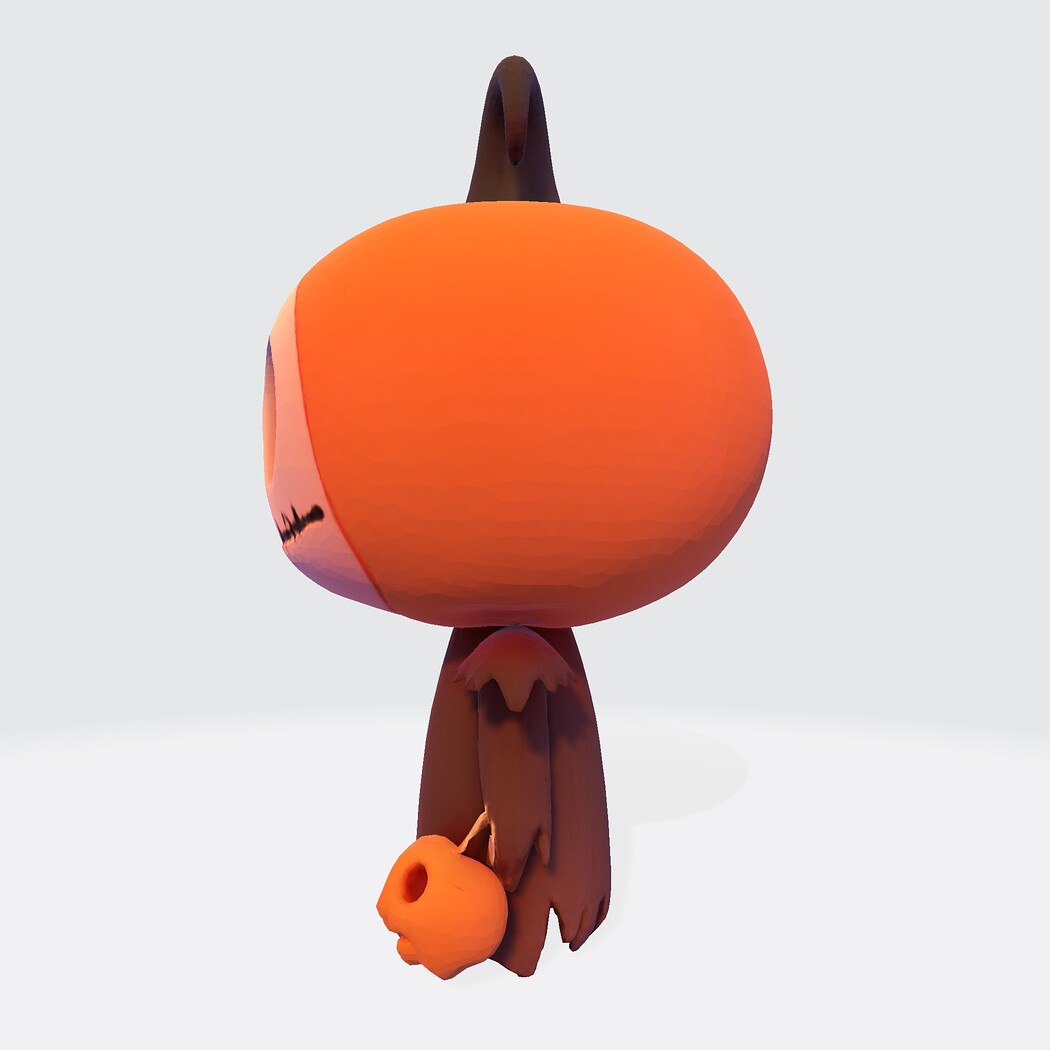
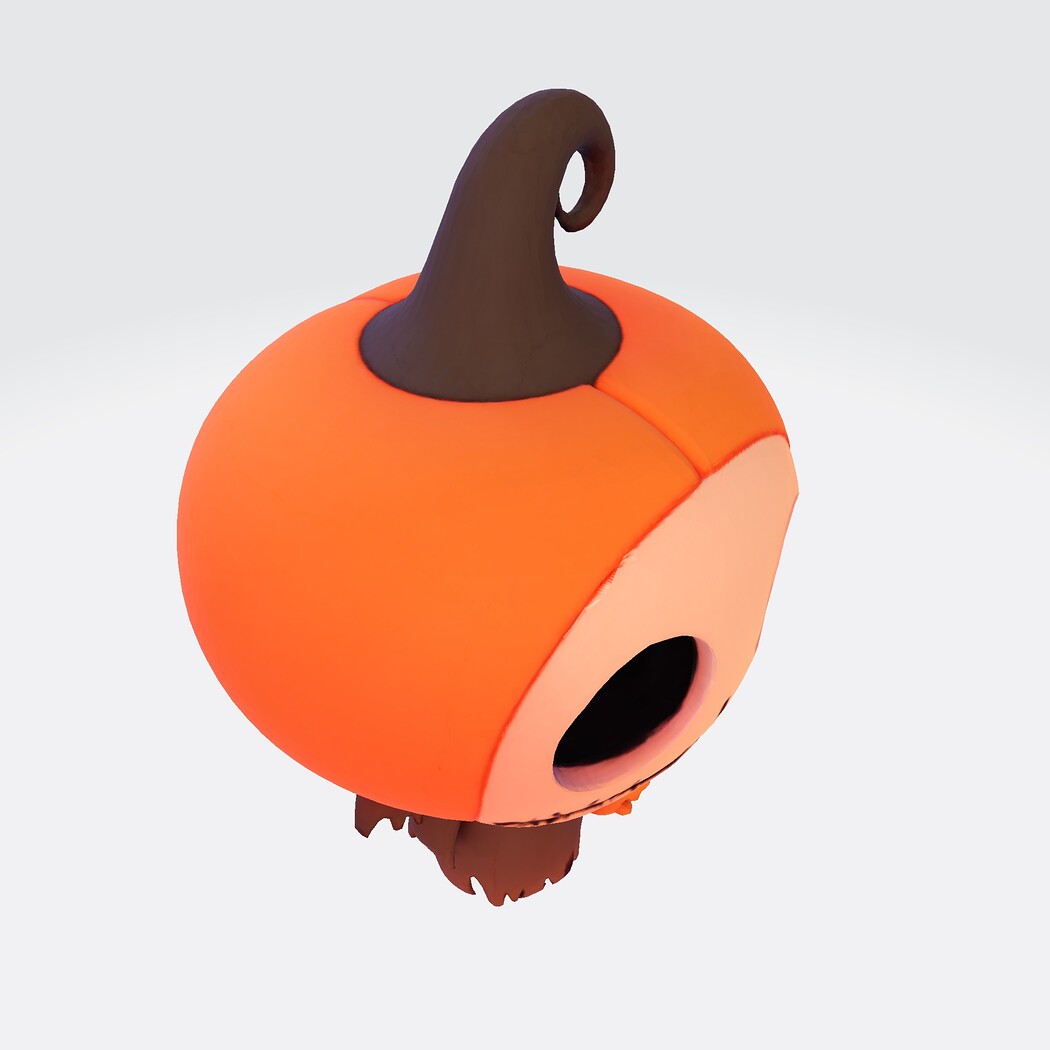
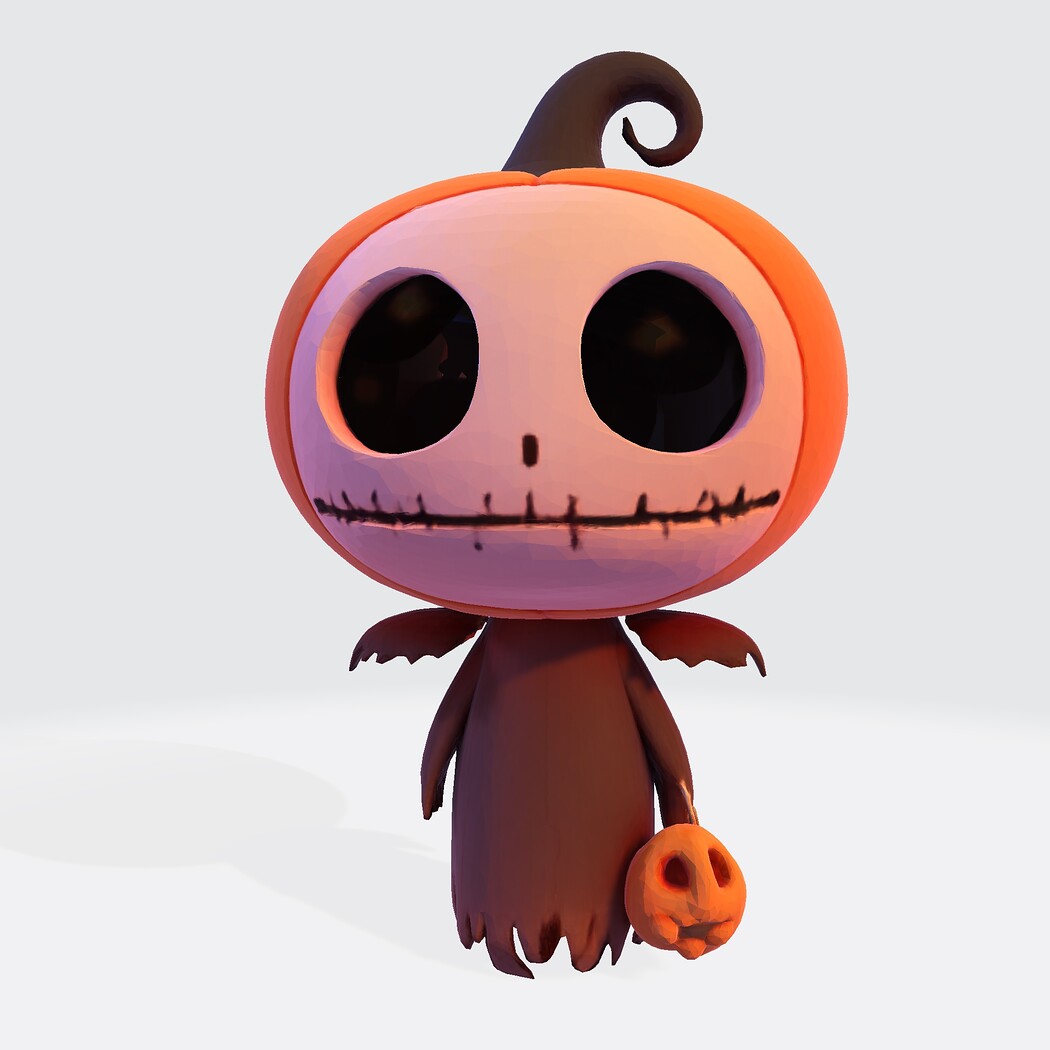
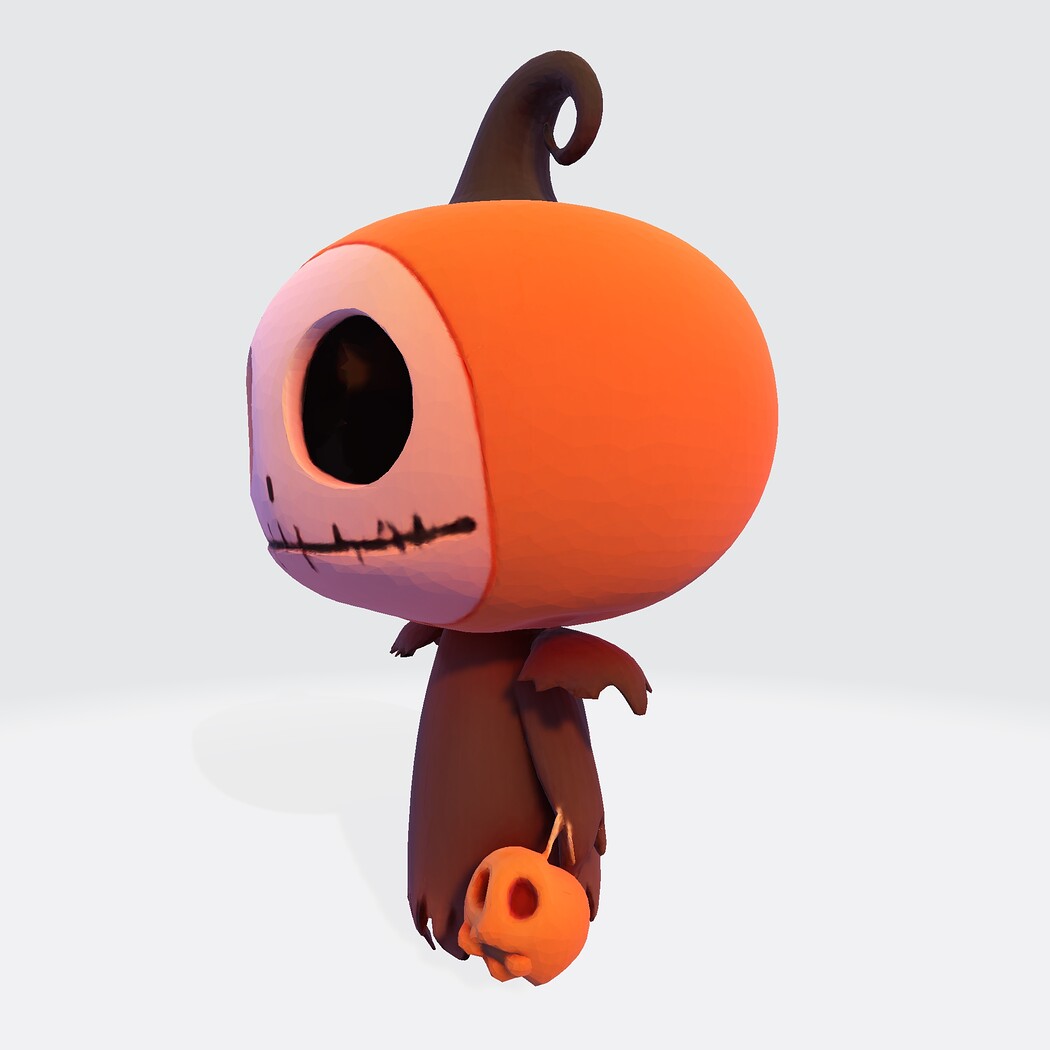
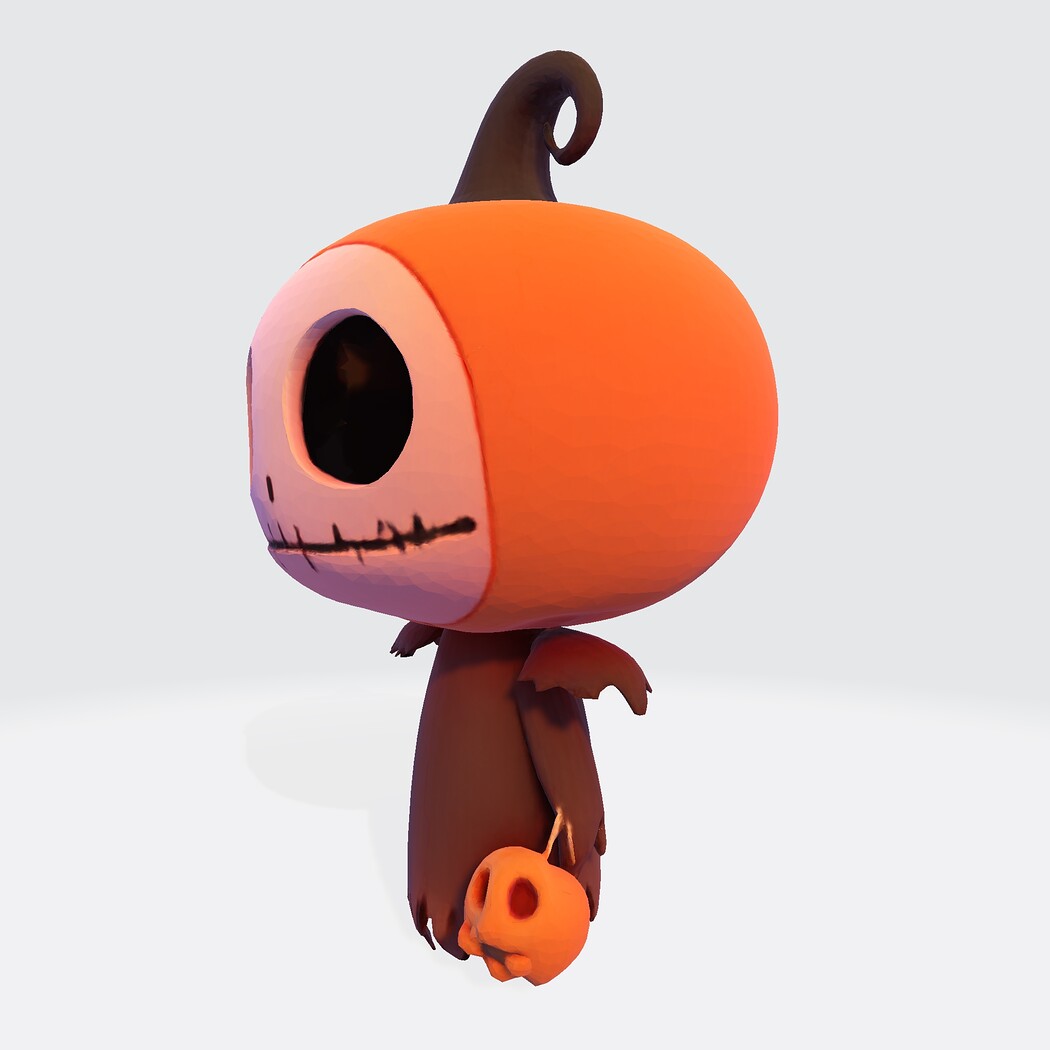
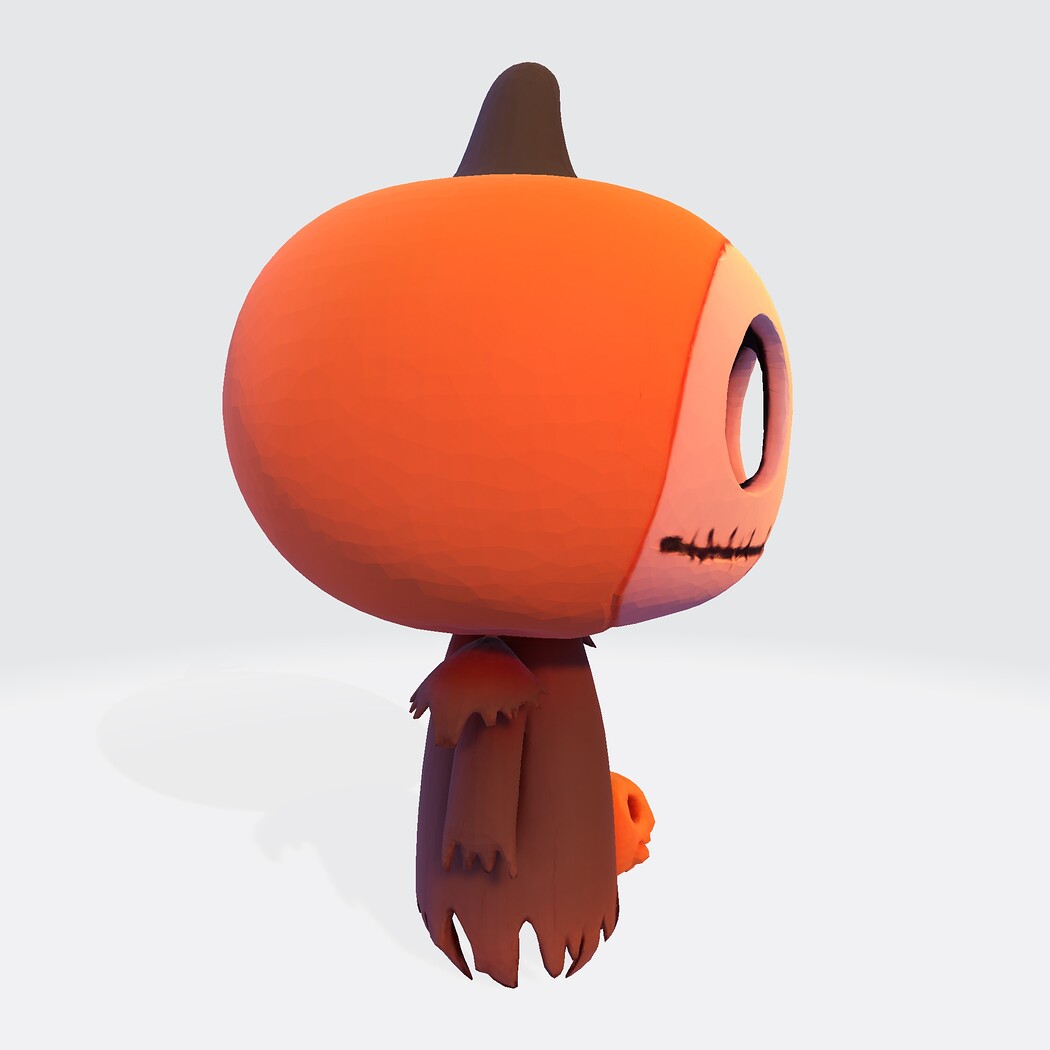
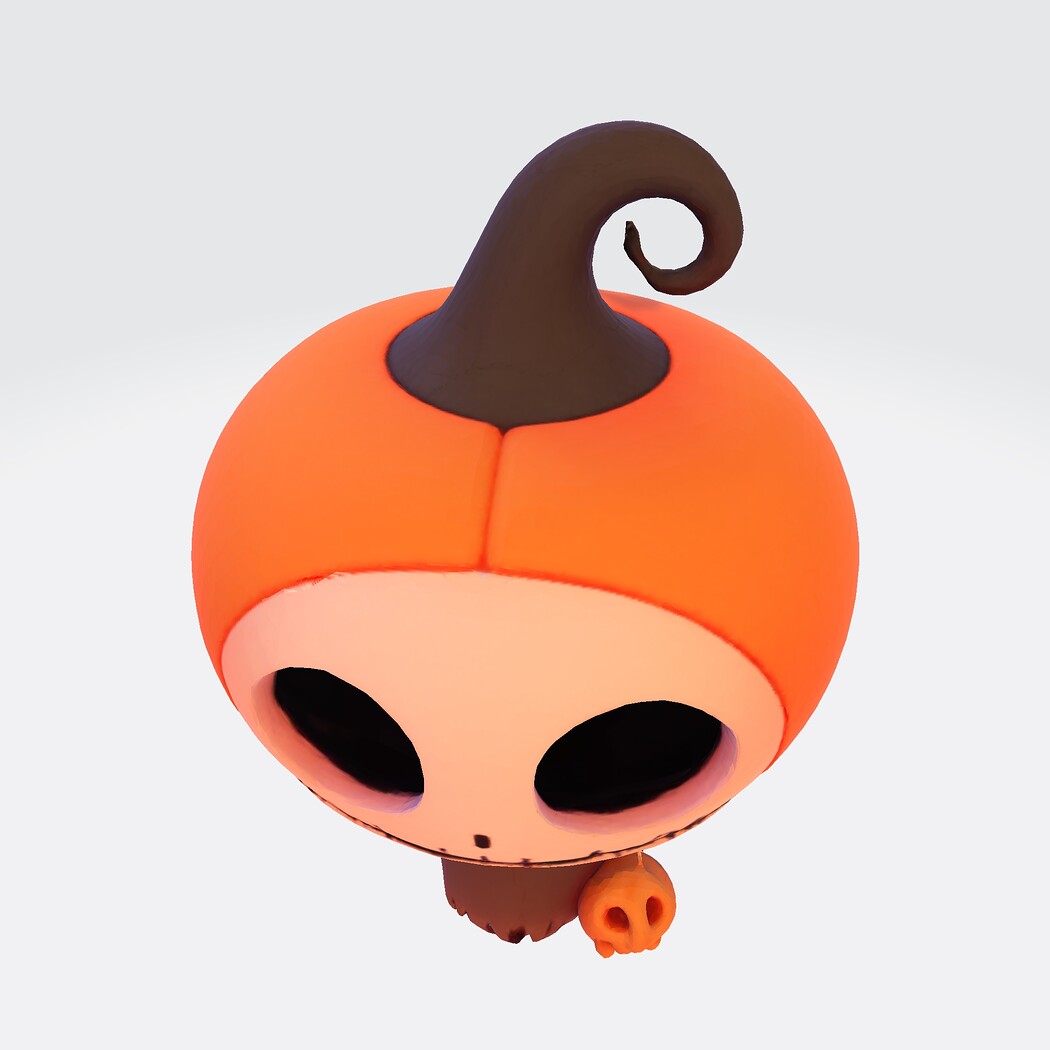
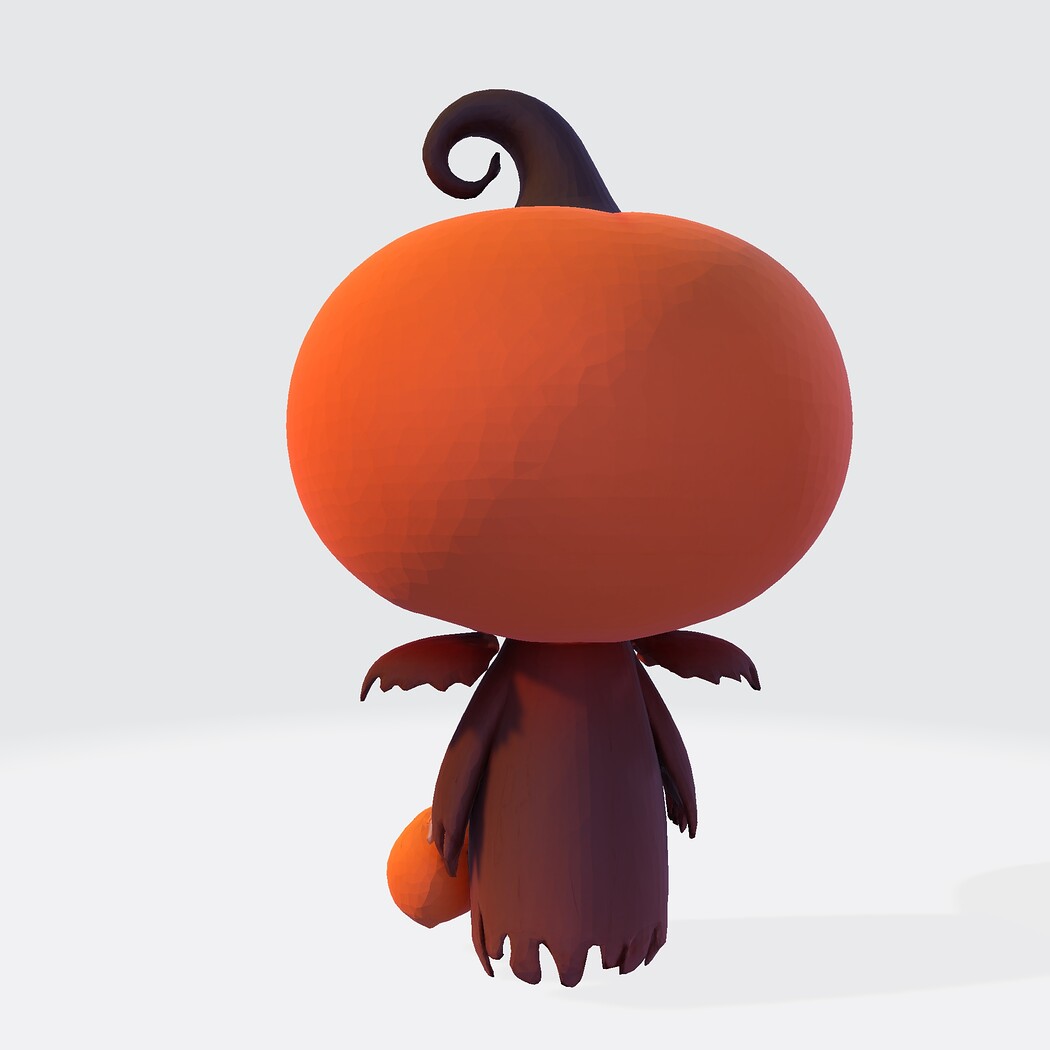
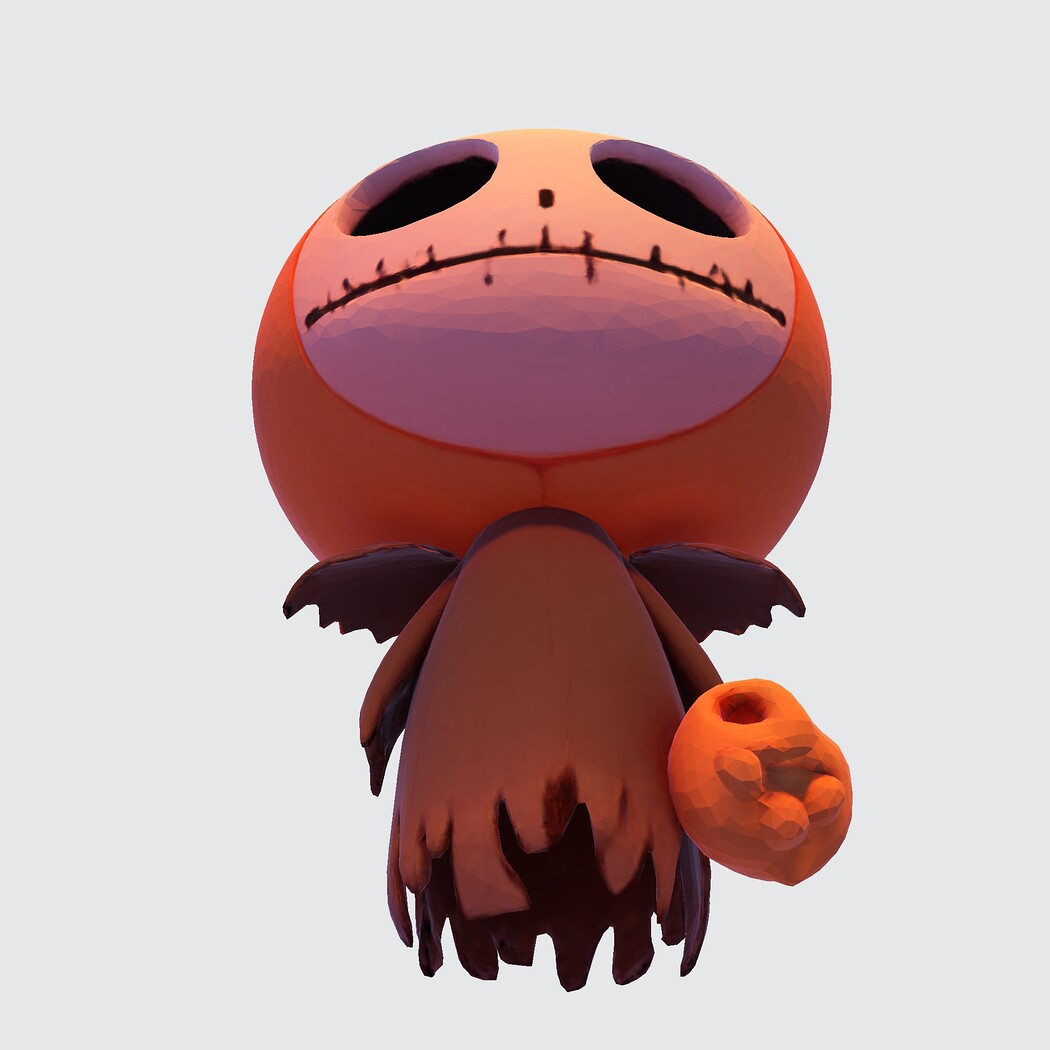
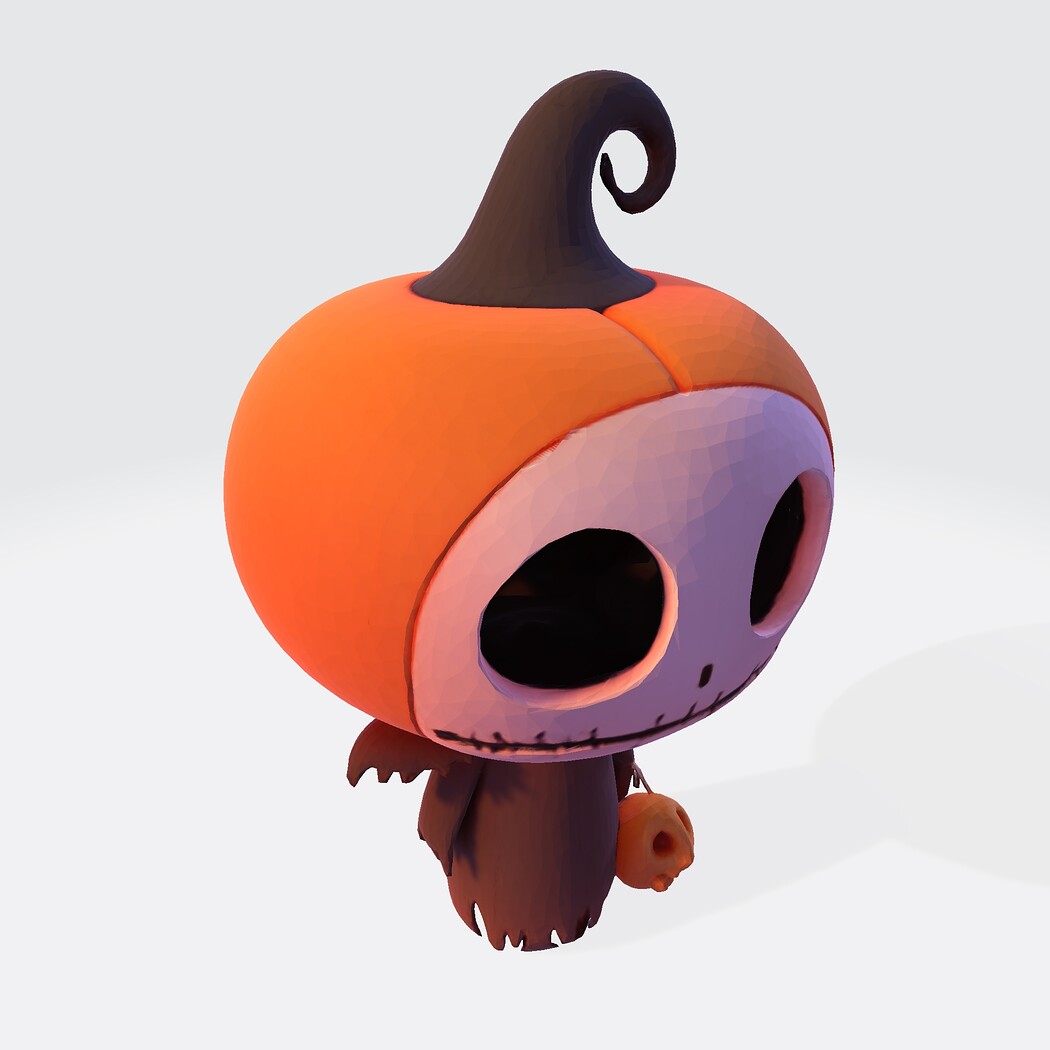
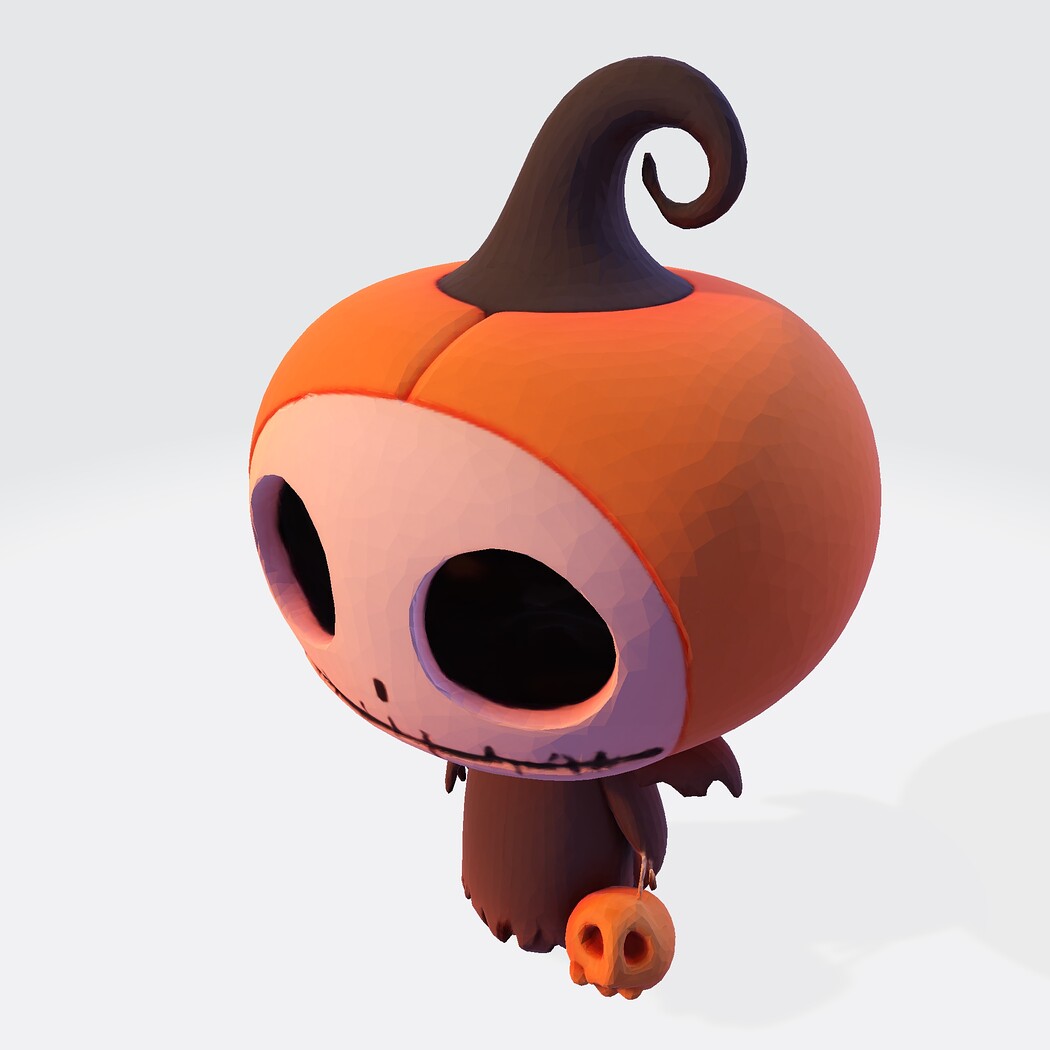
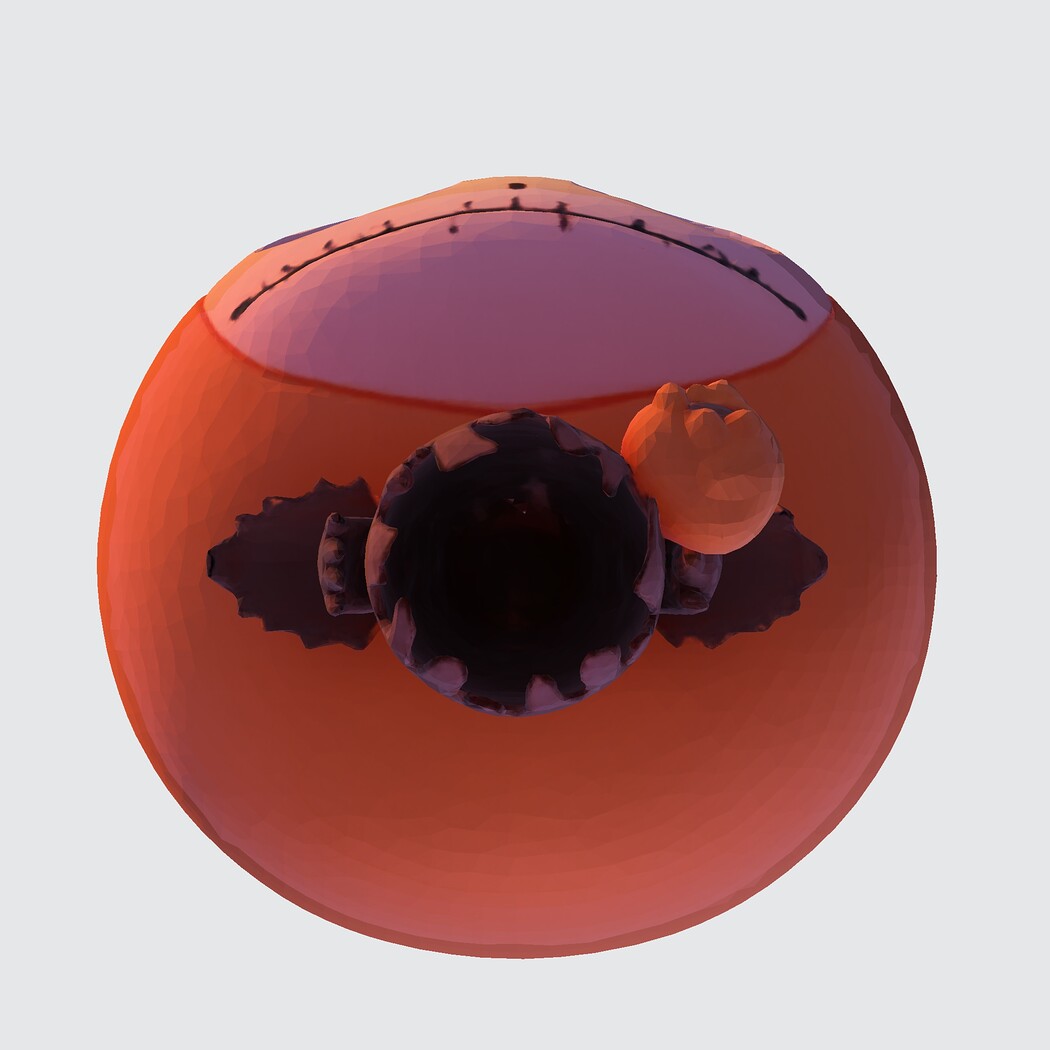
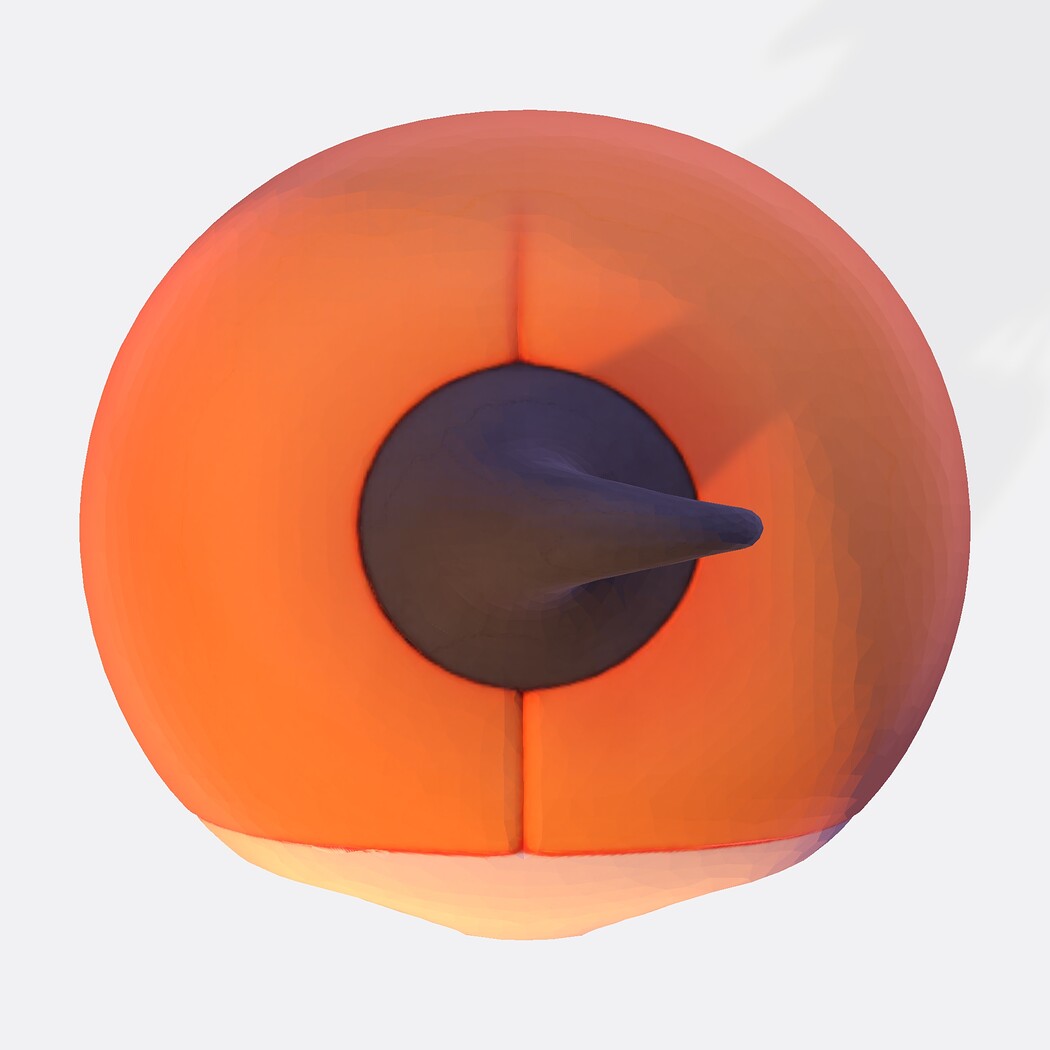
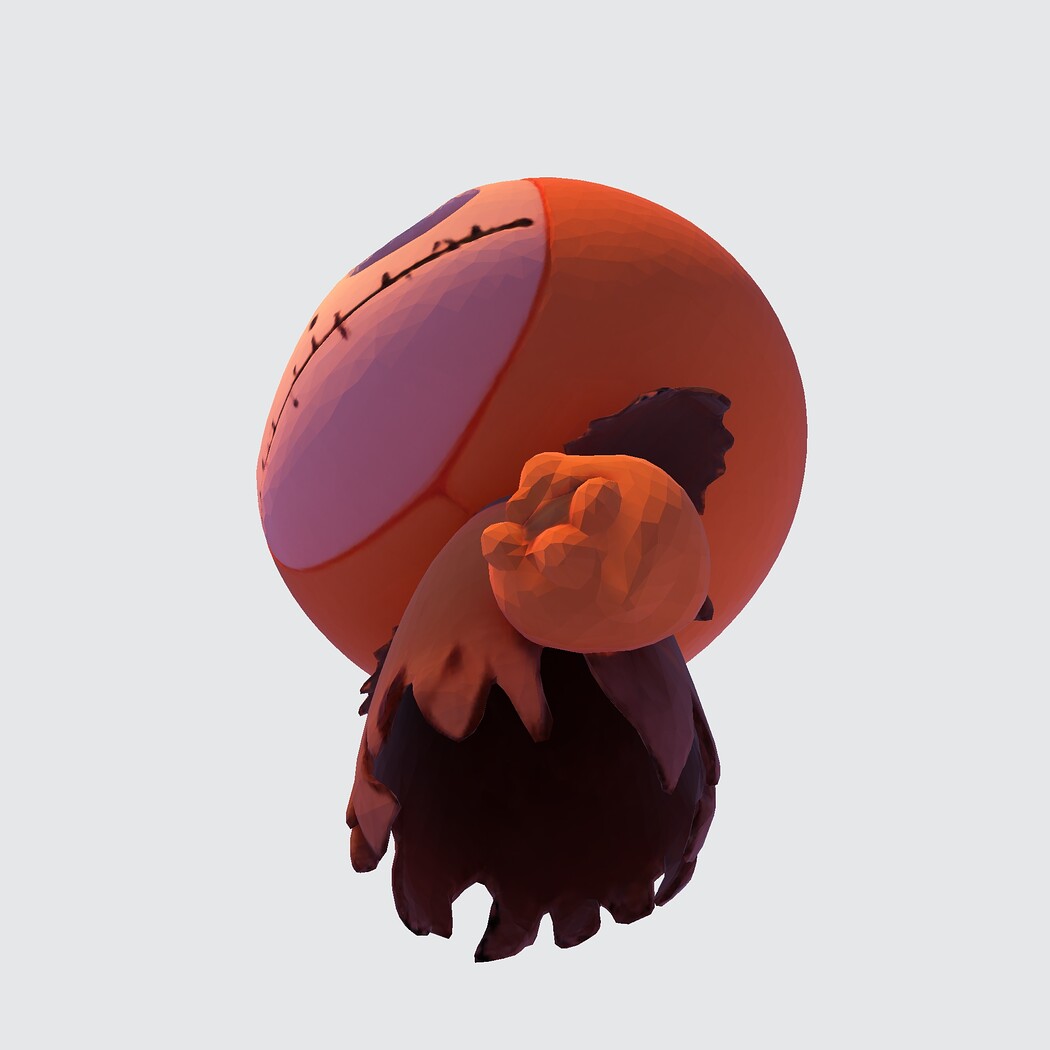
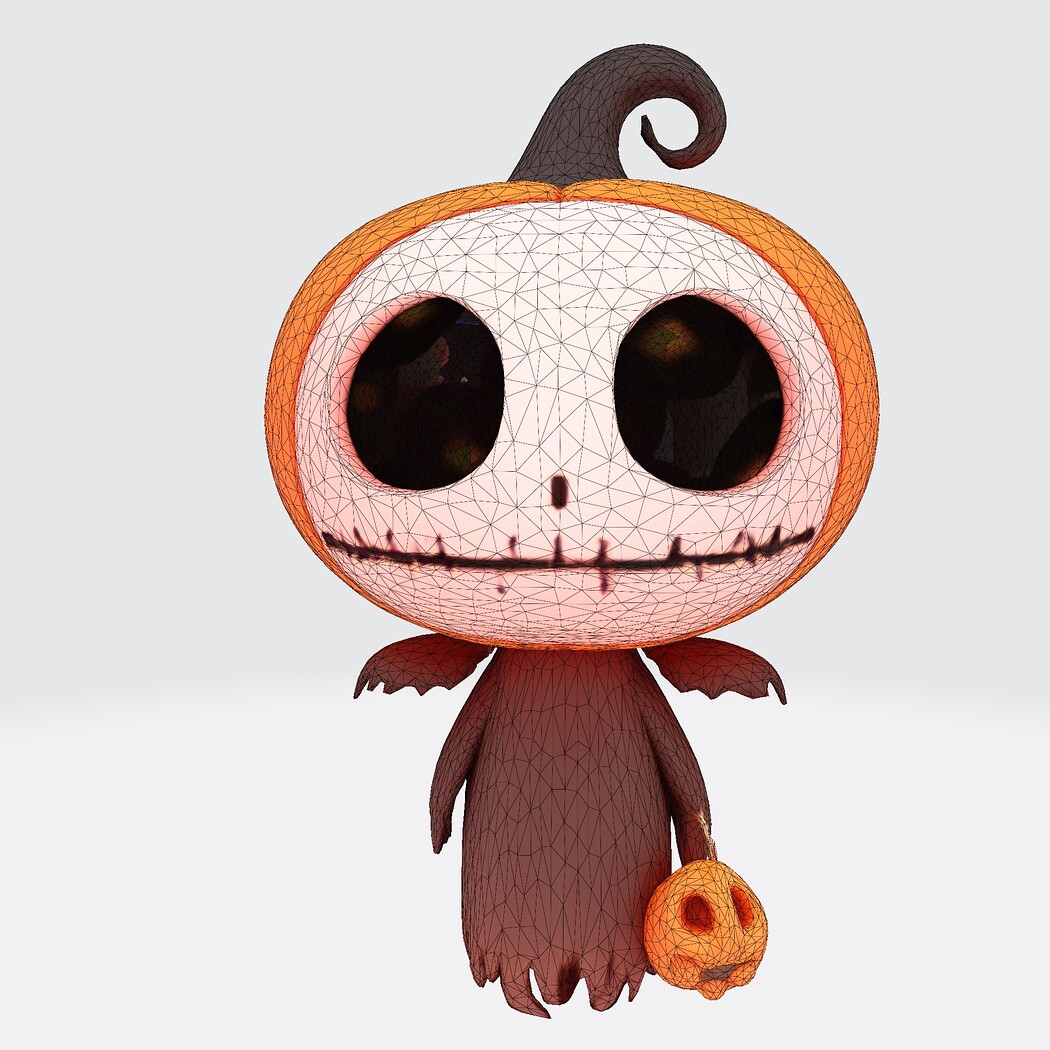
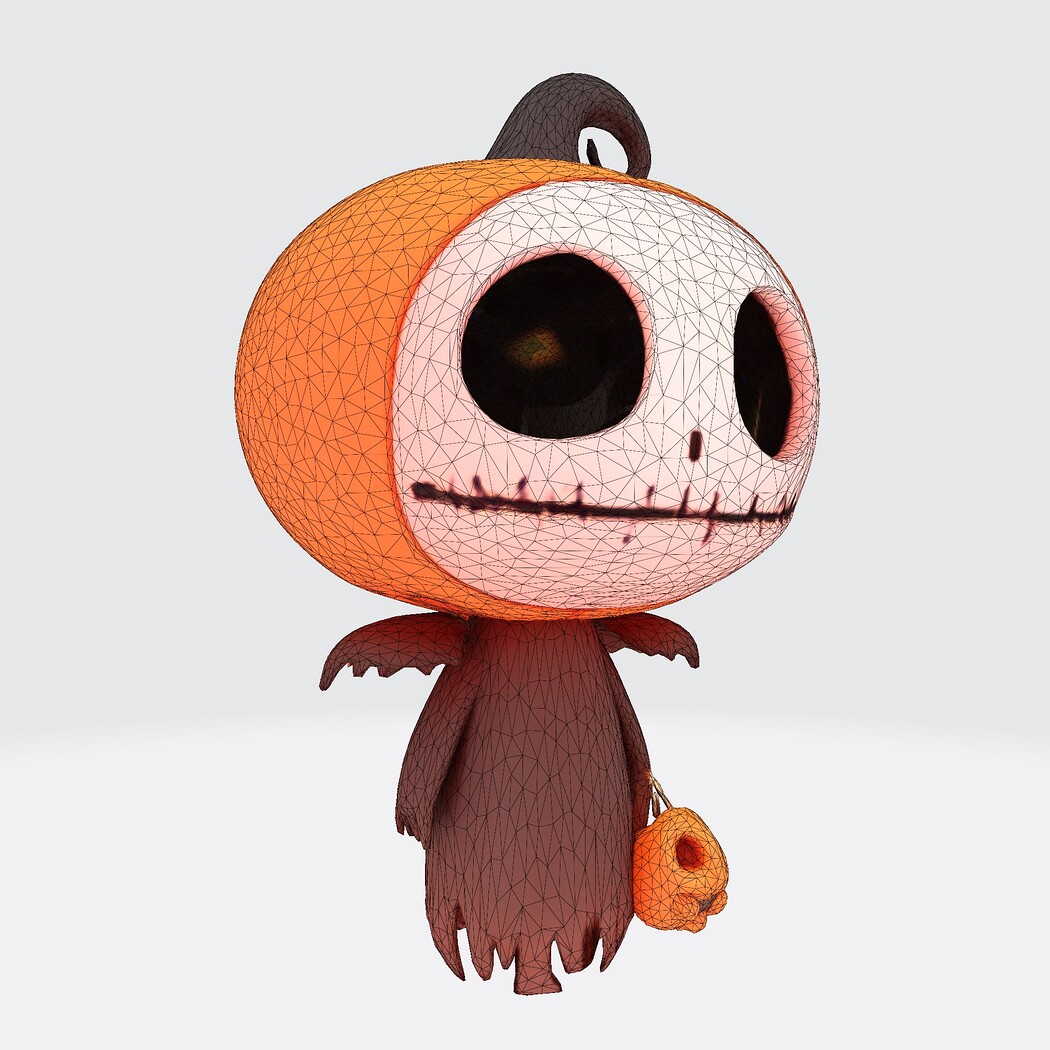
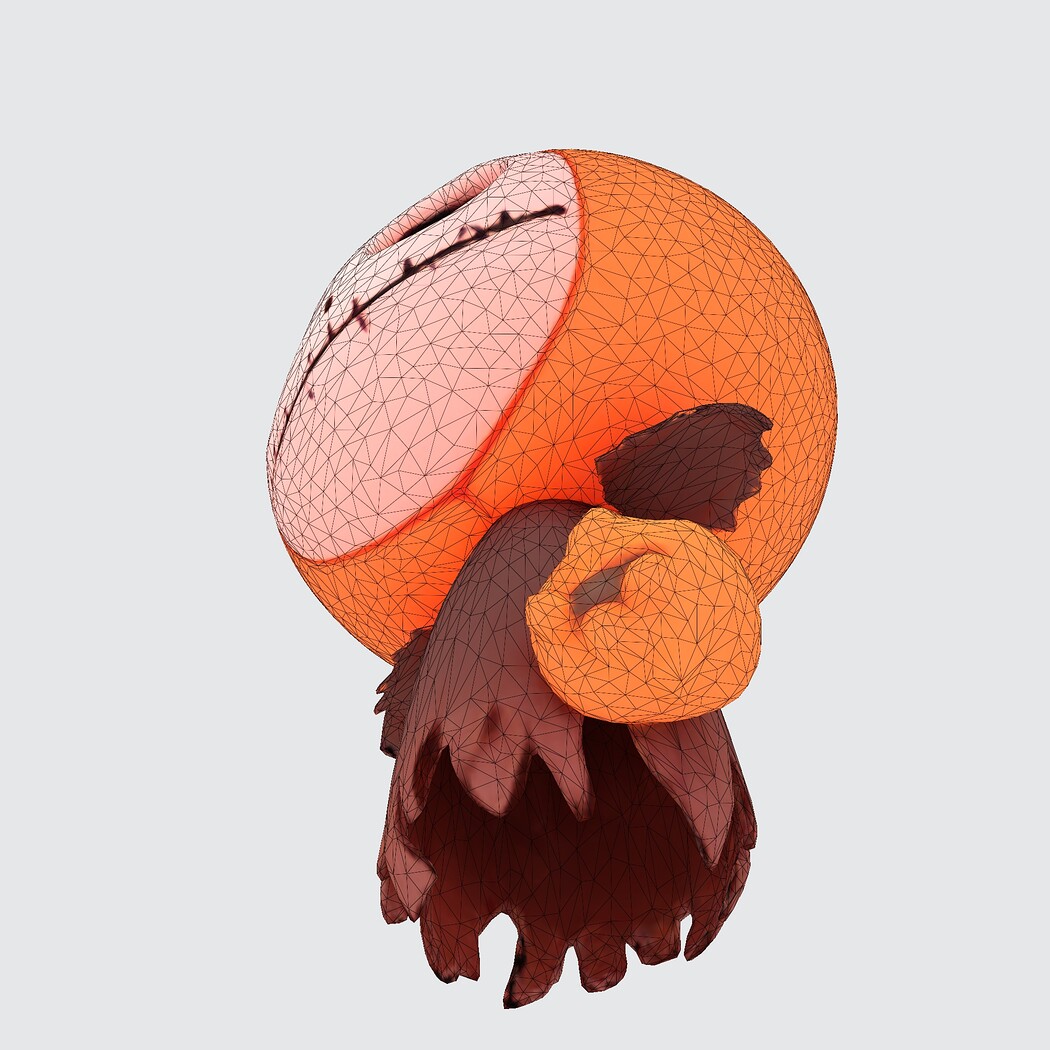
This stylized Halloween creature blends whimsy and eeriness in a compact, print-friendly design. Featuring a stitched pumpkin head, oversized hollow eyes, bat-like wings, clawed feet, and a mischievous pose holding a mini jack-o'-lantern, it’s a perfect fusion of fantasy and seasonal charm. The character is ideal for decorative use, collector displays, Halloween dioramas, or as a giftable figurine for fans of spooky-cute aesthetics.
What makes this model essential is its original silhouette, balanced geometry, and print-optimized proportions. It’s designed to be easy to slice, stable on the bed, and fun to paint, making it accessible for hobbyists and professionals alike. Whether printed in resin for crisp detail or PLA for quick production, it delivers high visual impact with minimal post-processing.
3D printing settings ⚙️ 3D Printing Settings & Technical Details Category Specification Machine Type FDM (Creality Ender 3, Prusa MK4, Bambu Lab X1), Resin (Elegoo Mars, Anycubic Photon) Materials PLA (recommended for ease and safety), PETG (durability), ABS (requires enclosure), Resin (for high detail) Layer Resolution FDM: 0.16–0.2 mm; Resin: 0.05 mm Model Size Default: 100 mm tall × 70 mm wide × 60 mm deep (scalable) Manufacturing Time FDM: ~2–3 hours; Resin: ~2 hours Infill Settings FDM: 15–20%; Resin: Hollow with 2 mm wall thickness Supports Required Yes – built-in under wings, arms, and pumpkin stem; minimal slicer-generated supports recommended Orientation Upright with base flat on bed for optimal adhesion and detail preservation 🧩 Assembly & Finishing Instructions Post-Processing (FDM):
Remove supports using flush cutters or pliers
Sand lightly with 220–400 grit sandpaper
Apply filler primer and paint with acrylics or spray paints
Post-Processing (Resin):
Wash in isopropyl alcohol (IPA), cure under UV light for 2–5 minutes
Sand gently and paint with enamel or acrylic paints
Assembly:
Single-piece model; no gluing or multi-part assembly required
Optional: Add felt pad under base for anti-slip or display enhancement
Online Guide:
Create a visual step-by-step finishing and painting guide using Cadasio
Include exploded views, sanding zones, and paint layer suggestions for hobbyists
🛡️ Safety Standards & Compliance Use: Decorative only – intended for display, seasonal decor, or collector shelves
Child Safety: Not suitable for children under 3 years due to small parts and pointed features
Food Contact: Not food-safe – do not use near consumables
Compliance: Non-critical part; conforms to general hobbyist safety standards for indoor use
Model Details
- FormatsPLY, STL, WRL, BLEND, DAE, FBX
- Polygons25000
- Vertices25000
- animatedno
- materialsno
- texturesyes
- riggedno
- uvsyes
- 3d print readyyes
You will get 17 files
All files previously purchased will always be available for download in your Library
- spooky creature cute PLY.zip260.98 KB
- spooky creature cute 3MF.zip1.57 MB
- spooky creature cute STL.zip290.71 KB
- spooky creature cute OFF.zip320.31 KB
- spooky creature cute AMF.zip382.09 KB
- spooky creature cute ABC.zip449.02 KB
- spooky creature cute ASE.zip450.73 KB
- spooky creature cute WRL.zip531.99 KB
- spooky creature cute BLEN...822.38 KB
- spooky creature cute.stl1.08 MB
- spooky creature cute GLB.zip1.3 MB
- spooky creature cute DAE.zip1.37 MB
- spooky creature cute GLTF...1.37 MB
- spooky creature cute SKP.zip1.52 MB
- spooky creature cute 3MF.3mf1.58 MB
- spooky creature cute GLB.glb1.49 MB
- spooky creature cute FBX.zip1.68 MB