

Roof Tile Texture Tutorial
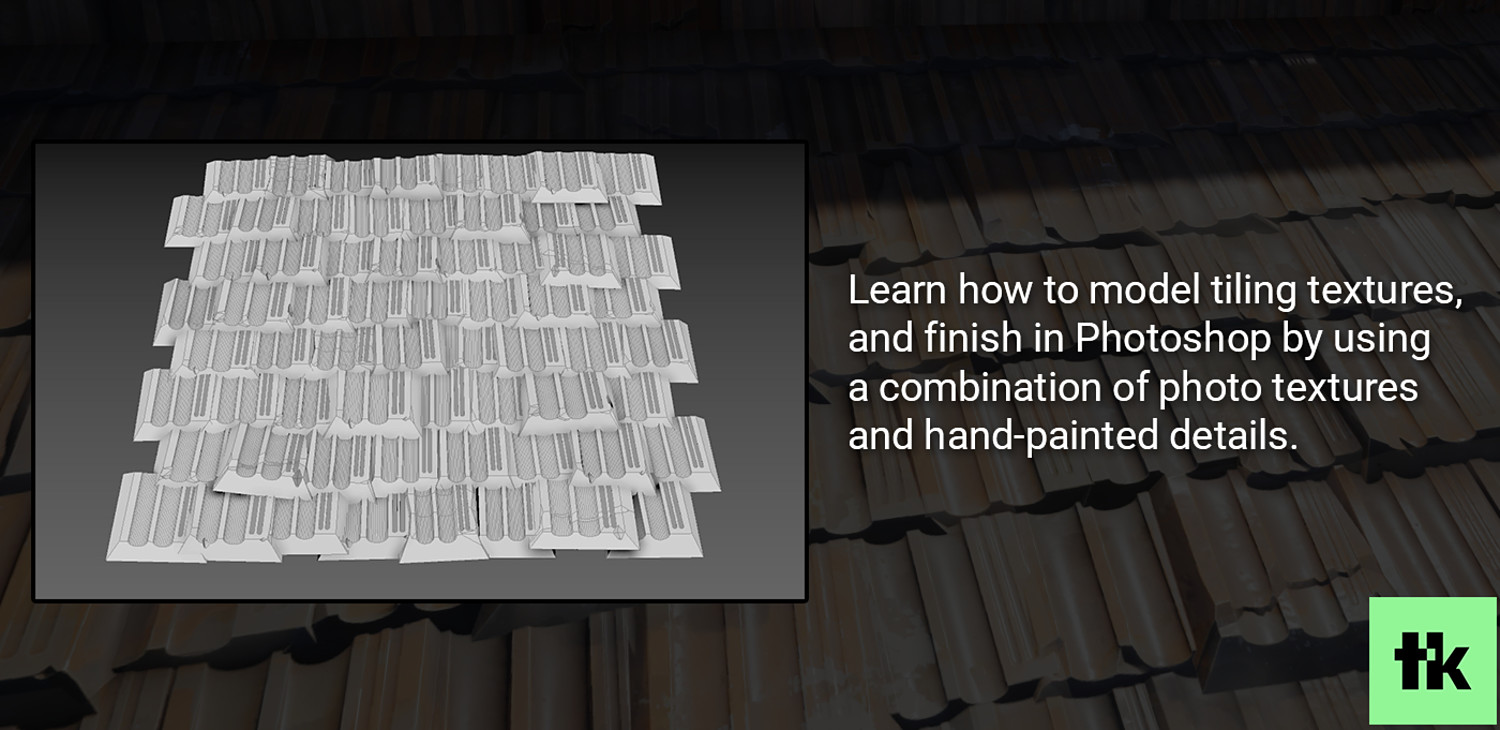
In this tutorial, I show how you can quickly model tiling textures using your preferred modeling package, finishing it up in Photoshop.
Summary I will start with a simple roof tile, and lay it out in a tileable pattern. I then create variation by duplicating and tweaking the original tiles, and randomizing each tiles position/scale/rotation.
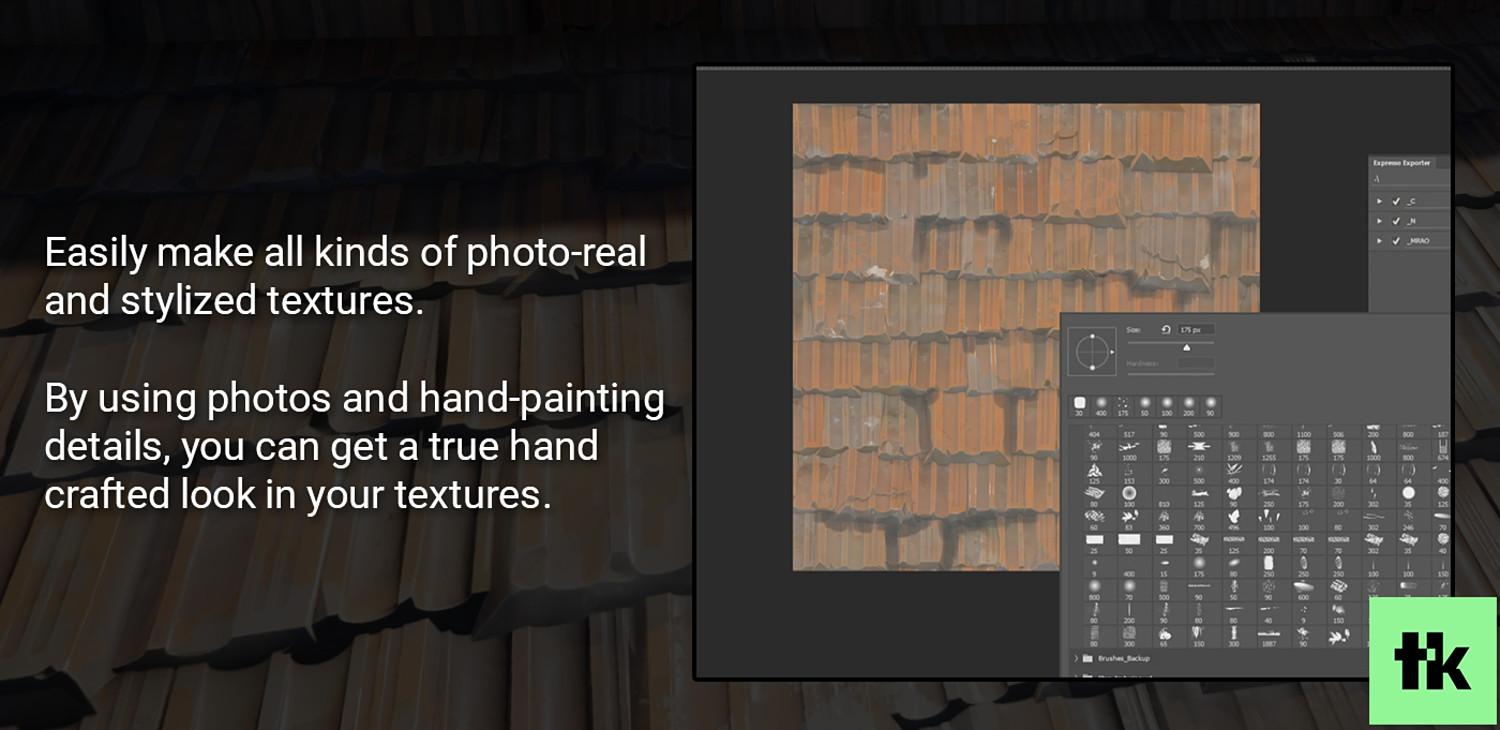
Next, I fix any overlapping errors by hand. Once my high-poly is finished, I bring the baked maps to Photoshop, and use a combination of photo sources and hand-painted details to finish the texture.
Workflow If you are familiar with other software, such as Zbrush and Substance, you should be able to integrate them in different parts of the workflow (for example, you can leverage SD's procedural tools to create masks, and Zbrush to sculpt the individual tiles).
This workflow can be used to create all sorts of textures: Sidewalks, stone or brick walls, tile floors, you name it.
This is how I create most of my textures for Overwatch, and the goal of this tutorial is to teach how to make hand-crafted textures like this.
Software used Maya, Photoshop, nDO, XNormal
Requirements Basic knowledge of a 3D modeling package and Photoshop.
What's included? 1.5+ hour of fully narrated content Photoshop actions/Maya scripts used Source files Free bonus video: How to Model Tiling Textures (16 minutes)
You will get 8 files
All files previously purchased will always be available for download in your Library