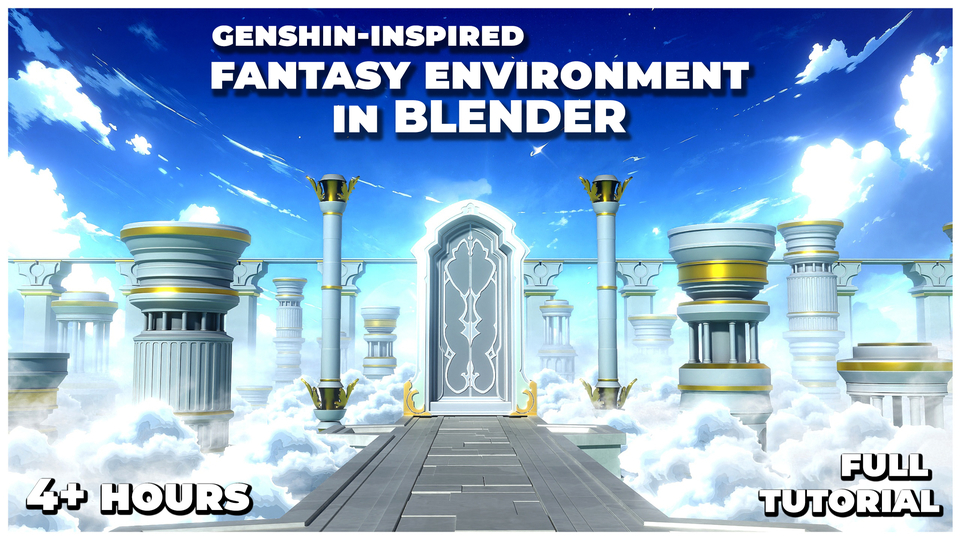
Create a Genshin-Inspired Fantasy Environment in Blender
Creating a Stylized Fantasy Environment in Blender
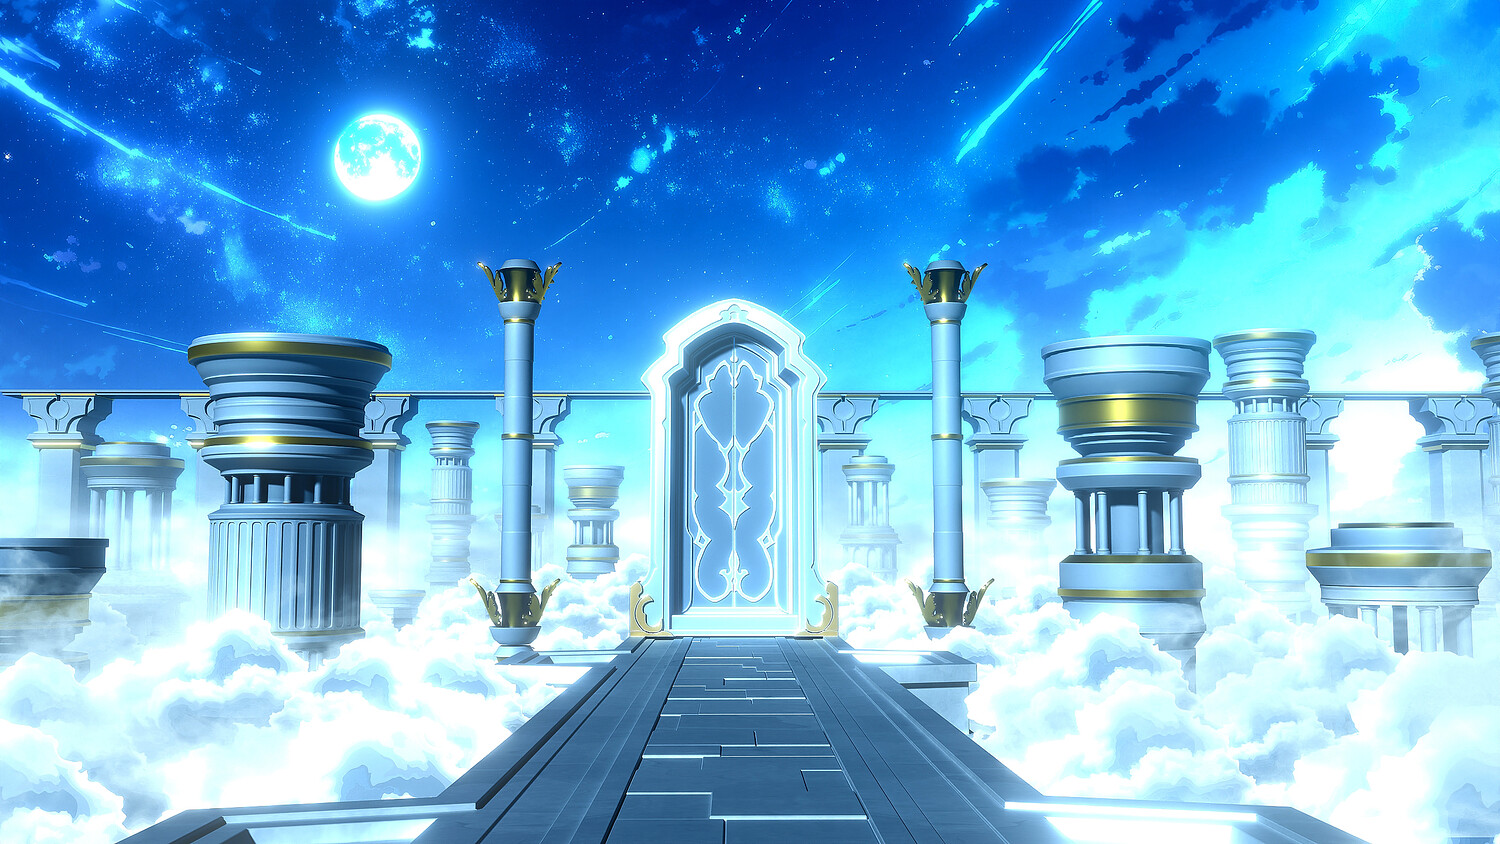
Welcome to this new course Creating a Stylized Fantasy Environment in Blender, where you’ll learn to create a beautiful fantasy scene — heavily inspired by Genshin Impact’s Loading Screen — from start to finish using just Blender.
🎥 You Will Get
- 18 Full HD video lectures with over 4.5+ hours of content and audio commentary
- All course files including
.blendfiles, HDRIs, textures, and more
🧱 What You’ll Learn
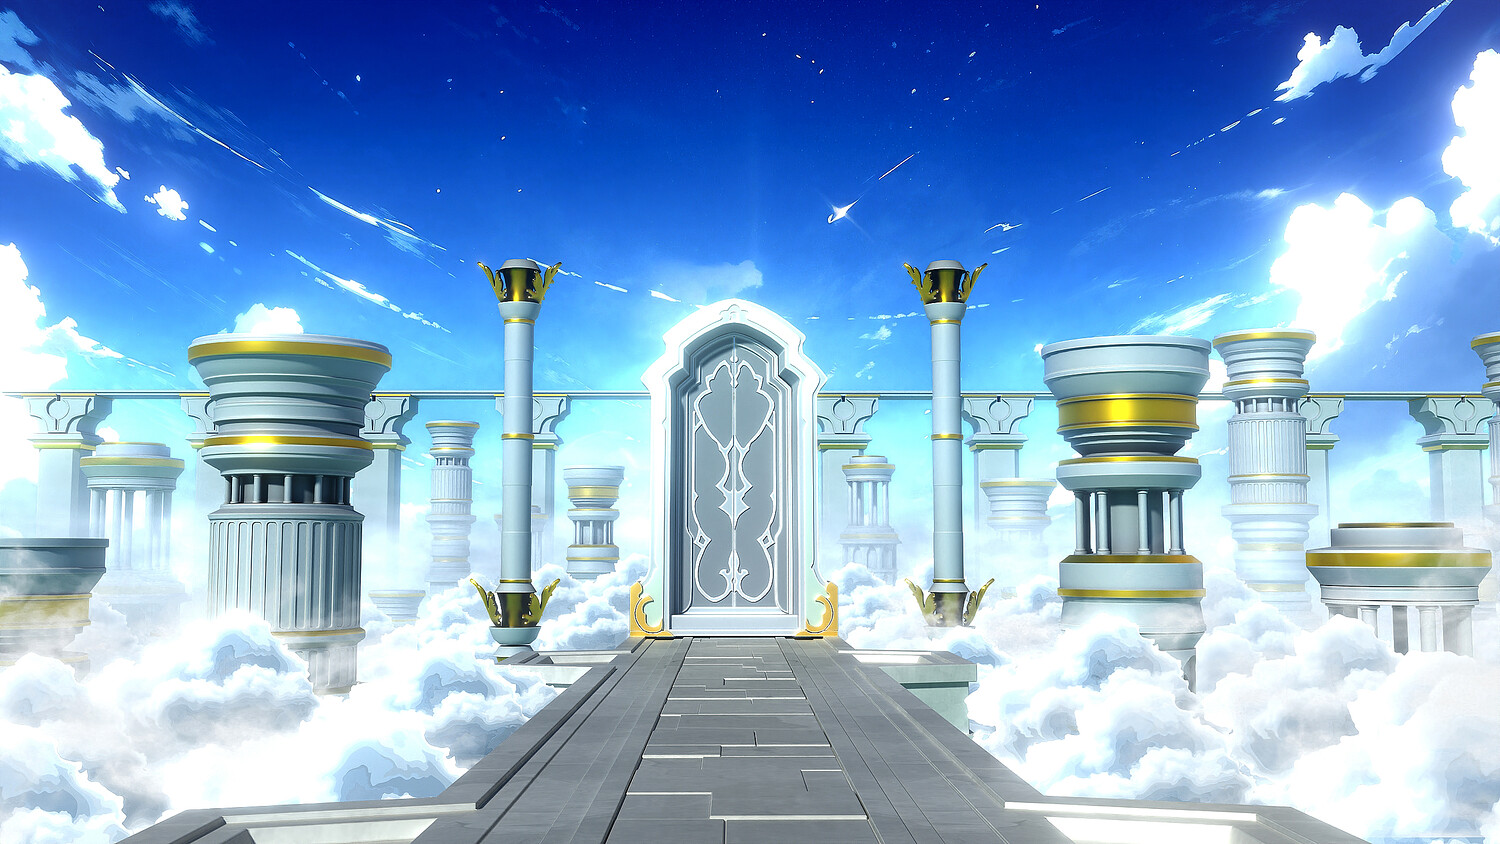
We’ll cover every step of the process — from blocking and modeling, to texturing, lighting, atmosphere, and final rendering — learning how to achieve that stylized fantasy look with elegant architecture, stylized materials, and immersive atmospheric effects, while also creating multiple variations along the way.
1. Modeling the Core Structure
We’ll start by modeling the core structure of the environment — beginning with the central fantasy gate, followed by the bridge, and a series of massive pillars that surround and support the scene — designed to add scale, structure, and visual rhythm.
2. Layout and Lighting Setup
Once the main elements are built, we’ll set up the initial layout and lighting, creating the foundation for our environment.
3. Texturing
Then we’ll dive into texturing, designing stylized materials for the gate, pillars, and bridge with a clean, hand-painted feel — avoiding over-detailing and instead emphasizing readable forms and shapes.
4. Final Stylization
After that, we’ll work on the final stylization phase — adding volumetric fog, cloud layers, and cinematic lighting to create a bright, ethereal mood.
These elements give the scene its dreamy, anime-inspired feel and truly bring the fantasy world to life.
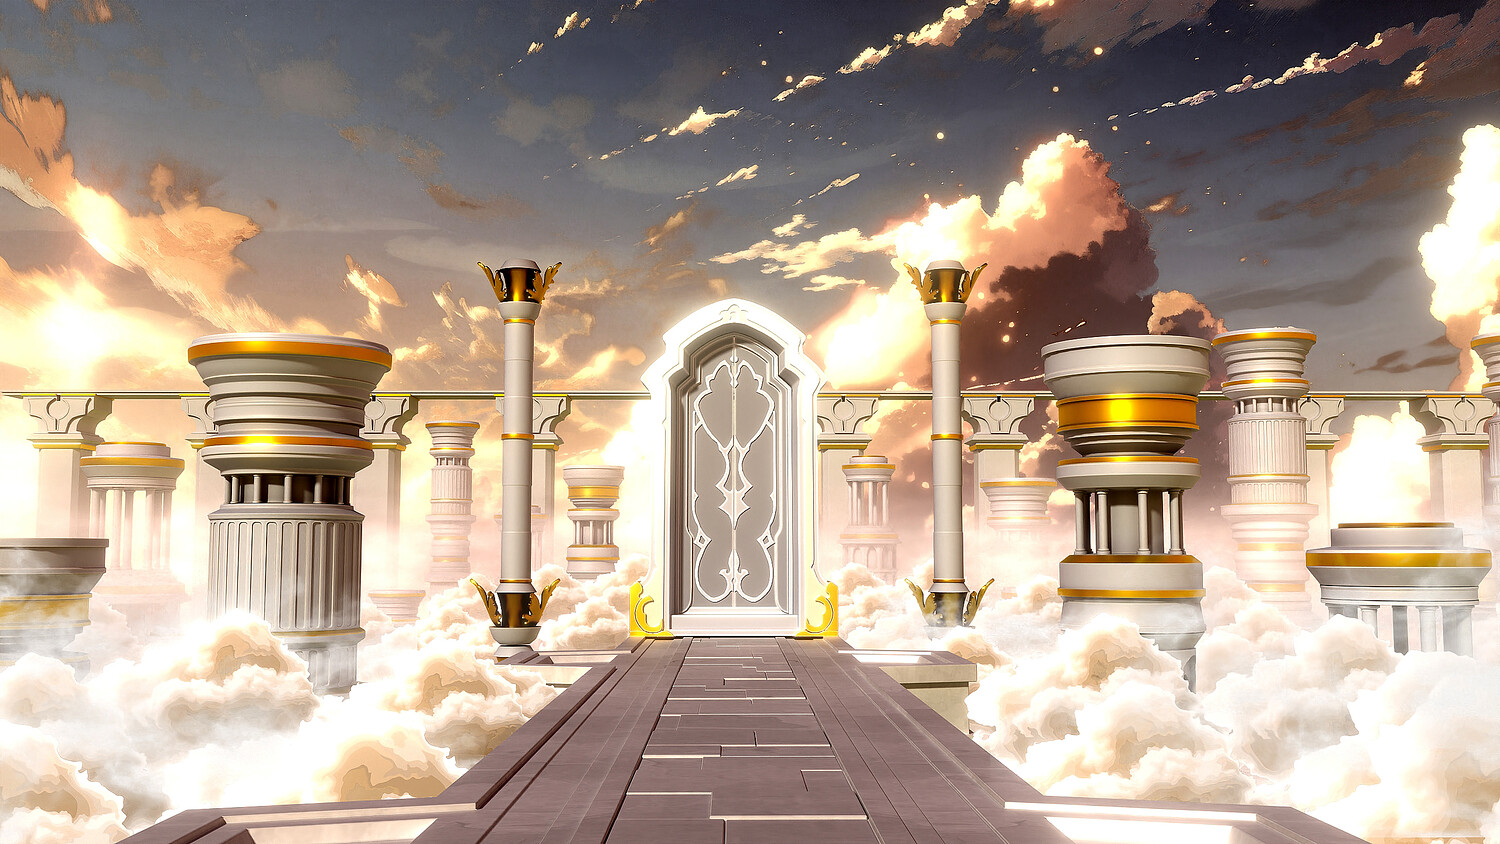
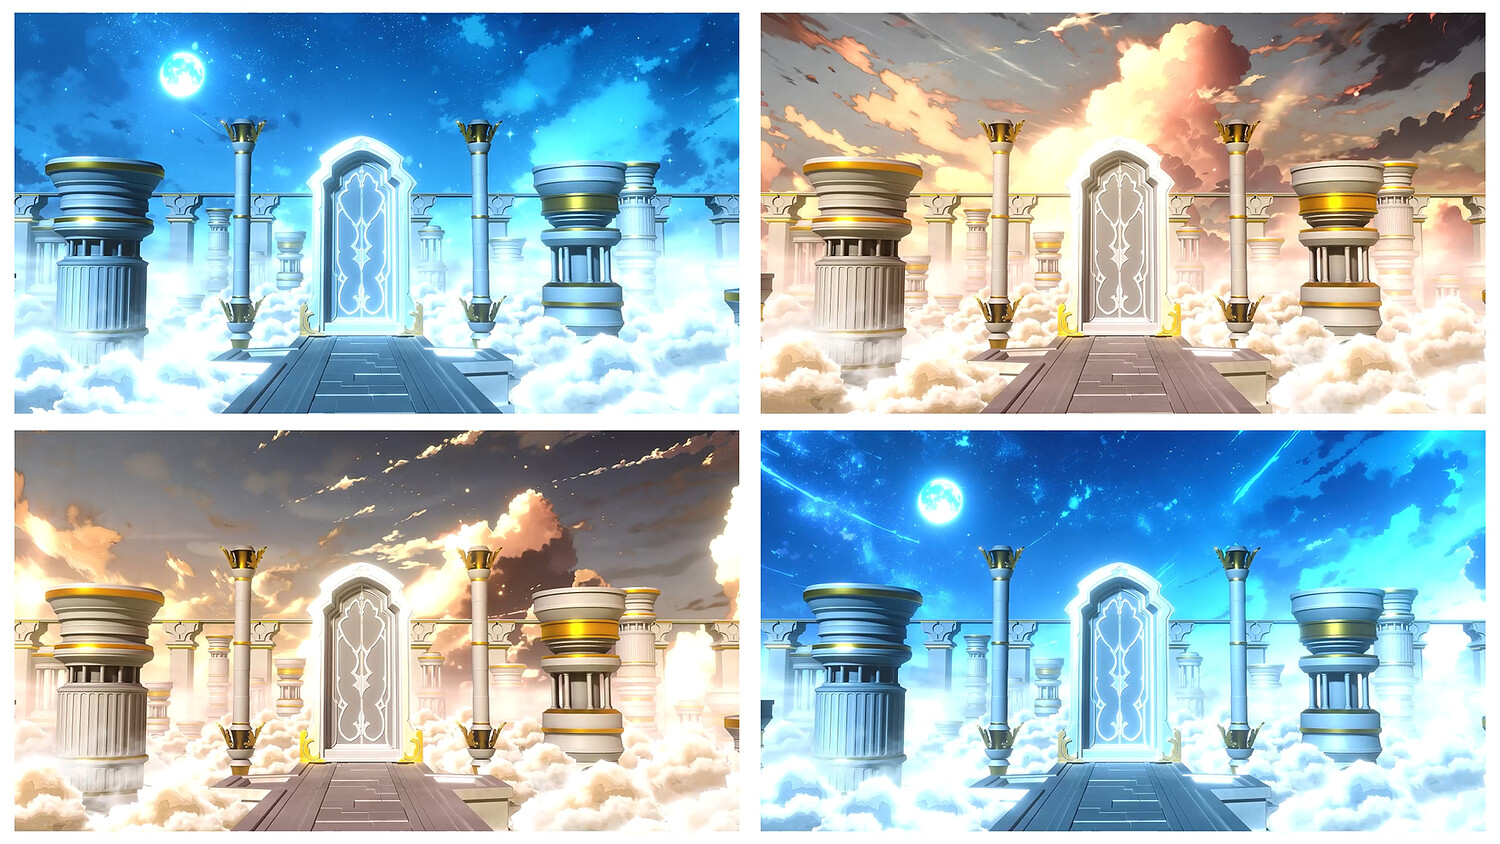
5. Time-of-Day Variations
To bring more storytelling and variety into the scene, we’ll be creating two additional time-of-day variations:
- 🌅 A warm, golden evening version
- 🌌 A cool, mystical night version
These variations not only improve your artistic versatility, but also give you multiple portfolio-worthy renders from one environment.
6. Compositing & Post-Processing
Finally, we’ll do a bit of compositing and post-processing using Blender’s Compositor and Photoshop to push the visuals further — adding Glare, color grading, and subtle tweaks to enhance the final output.
We’ll wrap up the course by rendering out portfolio-ready shots of our envi
You will get 2 files
All files previously purchased will always be available for download in your Library