The Making of 2D Art War 4 Finalist: Archer, Fire Elementalist

Ben Guldemond is a freelance illustrator and concept artist from South Africa. In this tutorial, he takes you through his process for creating my Archer: Fire Elementalist, fighting for the fire faction in Art War 4 Rise of the Elements.
Phase 1- Brainstorming
I start out by running through a few rough ideas of what I think could work for the theme of the challenge. Mainly thinking how the character wields the power of his/her faction, and how to best communicate their strengths. I landed on the idea that she would have arcane powers to conjure her chosen element, but instead of designing a mage I decided to mix it up by having her be a ranger as well. Inspired by the interesting mix you get when multi-classing your characters in cRPG’s and DnD campaigns.
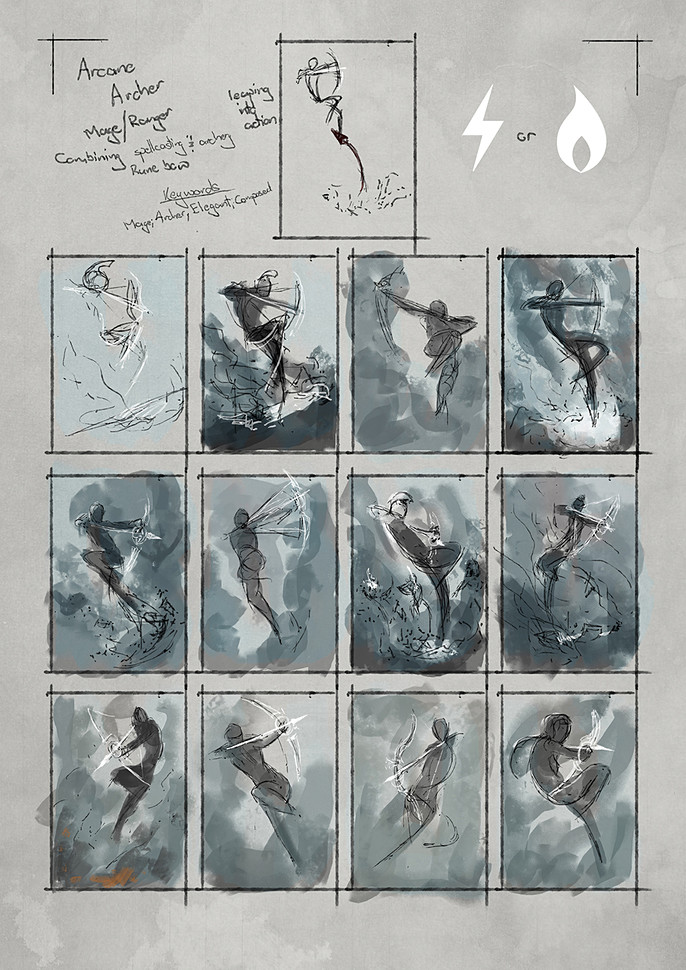
With this in mind I start loosely sketching ideas. I had this dynamic pose in mind where she leaps into the air and draws her bow. As I’m sketching my focus here is on movement, gesture and composition. At this stage I’m not worried about details, limiting myself to 5 - 10 min per sketch to keep the flow of ideas rolling. I write down keywords to give myself direction, and remind myself of what the character should entail.
Phase 2- Concepting
Once the direction and intent is clear I move on to designing the character. I keep it simple by sketching in monochrome, to focus on shape, value and design. By combining a mage and ranger her outfit had to accommodate both aspects. Most of the design kept to a mage’s outfit, and to compliment this I added elements of a ranger’s kit such as the leather belts and her arms would need to be free to draw and fire her bow. Using her arcane talents she conjures fire arrows without the need for a quiver.
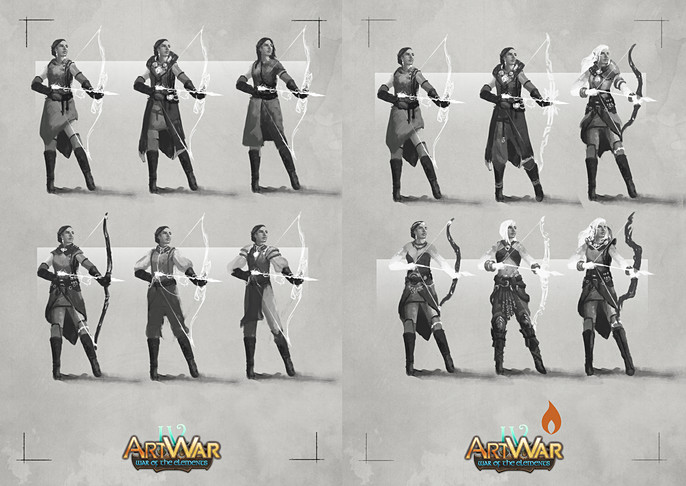
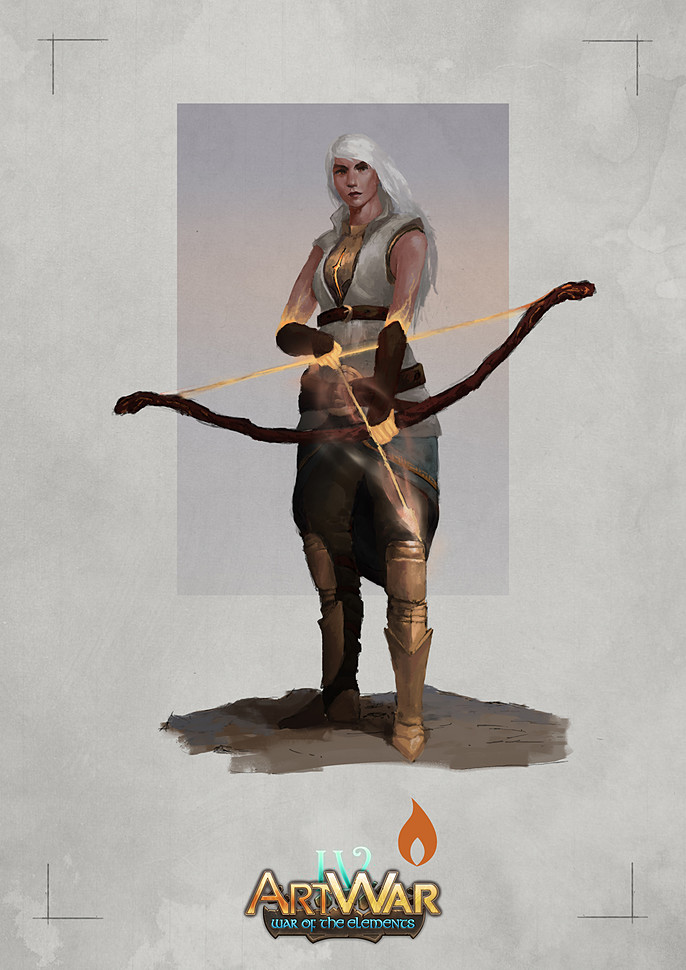
With feedback from the community and fellow artists I mix and match the strongest parts of the designs to land on the final design. At this stage I add color and design further details such as the materials and trinkets.
Phase 3- Composing the Final Illustration
With a clear idea of my character I return to my initial little thumbnails from Phase 1. At this stage it is important for me to lay the groundwork for the final illustration. I develop the thumbnails further, focused on establishing major elements such as the environment, the colors and supporting elements to help convey the story. Here I also establish a dark mood that fits the battle taking place and allows for great contrast to the fires within the image.
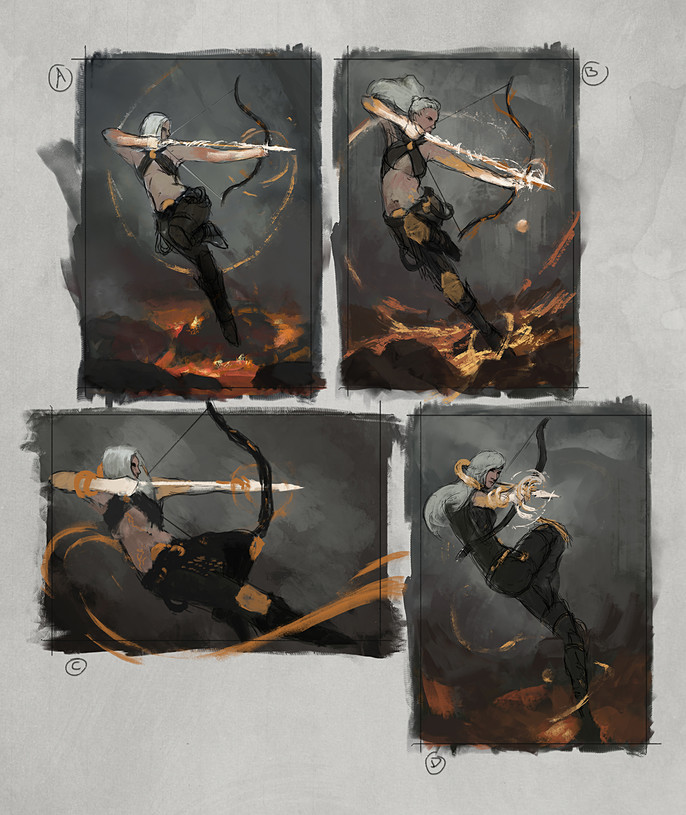
I post these thumbnails for feedback from the community and fellow artists. C was universally the favorite but it needed something more dynamic. The pose was good but with some advice I changed the camera angle to an upward shot. This placed her in a powerful position within the composition. A symbolic element like this is key, as it reinforced the dominance of your character within the scene, even when adding a big dragon later in the final illustration.
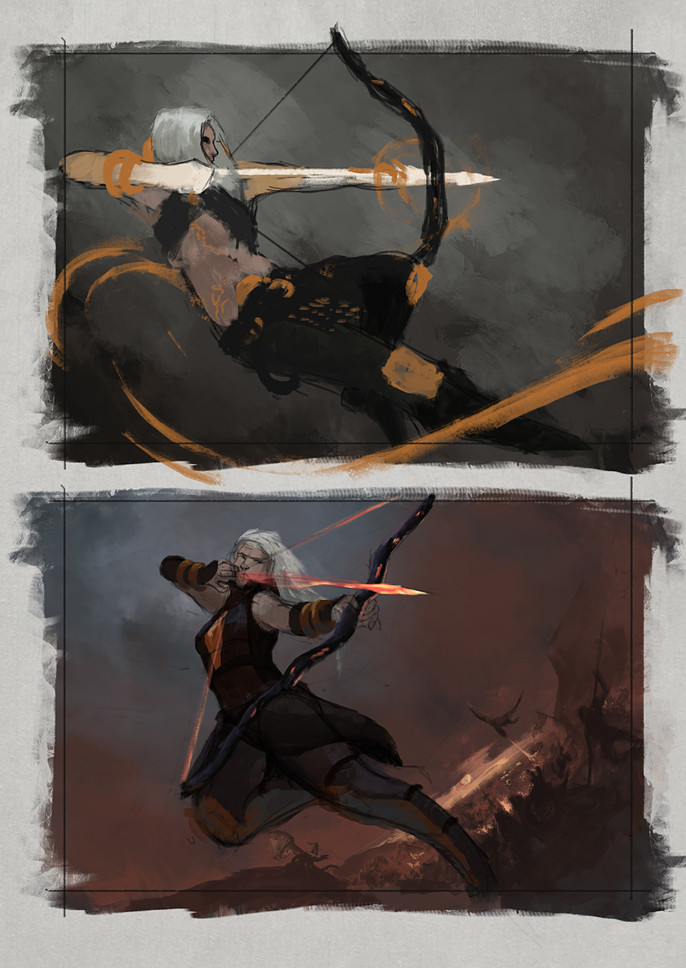
The new layout works better, but the background needed some clarity. Here I start sketching in a village on fire, soldiers fighting amidst the flames and a gigantic fire-breathing dragon, because what army fighting for the Fire faction doesn’t have a gigantic fire-breathing dragon ;) Placing the character within a well established scene gives context to your character’s actions, which goes a long way in storytelling.
Phase 4- Rendering
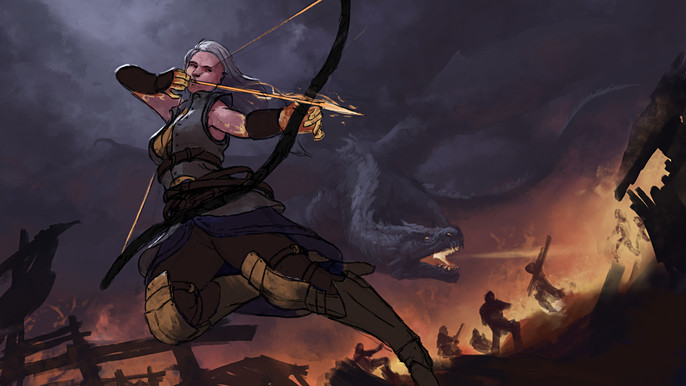
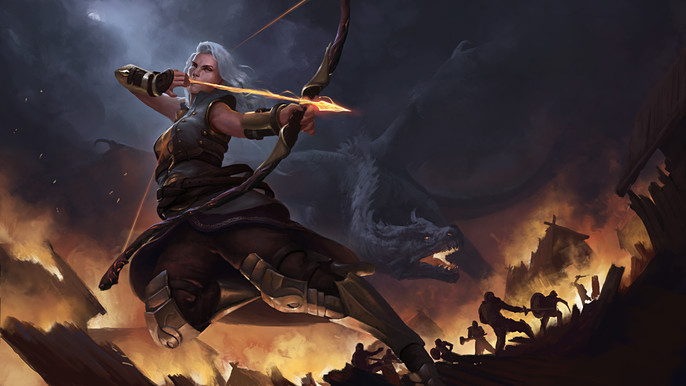
With the composition in place it is time to start rendering the final image. I start by balancing ambient colors and local colors. Working from the focal point outward is important as you do not want to spend too much time on elements that aren’t the focus of the illustration. The viewer’s eye is often drawn to areas with the most detail and contrast, and we want to keep the focus on the character. This establishes a hierarchy within the image as I’ll indicate below.

Thus our character is the Primary read of the illustration. Secondary elements such as the dragon and the battle in the mid ground are the second read of the illustration. They support the main character by leading the eye towards her, but shouldn’t be overly detailed in a way that distracts from the focal point. Areas with detail can also be contrasted by areas with less detail where the eye can rest. These are the tertiary read of the illustration. I use large brushstrokes and avoid adding too much detail for the clouds and for the buildings.
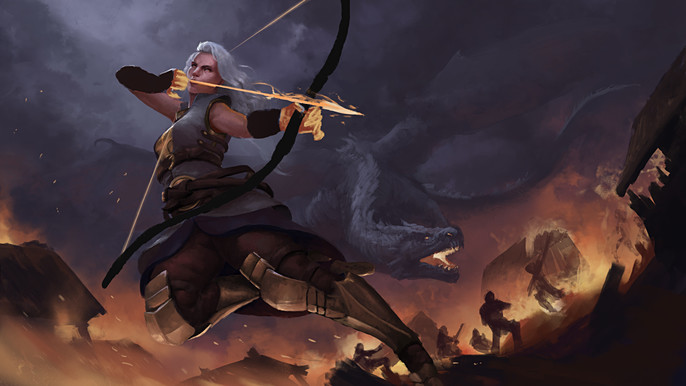
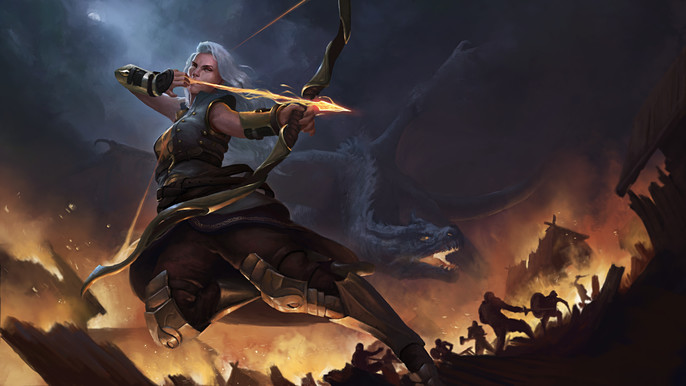
I continue to add detail, render the materials and balance the colors. This stage takes time and patience but it is very rewarding. Be sure to take a break when you feel you are losing focus. Take a step back and evaluate your progress. Posting it on the forums and asking fellow artists is a great way to get a fresh view on your illustration as they might spot things that you have missed.
Keep going, keep grafting! Once I’m done, and I can afford the time, I leave the painting for a day or two and come back to it with a fresh view. A few adjustments and details for the final piece and voila! Finished!
Thank you for reading, I hope you have enjoyed this quick look at my process!
See more of Ben's work here: