The Making of 2D Art War 4 Finalist: Ailsa, of the Fairy Rock
YeinArt is a self-taught illustrator/concept artist from Northern Ireland currently freelancing. He's a fan of
anime and video games inspired from titles like Final Fantasy and Breath of Fire.
Here, he takes us through his Art War 4 creation- Ailsa
Designing Ailsa
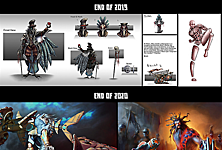
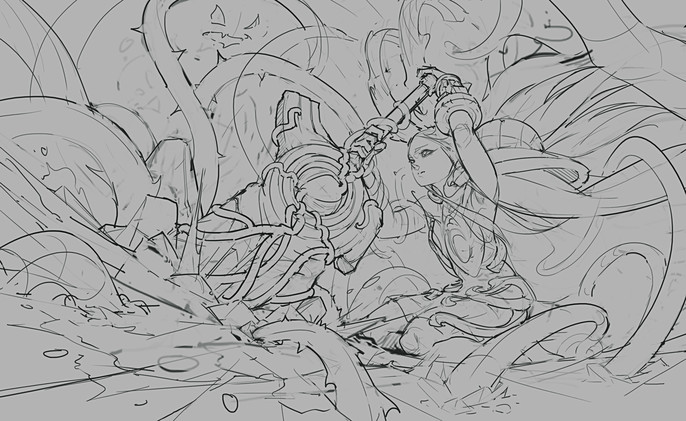
At the beginning I like to sketch quick
character thumbnails. I didn’t have a solid
choice on which element that I wanted to
commit to, so this was a good way to
explore different ideas without being too
attached to just one. I also had made a
set of guidelines to help narrow down the
design: a fantasy humanoid character
wielding a large weapon.

Eventually I chose one of the earth designs. The initial idea was a knight that was a living embodiment of the forest. Although I was happy with the design of the weapon, I found the character lacking in impact. I took some inspiration from the Child of Light video game by changing the knight into a little girl, which made the design overall more interesting. I also liked the narrative of having a small figure against big adversity like David and Goliath.
From then on, I move to fine tuning the design through more sketches, slowly building up the story
as I go along.
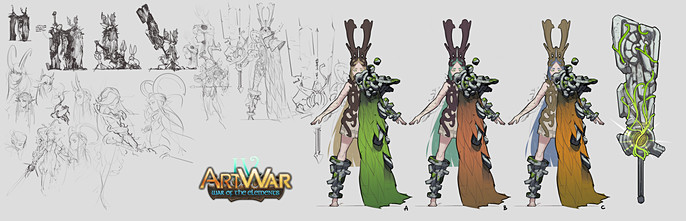
“The weapon is made from a magical seed that grows out vines, collecting stones of different shapes and sizes and forms itself into a giant stone sword. The sword can therefore repair itself if it breaks through that same process. Ailsa is a girl with enchanted powers capable of controlling the earth, enabling her the ability to wield such a heavy weapon with grace and elegance, learning her the nickname of the ‘Fairy Rock’.”
After finalizing the design, I move on to exploring different color palettes. Initially I started off with a green/light blonde pair but for the illustration I had in mind for her to be situated in I felt that she would be lost within it so I decided to go with a more contrasting palette of a burnt amber/pale blue.
Designing the Setting
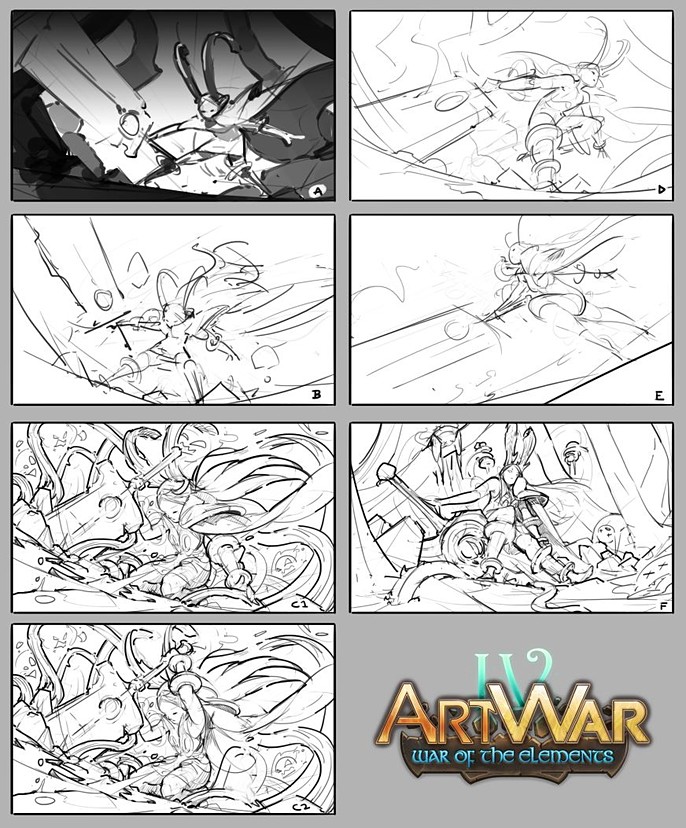
From the start I wanted to approach the
illustration like a splash art piece. With this in
mind, I focused on having dynamic poses, low
angles and strong compositional elements to
make Ailsa shine. Although in saying that, I
decided to follow through with (C2) a static
pose supported by dynamic elements. I felt
this choice held a greater narrative and was
better suited to the nature of the character.
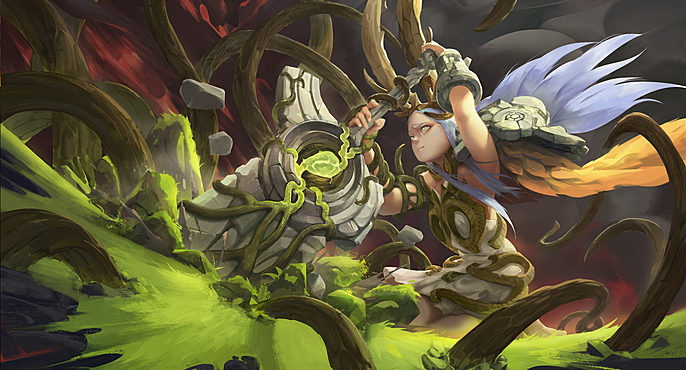
“As the elements of fire threaten the forest, Ailsa comes forth to defend her home. She plants her stone sword upon the scorched earth, vines from the magical seed stretch beneath the ground. Through its power, the broken land miraculously returns to life and great roots erupt, striking against her enemies.”
I like to spend some time polishing a solid sketch of the setting, trying to solve as many problems as I can in this early stage so I don’t have to worry about them appearing later on. This is also useful for me to make precise masks for all my individual layers. It’s also a useful reference during the rendering process, allowing me to maintain my course to the final illustration.
Rendering the Illustration
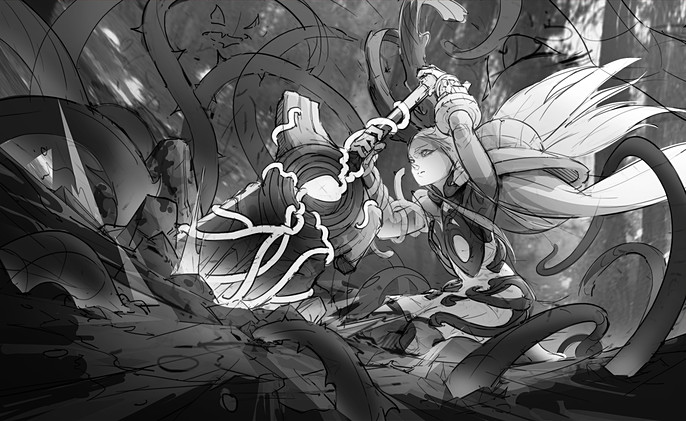
Initially I planned for the surrounding forest to be blazing around Ailsa but due to her local color
palette, this would’ve made a noisy value setup. It’s important to realize that some design elements
may sound good on paper but end up making a weak illustration overall. Having a separate window
of your illustration in grayscale or using (CTRL+Y) to switch between color/grayscale is a great way
to keep an eye on the values of the illustration as you progress. I also don’t like to spend too much
time either on the value process as they can change when you bring colors into the mix.
For converting grayscale to color, I use a variety of layer modes in different areas; I usually use Color or Overlay layers to bring in the local color palette onto the illustration, for some light areas lacking in saturation I use Soft Light and Color Dodge layers for intensity. I haven’t painted a burnt forest before so I had pulled up an image for reference. I played around with some adjustment layers to give me a background I was comfortable with building upon. Later on, you’ll see that I scrapped the idea of the burnt forest in favor for heavy smog and some fire elementals. This brings me to my previous remark. With all the vine elements around Ailsa, introducing a lot of vertical trees would’ve made for a lot of design noise in the background.

I like to copy all my layers and merge them into one (SHIFT+CTRL+ALT+E) when I move on to painting
the illustration. This allows me to work faster when I refine the edges of some of my shapes and when
I have to make adjustments like the value or color on a certain area, I still have my previous layer
mask to make quick selections.
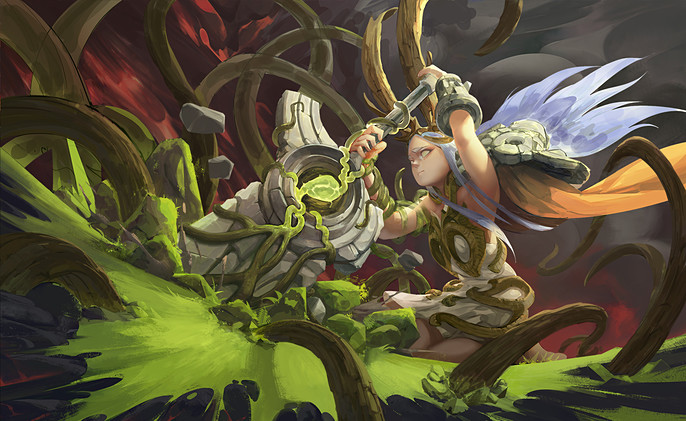
I find using the lasso tool with a big brush a quick and effective way to paint in smaller shapes like the leaves on her cloak or some blades of grass. I then go in with a smaller brush to refine the edges to make it look natural. It’s important not to go too crazy with detail all over the place, sometimes less is more; by allowing some areas to be less detailed, it lets focal points of the piece to shine even further.
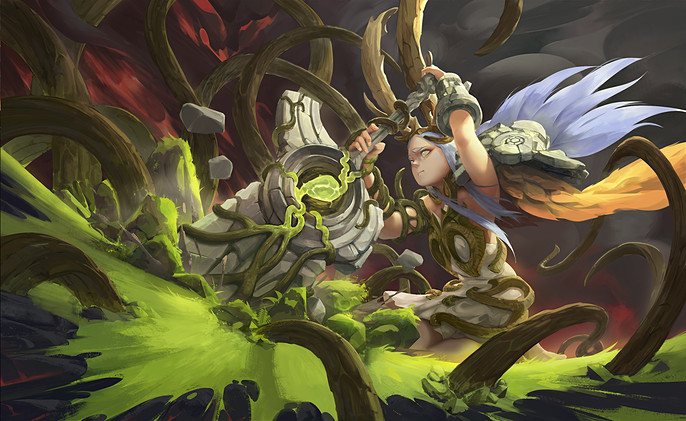
Post-Processing and Final Touches
Now that I’m happy with the rendering, it’s time to move on to my favorite part. I make a new
duplicate of the whole image and add a little of chromatic aberration. I then use the Unsharp Mask
filter which adds some crispness to the whole image. This really lets the fine details on the focal
points to shine and with the layer mask, I can control which areas for it to show through. I then make
one more duplicate layer and using the Iris Blur filter to introduce a subtle depth blur. After throwing
in some adjustment layers for the levels and color balance, I am finally happy with the finished
piece!
I hope you guys find my process useful and I look forward to participating again in the next Art War!