
3D Coat -UV Mapping a StarFighter -Quick Method
3D Coat -UV Mapping a StarFighter -Quick Method
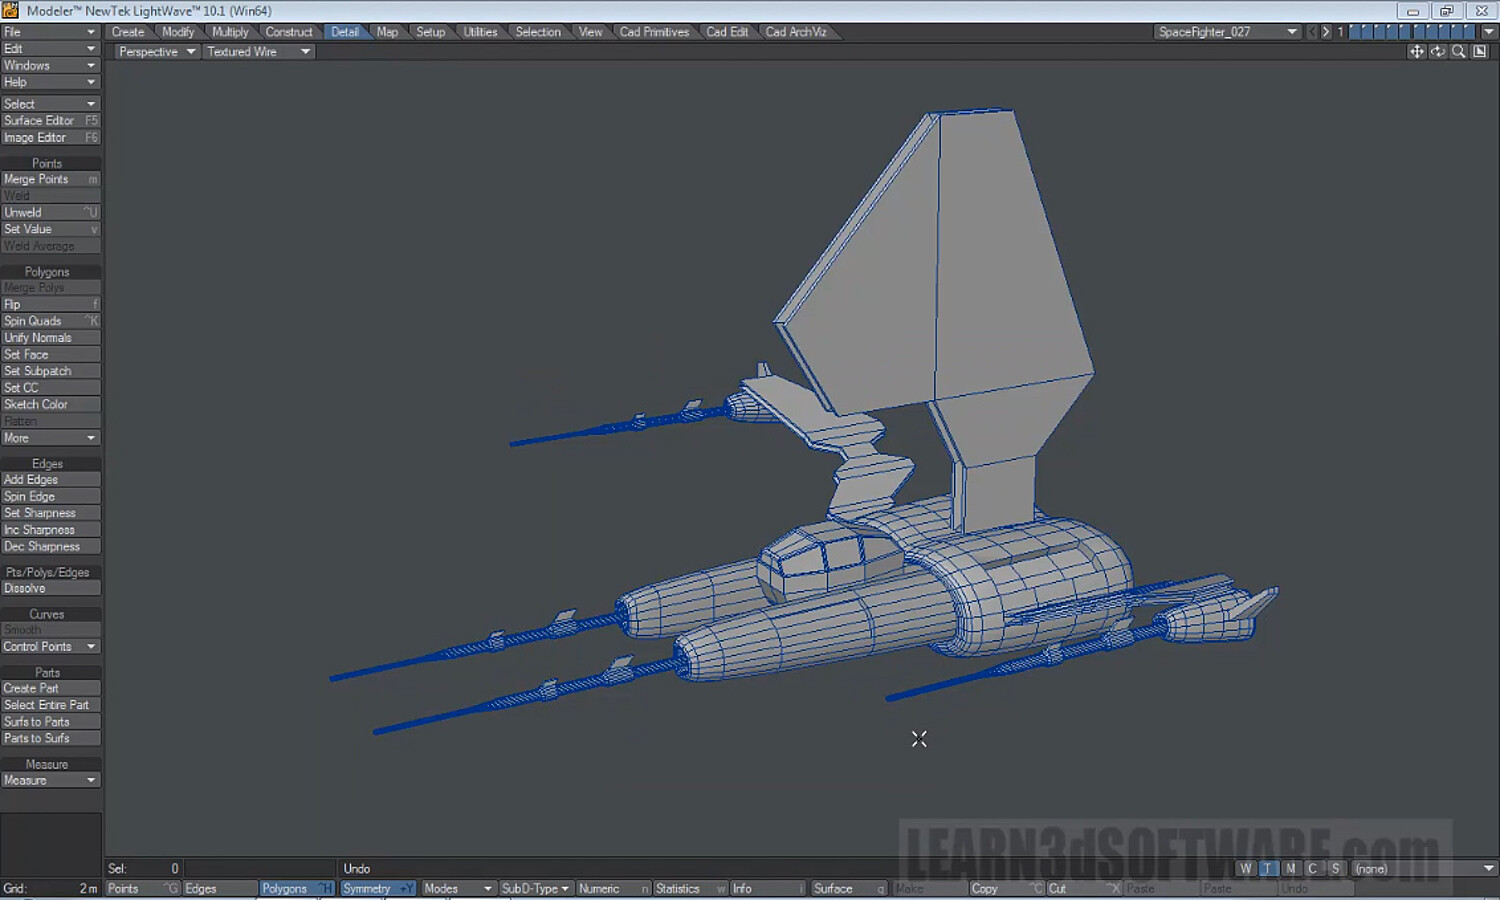
In this first video of our Starfighter Detailing series we show the 3D student how to use LightWave's Atlas UV Mapping feature to create quick, clean and useable UV Maps for hard surface type objects to be imported into 3D Coat for painting Normal, Color, and Specular Maps.
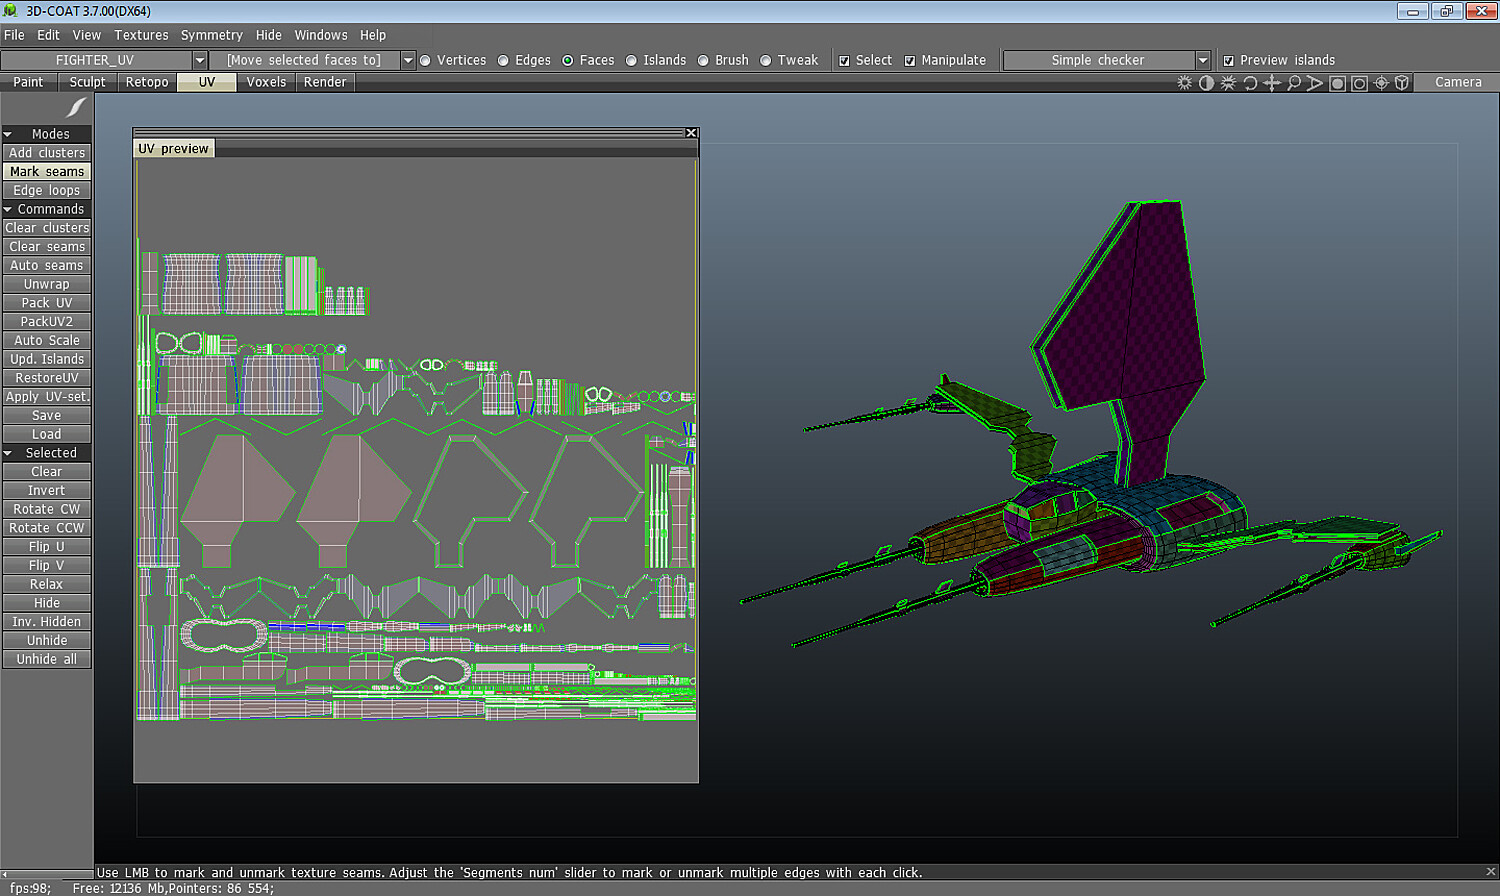
Although you could use 3D Coat's built in Automated UV Mapping Tool for quick UV's. However depending on the complexity of the object, Automated UV's can result in overlapping UV's creating errors for painting. So in turn they are unusable. Although you could use 3D Coat's manual UV Unwrap Tools to get perfect UV's, but you may be in a position where you don't have the time for the process.
So in this tutorial a very simple method is shown using Lightwave's powerful Atlas Map Tool that can unwrap complex and multiple layered objects in a few mouse clicks.
Problem solving techniques are shown to improve your ability to get the best UV Unwrap possible using the Atlas Tool's settings.
Table of Contents for Star Fighter UV Mapping
Chapter 1- Intro
Chapter 2- UV Issues Explained
Chapter 3- Atlas UV Mapping in LightWave 3D
Chapter 4- Using the Segment by Surface/Part Features
Chapter 5- Creating UVs and Correcting Problems
Chapter 6- Testing UV's in 3DC
Chapter 7- Final
Running Time: 1 hr. 26 mins.
Video Resolution: 1440 x 900 pixels
Video Format: MP4 (.mp4)
Level: Beginner & Up
You will get 8 files
All files previously purchased will always be available for download in your Library
- Content Folder Starfighte...572.53 KB
- 3DC_37_UV_Map_Starfighter...5.52 MB - 31.68 sec
- 3DC_37_UV_Map_Starfighter...13.77 MB - 1 min
- 3DC_37_UV_Map_Starfighter...122.2 MB - 10 min
- 3DC_37_UV_Map_Starfighter...174.75 MB - 15 min
- 3DC_37_UV_Map_Starfighter...156.81 MB - 12 min
- 3DC_37_UV_Map_Starfighter...224.96 MB - 18 min
- 3DC_37_UV_Map_Starfighter...376.47 MB - 28 min