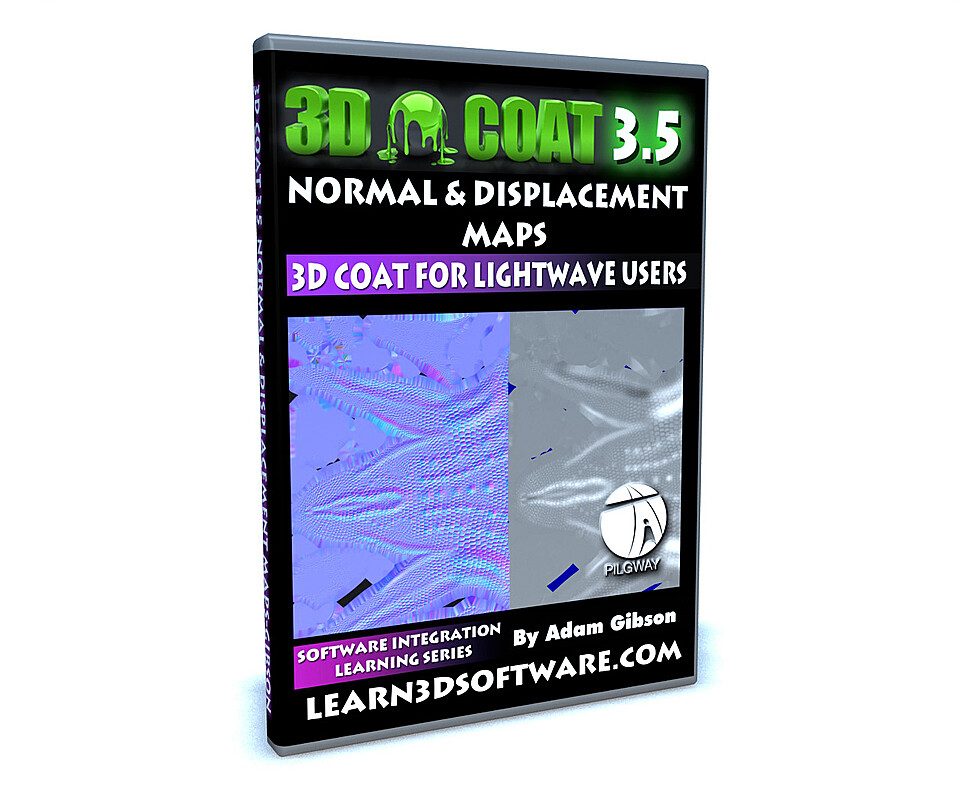


3D Coat 3.5- Normal & Displacement Maps
3D Coat 3.5 for LightWave Users- Normal and Displacement Maps
In this videos series we show 3D students how to use 3D Coat and LightWave 3D together as an easy and functional workflow and pipeline in your 3D projects. Although this video series uses LightWave 3D as the final output for your 3D Coat work, the concepts and principles used here will work with all the most popular 3D programs like 3D Max, Maya, Softimage, Modo, Cinema 4D and many others.
In this video tutorial 3D Instructor Adam Gibson demonstrates how to detail a Suchomimus dinosaur using 3D Coat's Normal and Displacement Mapping tools. Learn how to take plain and low-detailed models and spice them up by adding muscle, bone, tendon, skin folds, bumps and scales to their surface. Then the video finishes off by showing the secrets of taking the normal and displacement maps created in 3D Coat and exporting them out for use in LightWave 3D.
Although setting up Normal Maps in LightWave is relatively easy, Displacement Maps can be slightly challenging. Displacement Map set-up using the Node Editor is shown in great detail.
Table of Contents for Normal and Displacement Maps
Chapter 1- Intro
Chapter 2- Saving Out the Body Layer of the Mesh
Chapter 3- Import Body Layer into 3D Coat
Chapter 4- UV's and Displacements
Chapter 5- Detailing Leg Muscles
Chapter 6- Detailing the Feet
Chapter 7- Arm Detailing
Chapter 8- Detailing the Hands
Chapter 9- Creating Skin Rings
Chapter 10- Creating the Rib Cage
Chapter 11- Creating Spine Bones
Chapter 12- Detailing the Top and Side of the Head
Chapter 13- Throat and Lower Jaw Detailing
Chapter 14- Detailing the Tail
Chapter 15- Increasing the Texture Mesh Resolution
Chapter 16- Adding a New Displacement Layer
Chapter 17- Adding Scales Part 1
Chapter 18- Adding Scales Part 2
Chapter 19- Adding Scales Part 3
Chapter 20- Adding Scales Part 4
Chapter 21- Adding Scales Part 5
Chapter 22- Adding Scales Part 6
Chapter 23- Adding Scales Part 7
Chapter 24- Exporting Normal and Displacement Maps
Chapter 25- Normal and Displacement Maps Preview in Photoshop
Chapter 26- Normal Map Set Up in LightWave 3D
Chapter 27- Displacement Map Set Up in LightWave 3D
Chapter 28- How to Import and Export Nodes in LightWave 3D
Chapter 29- Final
Running Time: 5 hrs. 48 mins.
Screen Resolution: 1440 x 900 pixels
Format: Quicktime Video (.mov)
You will get 30 files
All files previously purchased will always be available for download in your Library
- Content Folder 3DC 35 Nor...30.92 MB
- 3DC_35_LW_Users_Normal_Di...32.17 MB - 3 min
- 3DC_35_LW_Users_Normal_Di...45.53 MB - 4 min
- 3DC_35_LW_Users_Normal_Di...63.42 MB - 6 min
- 3DC_35_LW_Users_Normal_Di...80.56 MB - 6 min
- 3DC_35_LW_Users_Normal_Di...92.22 MB - 7 min
- 3DC_35_LW_Users_Normal_Di...108.34 MB - 11 min
- 3DC_35_LW_Users_Normal_Di...108.48 MB - 9 min
- 3DC_35_LW_Users_Normal_Di...102.69 MB - 8 min
- 3DC_35_LW_Users_Normal_Di...288.76 MB - 23 min
- 3DC_35_LW_Users_Normal_Di...336.32 MB - 26 min
- 3DC_35_LW_Users_Normal_Di...26.8 MB - 2 min
- 3DC_35_LW_Users_Normal_Di...50.89 MB - 4 min
- 3DC_35_LW_Users_Normal_Di...62.71 MB - 5 min
- 3DC_35_LW_Users_Normal_Di...91.87 MB - 8 min
- 3DC_35_LW_Users_Normal_Di...75.0 MB - 6 min
- 3DC_35_LW_Users_Normal_Di...93.0 MB - 7 min
- 3DC_35_LW_Users_Normal_Di...107.46 MB - 8 min
- 3DC_35_LW_Users_Normal_Di...147.55 MB - 12 min
- 3DC_35_LW_Users_Normal_Di...154.98 MB - 12 min
- 3DC_35_LW_Users_Normal_Di...180.9 MB - 15 min
- 3DC_35_LW_Users_Normal_Di...177.85 MB - 14 min
- 3DC_35_LW_Users_Normal_Di...69.1 MB - 8 min
- 3DC_35_LW_Users_Normal_Di...120.99 MB - 11 min
- 3DC_35_LW_Users_Normal_Di...87.99 MB - 7 min
- 3DC_35_LW_Users_Normal_Di...127.33 MB - 12 min
- 3DC_35_LW_Users_Normal_Di...255.52 MB - 29 min
- 3DC_35_LW_Users_Normal_Di...173.14 MB - 13 min
- 3DC_35_LW_Users_Normal_Di...327.14 MB - 33 min
- 3DC_35_LW_Users_Normal_Di...371.3 MB - 28 min