The Making of: Themursan- 3D Art War 3 2nd Place Winner
Hello, my name is Ander Sánchez and I am a Spanish student on the road to be a character artist. In this article, we will look over the steps I took for my entry for the Art War 3 challenge. I focused my character like a 70s/80s superhero, based on Power Rangers designs. Before I start, I would like to express my gratitude to the Cubebrush team for giving me this opportunity. With that said, let's start.
MODELING
I am not a good painter but I like making some sketches instead of creating directly on the model. It can be a quick paint or an overpaint of a sketched sculpt, anything that makes an idea and helps me finding references for the mood boards.
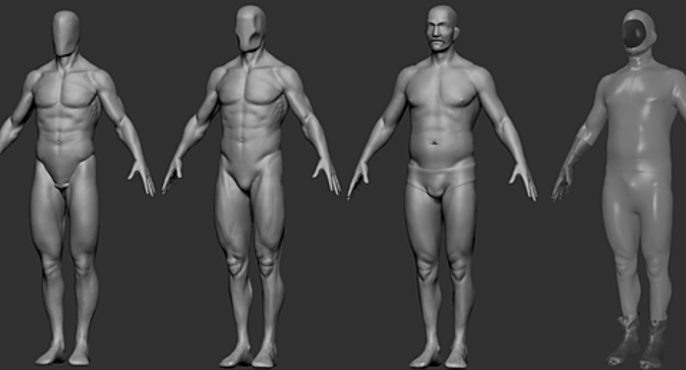
I start my models from a sphere or a combination of basic shapes. On this model, I started sculpting a basic figure before adding body fat. I only worked on basic shapes knowing that it will be covered by the suit.
I used Marvelous to create clothes basic forms and wrinkles. I did not use any pattern because I was looking something vulgar and handmade. I went back to Zbrush for more details.

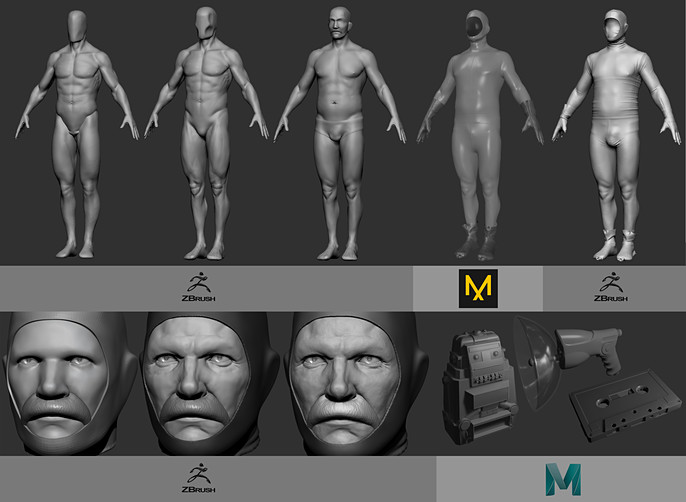
For this model I created 3 different materials, dividing face, cloth and props.
TEXTURES & MATERIALS
Before I start with textures I created a basic scene on Marmoset with white illumination. Once I am in Substance Painter, I will be exporting and testing textures on this scene continuously.
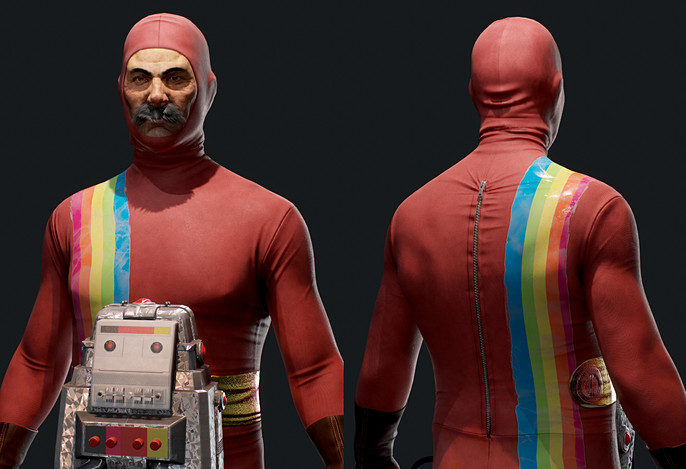
I usually take advantage of this part of the process to add some details on the model easier than on Zbrush, instead of creating very high-density meshes. For the suit, I added seamstress lines, the rainbow sticker and the fake belt. These same forms were used in multiple layers to various other material channels.

Instead of using microfibers, I have decided on using Subsurface Scatter which has given me better results. Also, we still have Fuzz options.
In the case of props, those are more connected with Marmoset results than on Painter visor. Especially because I was looking for a concrete reflects on the plastic surface that I have achieved thanks to Anisotropic Secondary reflections.
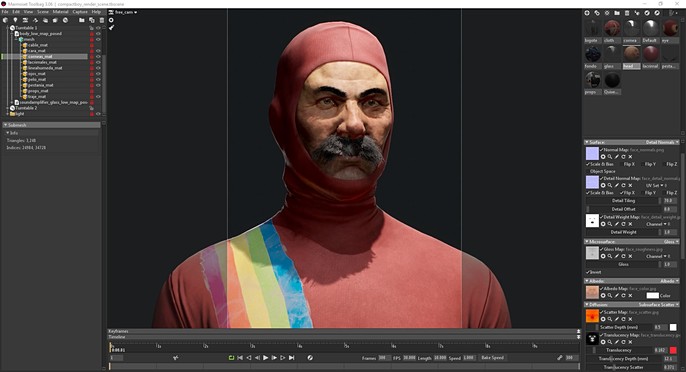
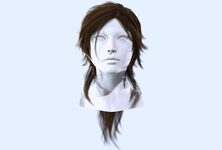
I created face and skin textures on Painter, but I was interested in creating it on Photoshop. Painting a base on Zbrush and combining that with multiple baked maps. I also took advantage of the textures for the different subsurface channels.

LIGHTING & PRESENTATION
This is one of the most difficult processes for me. I know I have a lot to learn about lighting. I created multiple sets before I achieved something interesting for me- changing the pose, composition and lights.
For final render, I took 2 main lights, one on the top right and another on the back. I added more point light to control shadows in some other parts and push up some areas out of the darkness. I also maintained very low global illumination.
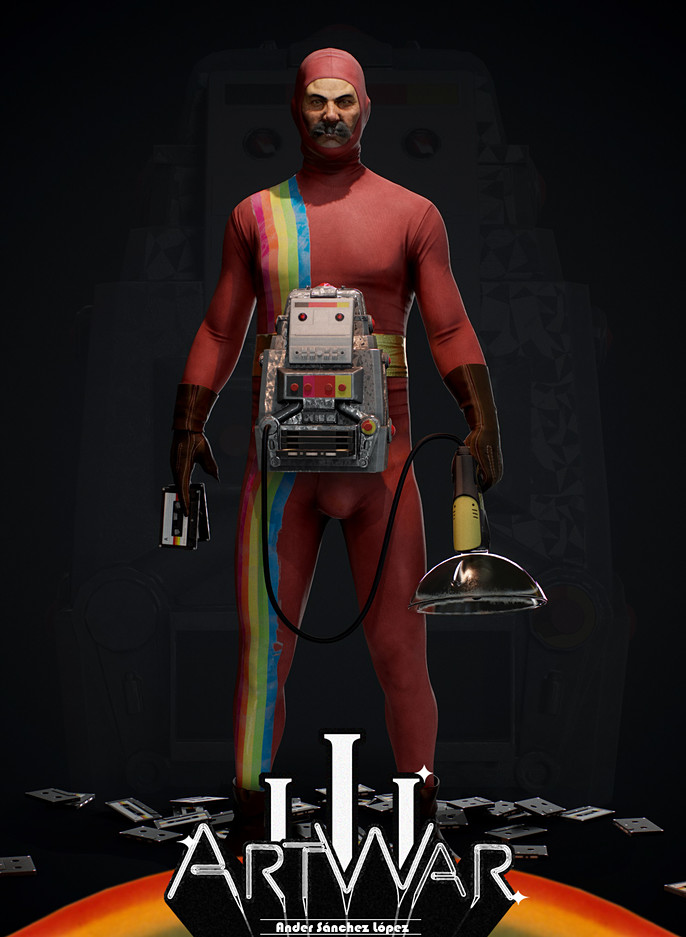
FINAL RENDER
Follow Ander Sanchez on Facebook.
Check out his full interview here.